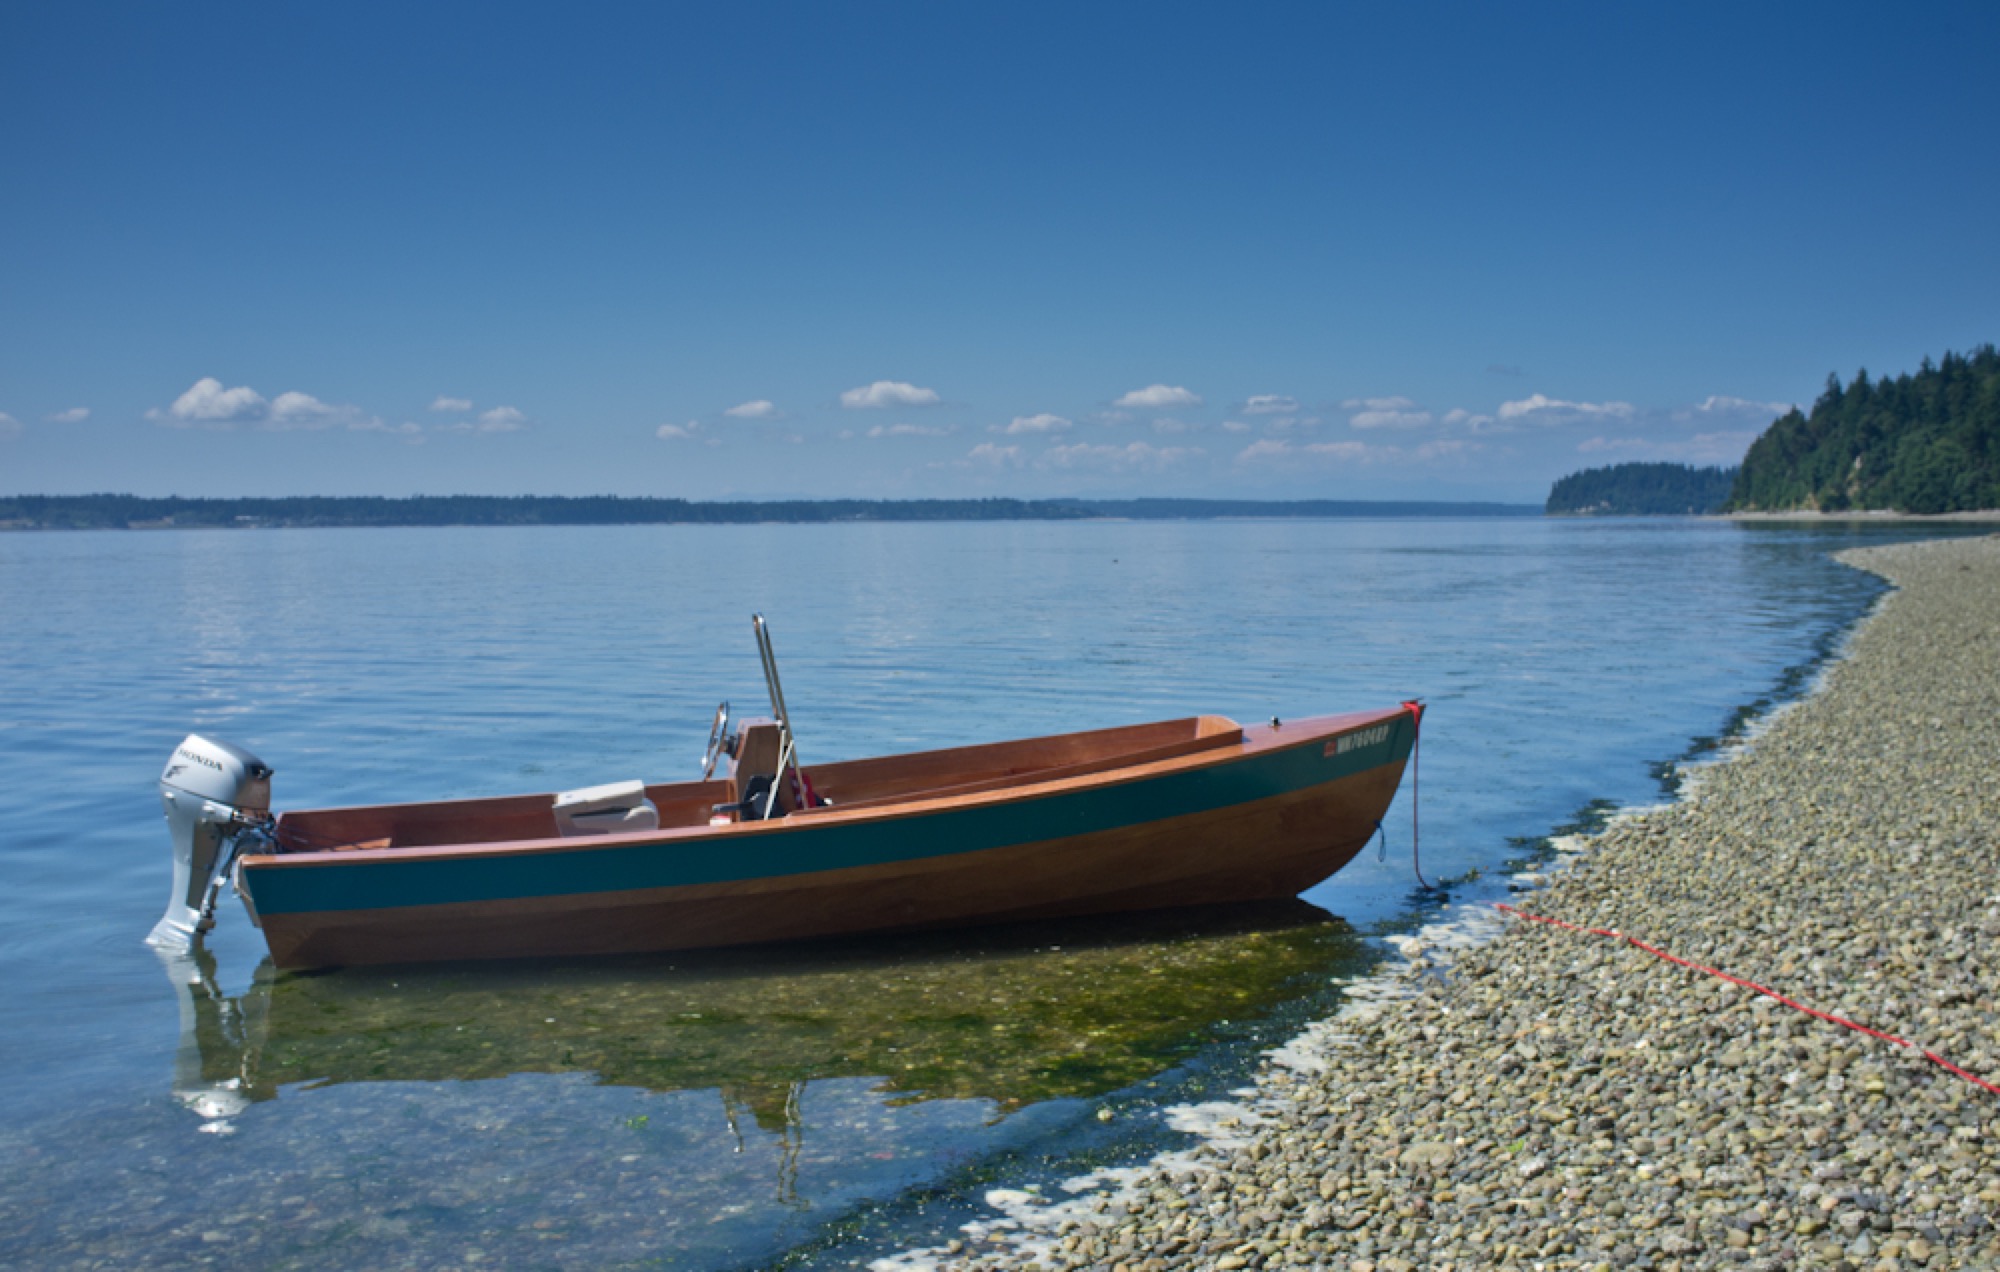

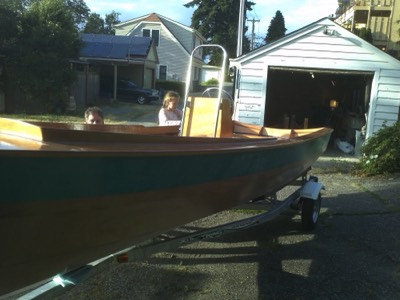
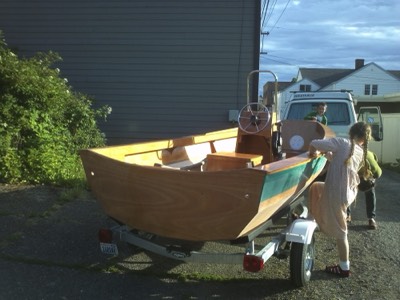
This boat is a PT Skiff by Port Townsend Watercraft. It is a lightweight motor boat that has the unique capability to have water ballast. This boat is built using stitch and glue construction.
Length: 18 feet 5 inches
Beam: 6 feet 2 inches
Displacement: 1379 lbs.
Engine: 25 HP
-
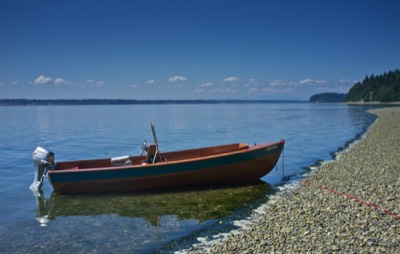
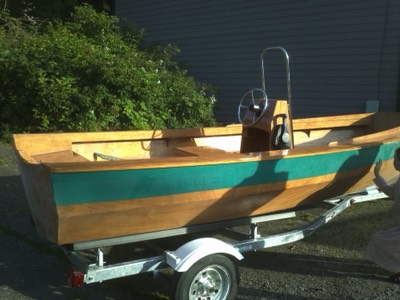
PT Skiff
-
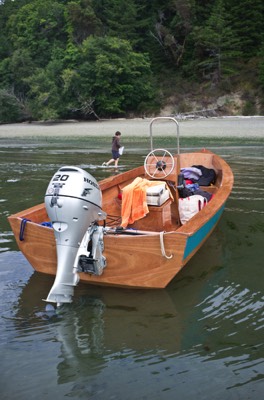
PT Skiff
-
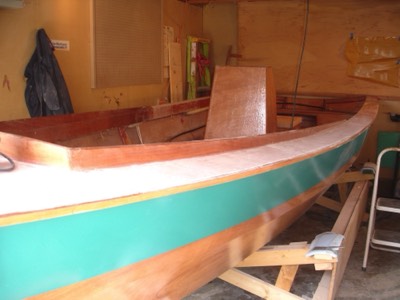
7/15/11 - The boat is finally complete! The owner will fit it out with a 25 hp engine.
-
PT Skiff
-
PT Skiff


-
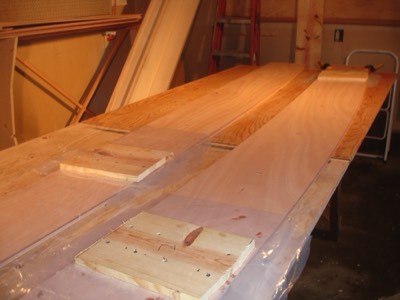
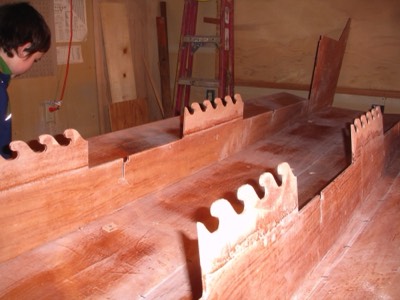
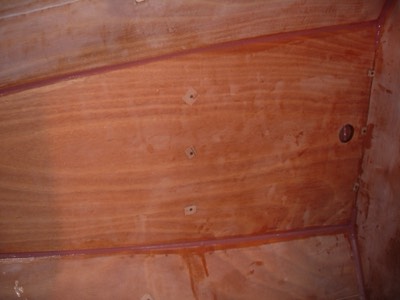
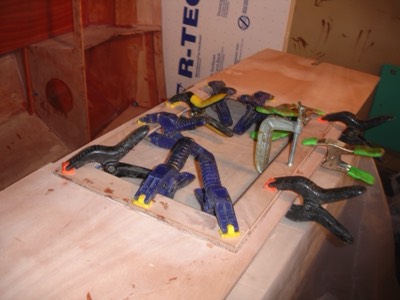
The puzzle joints on panels 1 and 2 are glued and clamped.
-

The puzzle joints on panels 1 and 2 are glued and clamped.
-
1/22/11 - The clamps are removed after the puzzle joints cured overnight.
-
Panels 3 and 4 are glued together.
-
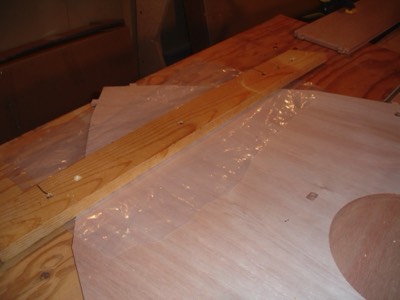
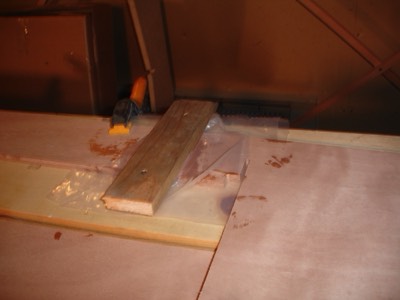
The puzzle joint on frame 1 is glued togther.
-
The puzzle joints on the longitudinal bulkheads are glued together.
-
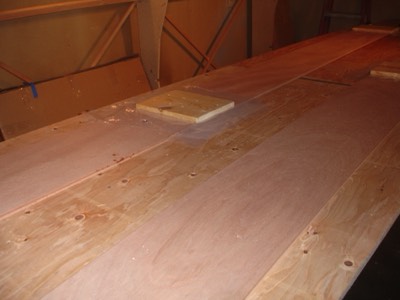
Fiberglass cloth is laid out on the panels. The front tips do not get fiberglassed, only sealed with epoxy.
-
1/24/11 - The first fill coat is applied.
-
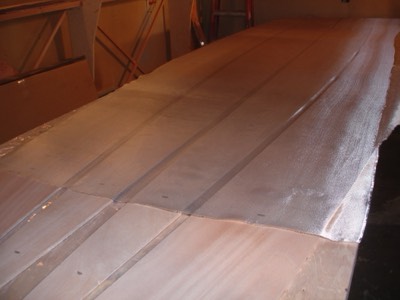
The cloth is wetted out with epoxy.
-
The cloth is all wetted out.
-
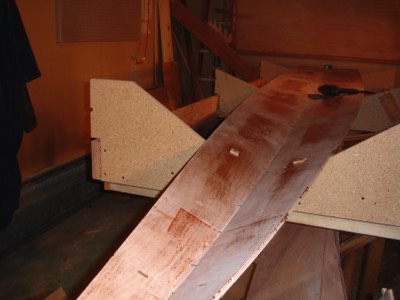
#1 panels are laid in the cradle
-
#1 panels are wired together and screwed into place on the cradle
-
#1 bulkhead is wired into place.
-
It looks precarious up there.
-

Both #2 panels are wired in place.
-

2/5/11 - Bulkhead # 2 is wired in place.
-
The longitudinal pieces are put in place.
-
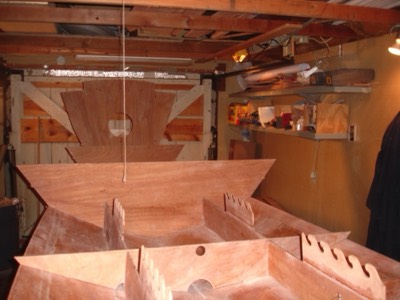
View looking forward.
-
2/6/11 - The starboard #3 panel is held temporarily in place.
-
Both #3 panels are wired into place.
-
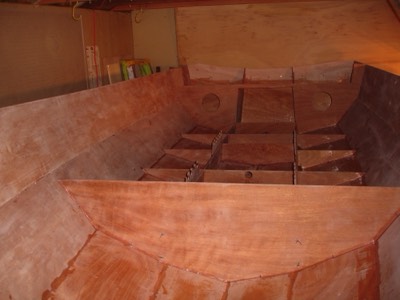
The boat is really taking shape now.
-
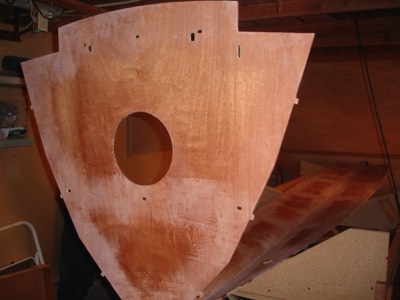
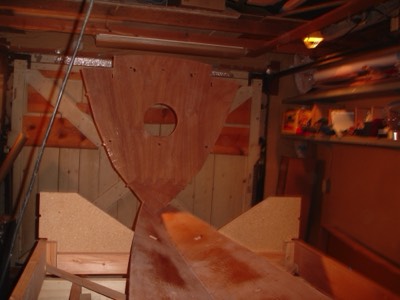
2/7/11 - The transom is wired into place.
-
The piece on the back of the transom is temporary and will come off when the epoxy in the seams has fully cured.
-
2/10/11 - The #4 panel is put in place.
-
#4 panel is wired in place.
-
Both panels are wired into place.
-
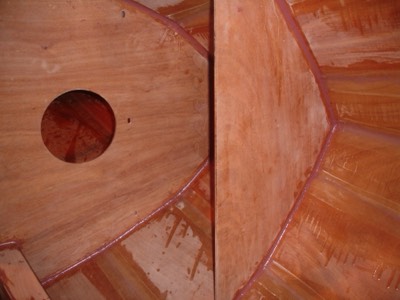
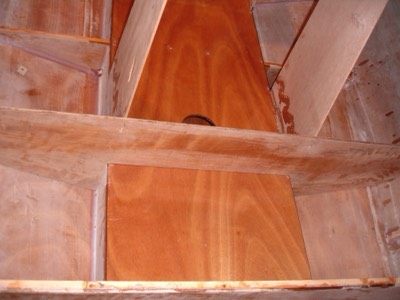
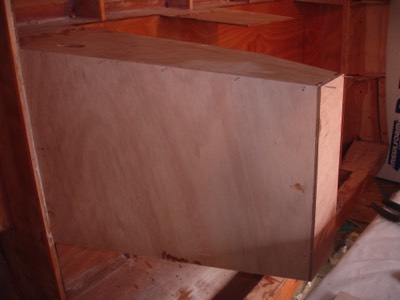
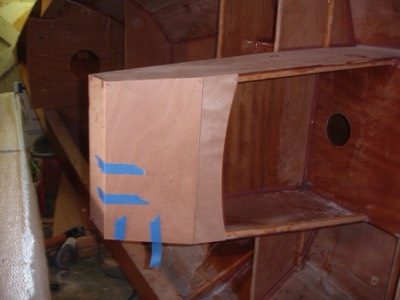
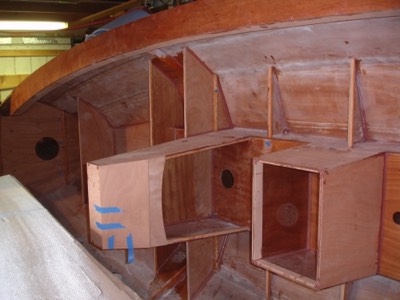
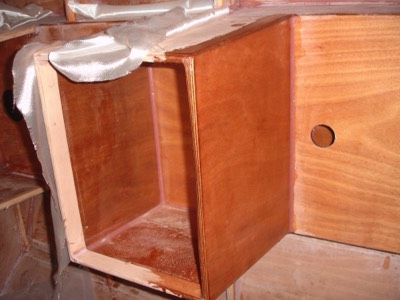
View of the forward compartment.
-
Many small parts are given a coat of epoxy.
-
The side decks are fiberglassed for extra protection.
-
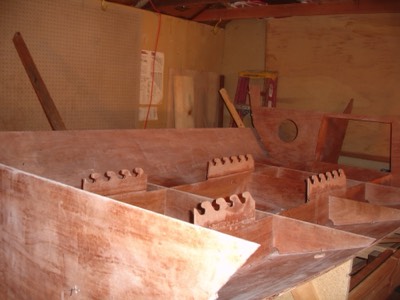
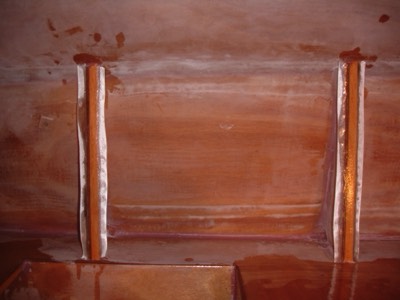
Ribs are installed on either side of the boat.
-
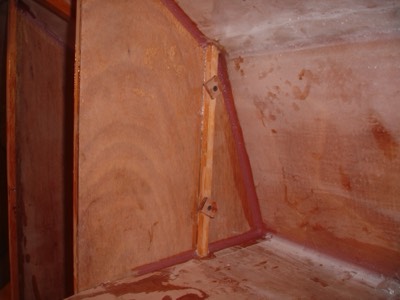
The transom reinforcements are installed.
-
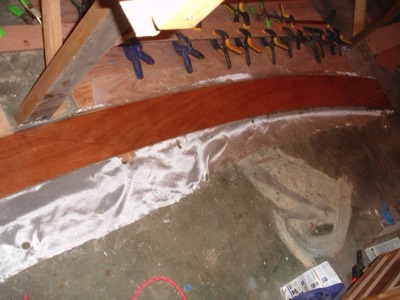
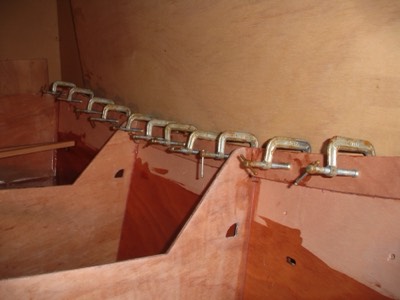
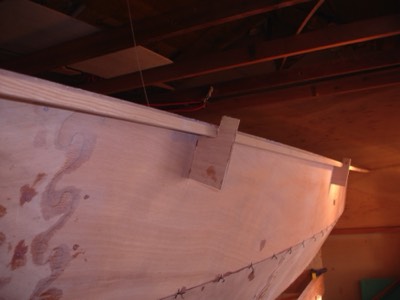
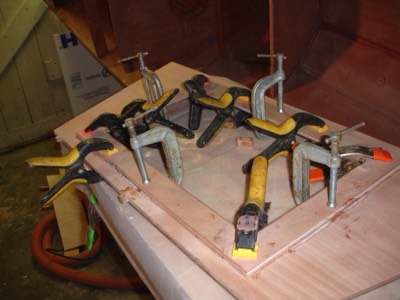
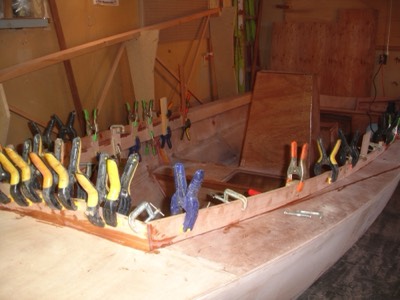
2/13/11 - The port rubrail is glued in place.
-
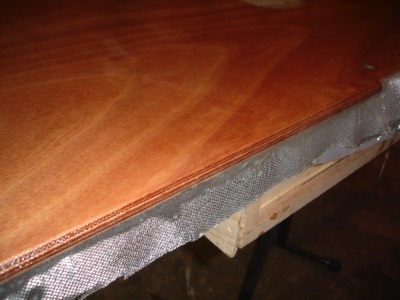
The starboard rubrail is glued in place. This is a graphic demonstration of the old adage, "you can never have too many clamps when building a boat."
-
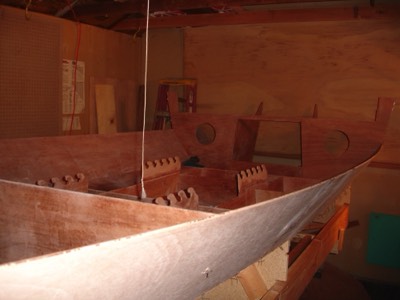
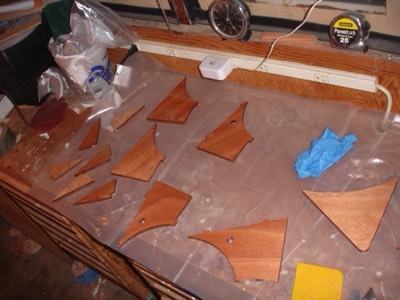
2/18/11 - The coamings and gussets are fit into place.
-
Coamings on both sides, ready for the side decks.
-
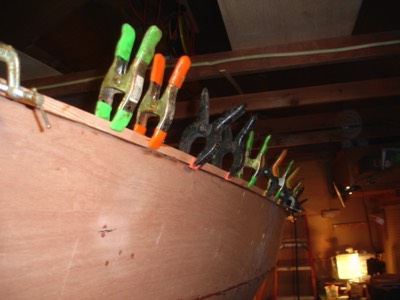
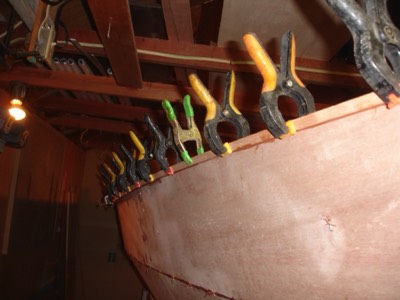
2/19/11 - Rubrails are reinstalled correctly.
-
2/21/11 - The side decks are epoxied into place.
-
The boat is lowered and tilted so the wires can be clipped and the seams glued.
-
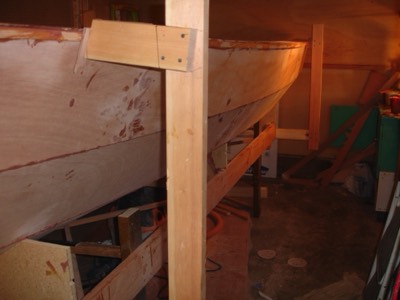
02/25/11 - Stands for when the boat is on its side are built.
-

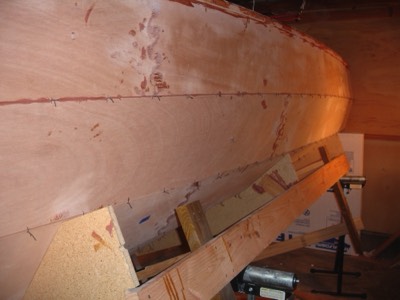
The boat is tilted on its side. It will be like this almost until the end.
-
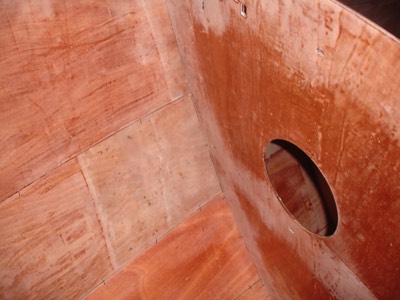
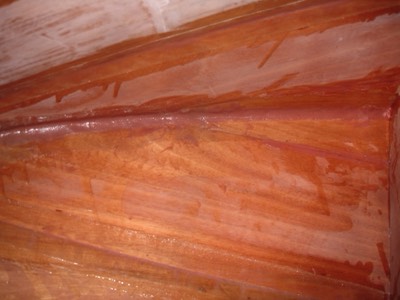
3/3/11 - Chine seams are taped in the forward part of the boat.
-
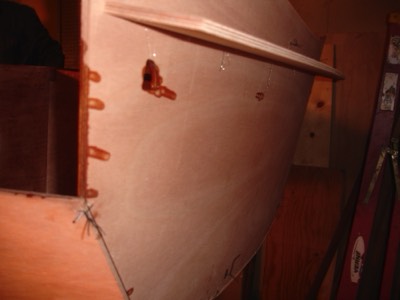
3/4/11 - The stem is filleted and taped.
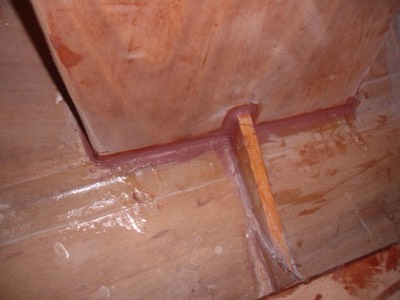
-
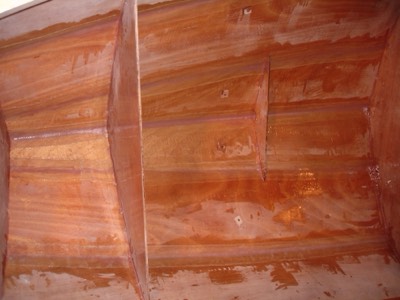
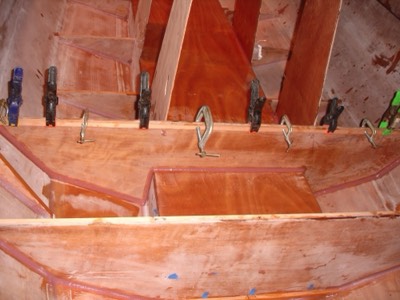
3/5/11 - The joints between the bulkheads are filleted.
-
3/6/11 - The rest of the bulkhead joints are filleted.
-
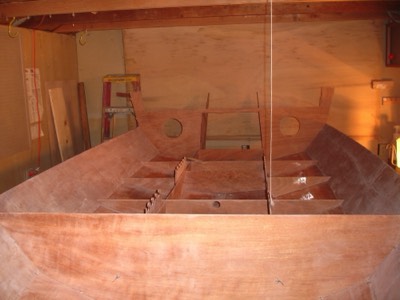
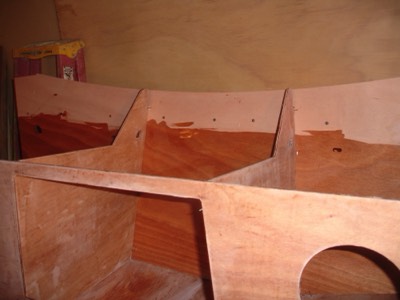
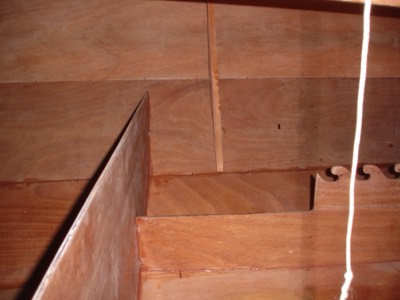
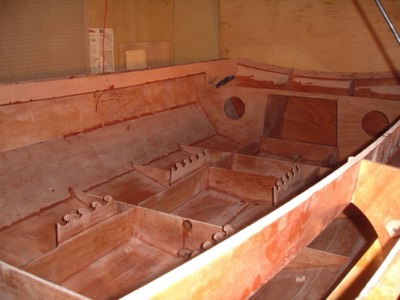
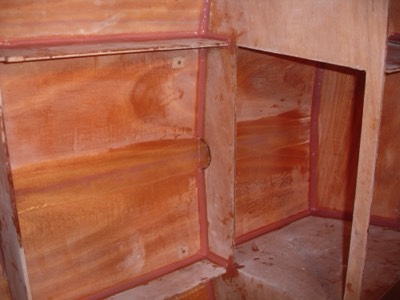
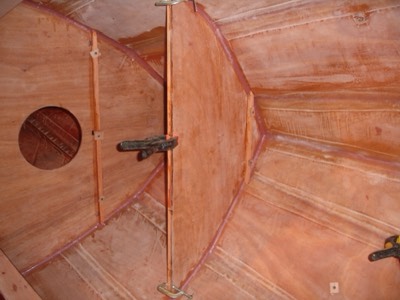
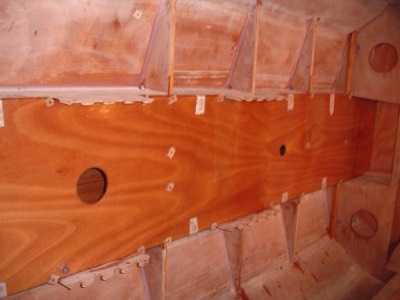
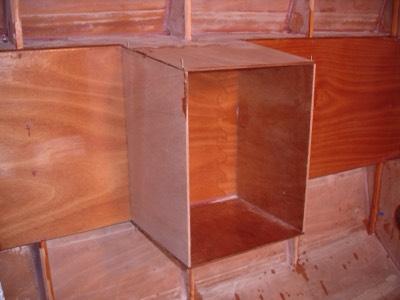
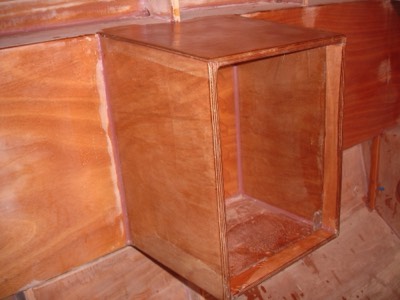
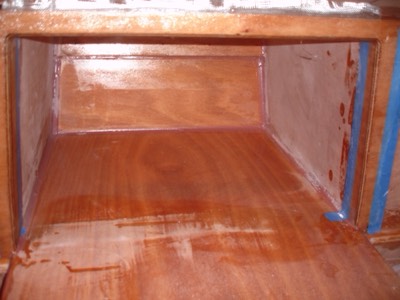
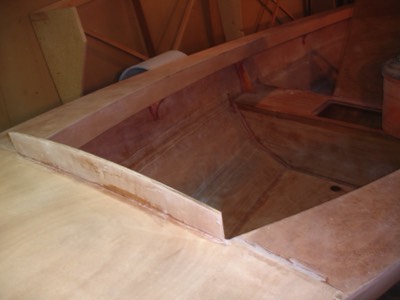
View of the water ballast area.
-
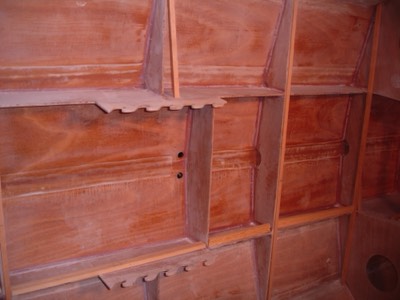
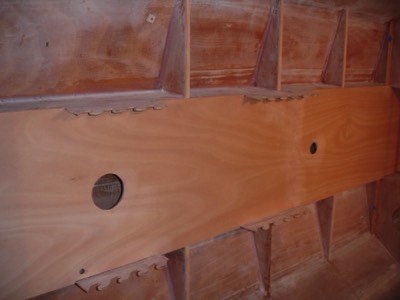
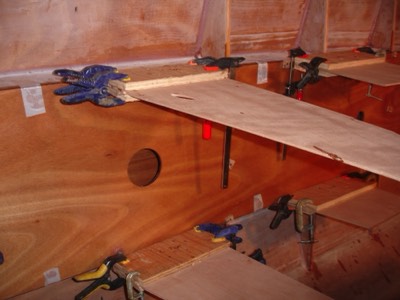
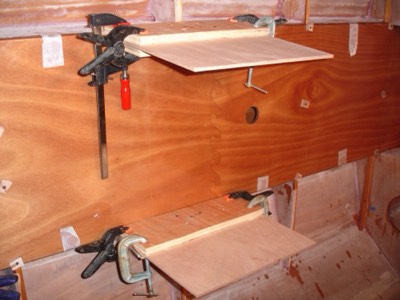
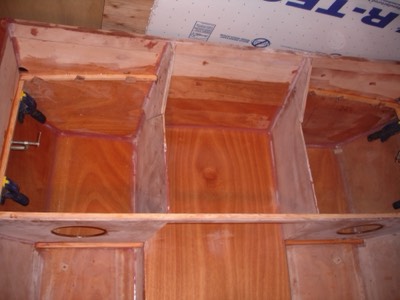
3/9/11 - Floorboard glue cleats are test fit before being glued in.
-
Glue cleats for the front seat and forward sole are glued in place.
-
The underside of the tank lid is fiberglassed.
-
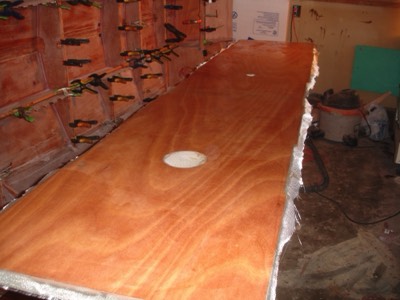
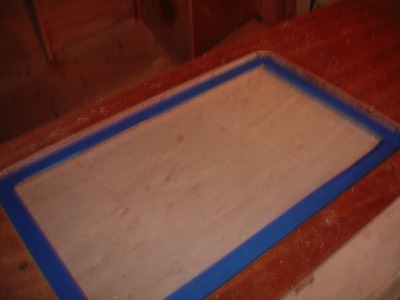
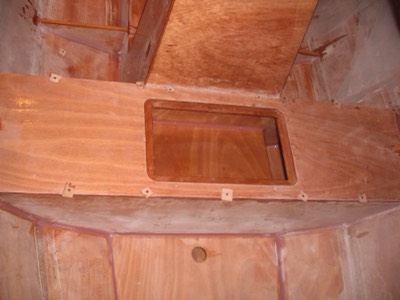
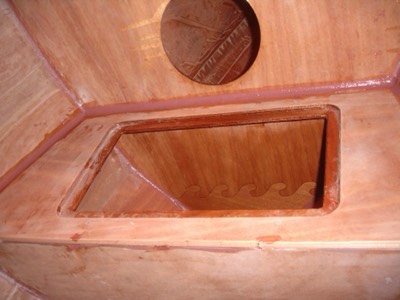
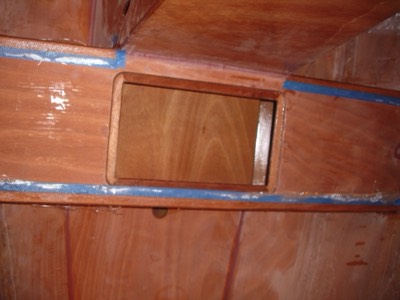
3/13/11 - The tank lid is test fit.
-
The top of the tank lid is fiberglassed.
-
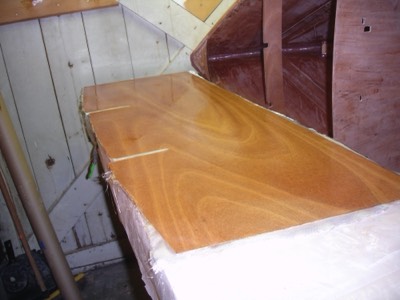
Close up of the edges that have been rounded over.
-
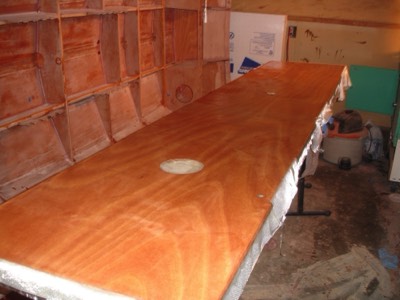
The tank lid is epoxied in place.


Link to full construction gallery.
-
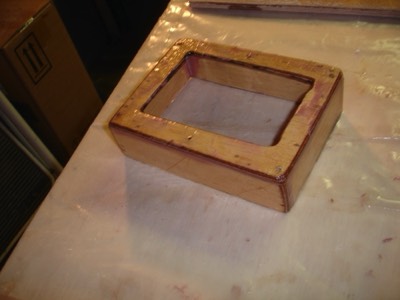
The steering consol side pieces are attached at the puzzle joint.
-
The driver's seat side pieces are attached.
-
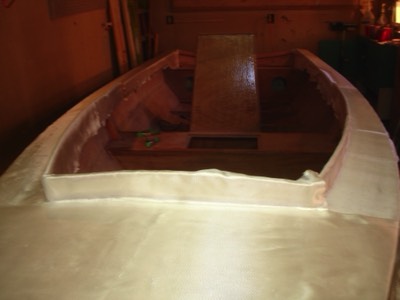
Fiberglassing complete.
-
Bulkhead #5 is fit into place.
-

Fillets are applied to all the seams.
-
Middle seat cleat is attached to bulkhead #5.
-
Floorboard cleats are glued onto bulkhead #5.
-
3/23/11 - The steering console front and top are attached.
-
The driver's seat sides are attached.
-
The forward sole is glued into place.
-

3/24/11 - Doublers are glued into place in the driver's seat.
-
The seats are fiberglassed.
-
The last two pieces of the console are glued in place.
-
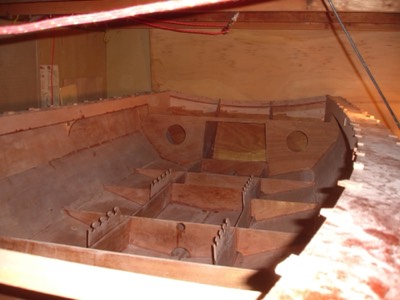
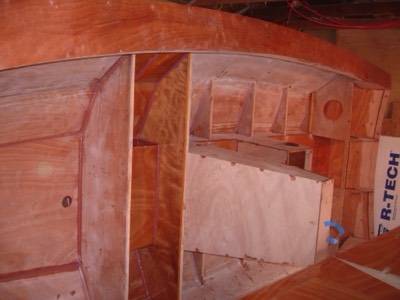
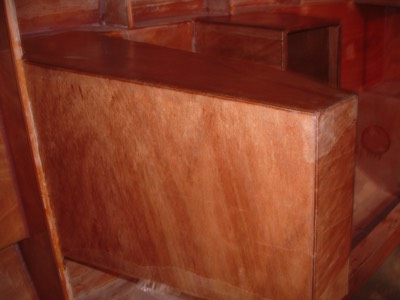
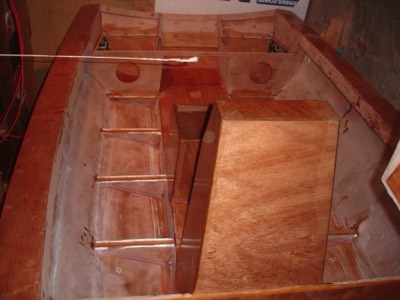
Overall view of the progress.
-
Overall view.
-
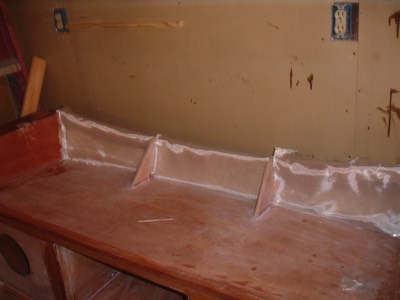
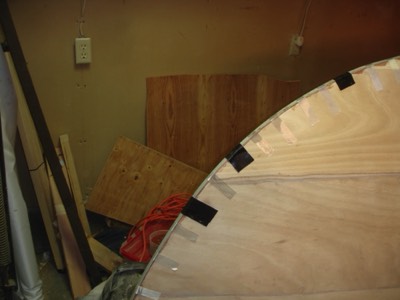
The top of the coamings are taped off.
-
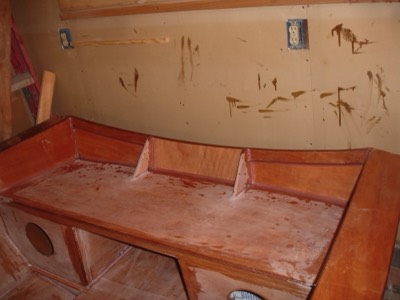
The coaming on the middle seat is glued in place.
-
The coaming on the forward seat is glued in place.
-
The aft seat is fiberglassed.
-

3/27/11 - The edges of the console are rounded and smoothed.
-
Other side of the console.
-
One side of the seat is fiberglassed.
-
3/28/11 - The console is fully fiberglassed.
-
The driver's seat is fully fiberglassed.
-

The underside of middle seat is fill coated.
-
Glue cleats are placed for the aft seat.
-
The cleats for the floorboards are fiberglassed.
-
Overall view.
-
The middle seat is glued in place.
-
The underside of the aft seat is fiberglassed.
-
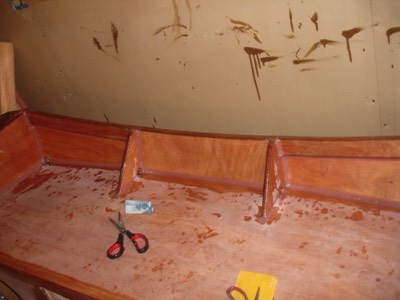
3/31/11 - The forward seat is filleted.
-
The middle seat is filleted.
-
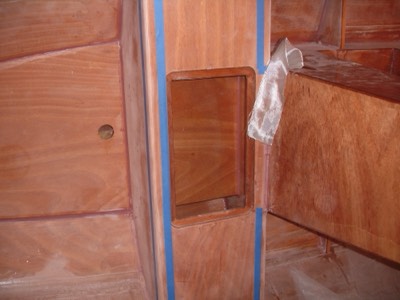
The fuse panel box is sealed with epoxy.
-
4/1/11 - The edges of the seats are rounded off and then taped off.
-
The seat edges are covered in fiberglass for abrasion protection.
-
The edges of the gas tank area are fiberglassed.
-
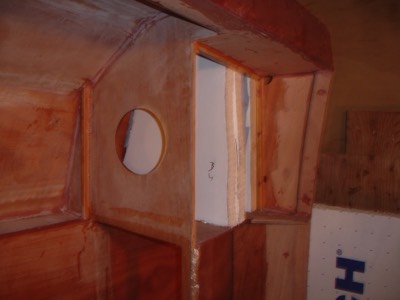
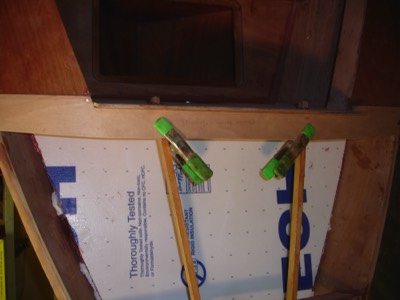
The aft compartments are partially filled with foam.
-
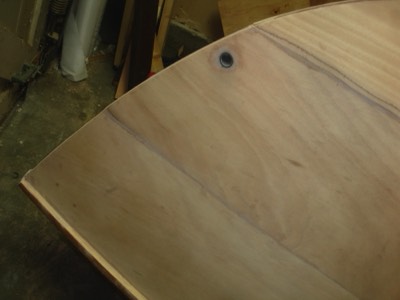
4/2/11 - A hole for line attachment is drilled.
-

Back seat edges are rounded off.
-

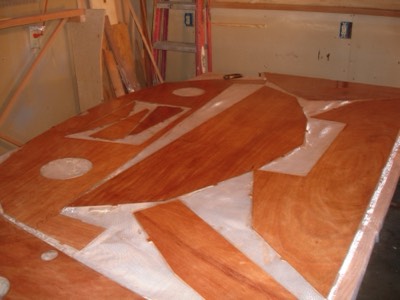
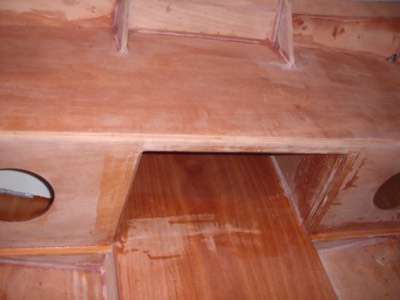
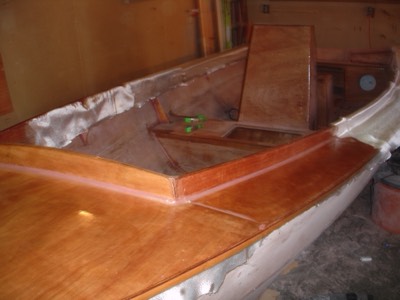
Framing for the forward deck is put in place.
-
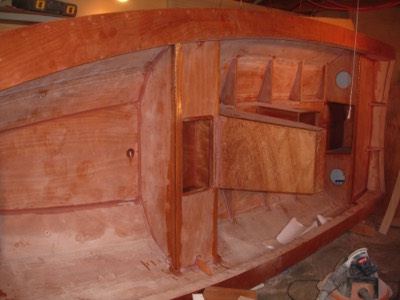
Overall view of the boat.
-
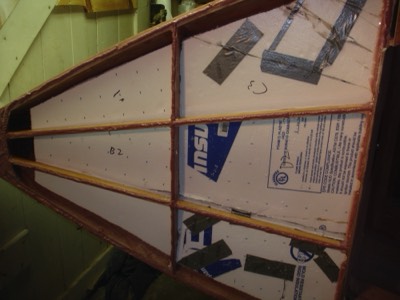
A temporary deck piece is in place for a "blind" fillet. Also you can see the first layer of floatation foam.
-
Glue is applied to the deck beams.
-
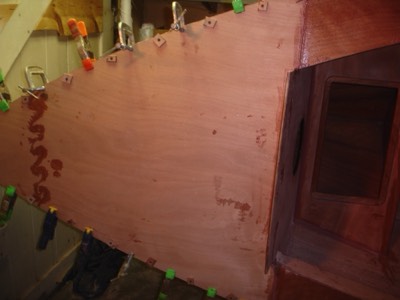
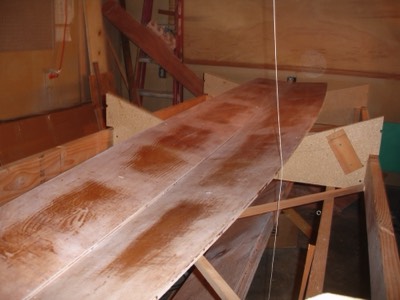
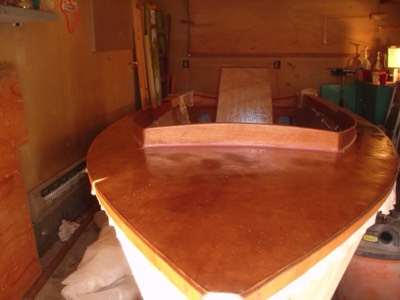
The foredeck is installed.
-
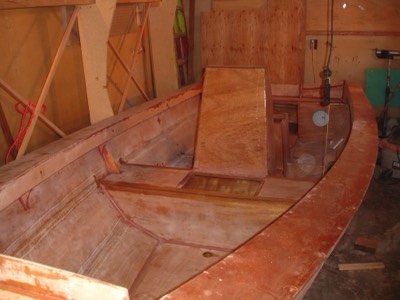
4/7/11 - The boat is right side up!
-
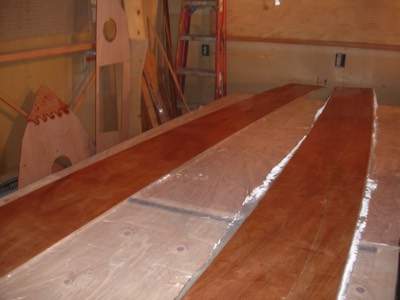
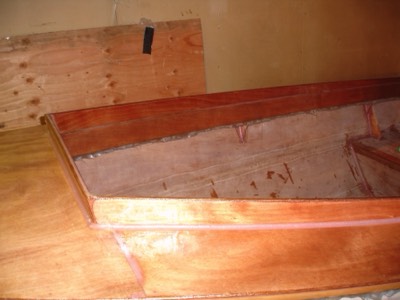
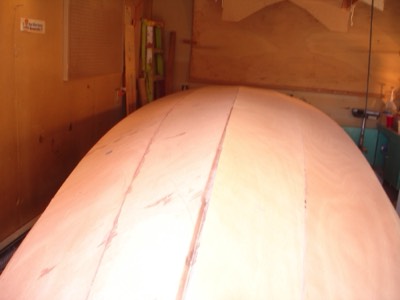
The fore and side decks are sanded.
-
The upper coaming pieces are glued in place.
-
Ready for epoxy.
-
Halfway done.
-
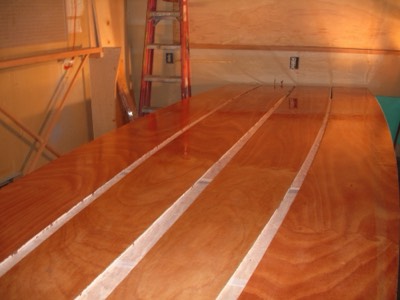
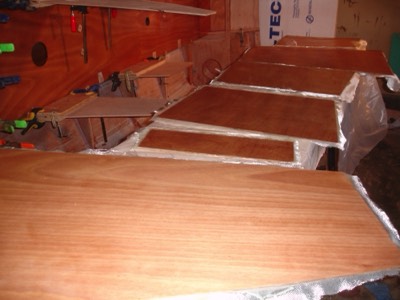
Almost all of the decks have been fiberglassed.
-
View of the finished coaming.
-

The last two sections of deck are prepped for fiberglassing.
-
4/10/11 - The transom area is ready for fiberglass.
-
Transom area is fiberglassed.
-
Topside construction is finished.
-
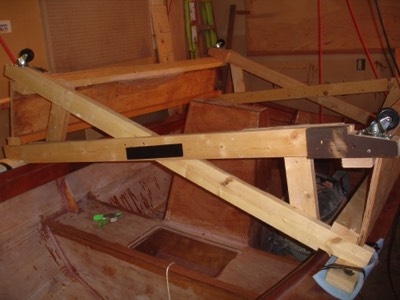
4/17/11 - A stand is built for when the boat is upside down.
-
4/18/11 - The boat is flipped over! There's a lot of sanding to come.
-
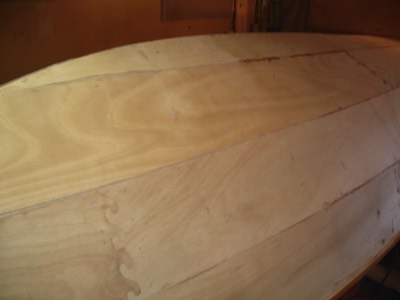
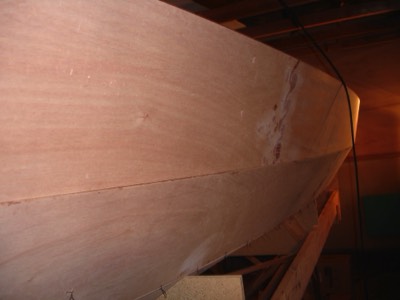
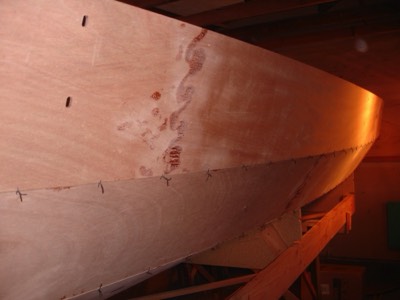
4/26/11 - One side of the hull is partially sanded.
-
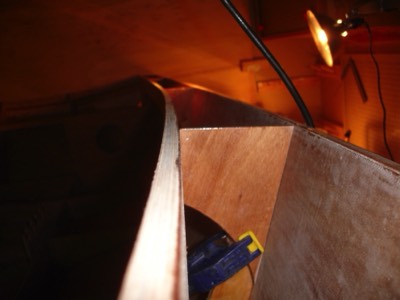
Close up of the bow.
-
Overall view.
-
A fiberglass rubstrip is installed.
-
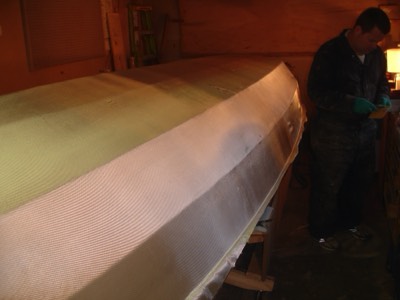
5/7/11 - The starboard half of the hull is ready for fiberglassing.
-
The fiberglass is wetted out.
-
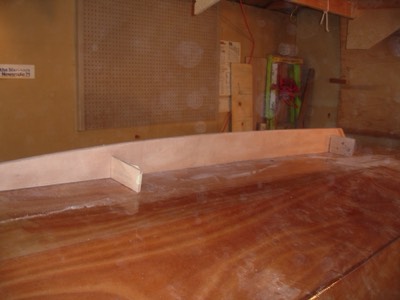
The skeg is installed.
-

The transom is saturated with epoxy.
-
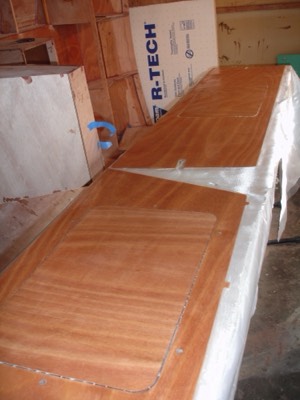
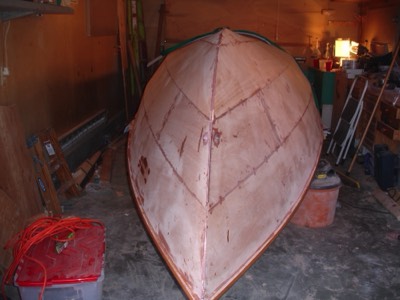
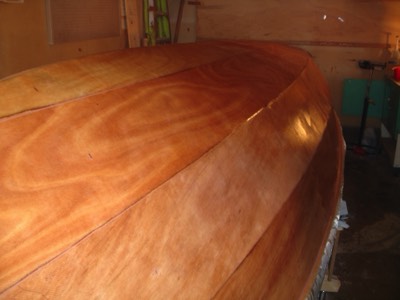
The hull has been varnished and painted.


Link to full construction gallery.