-
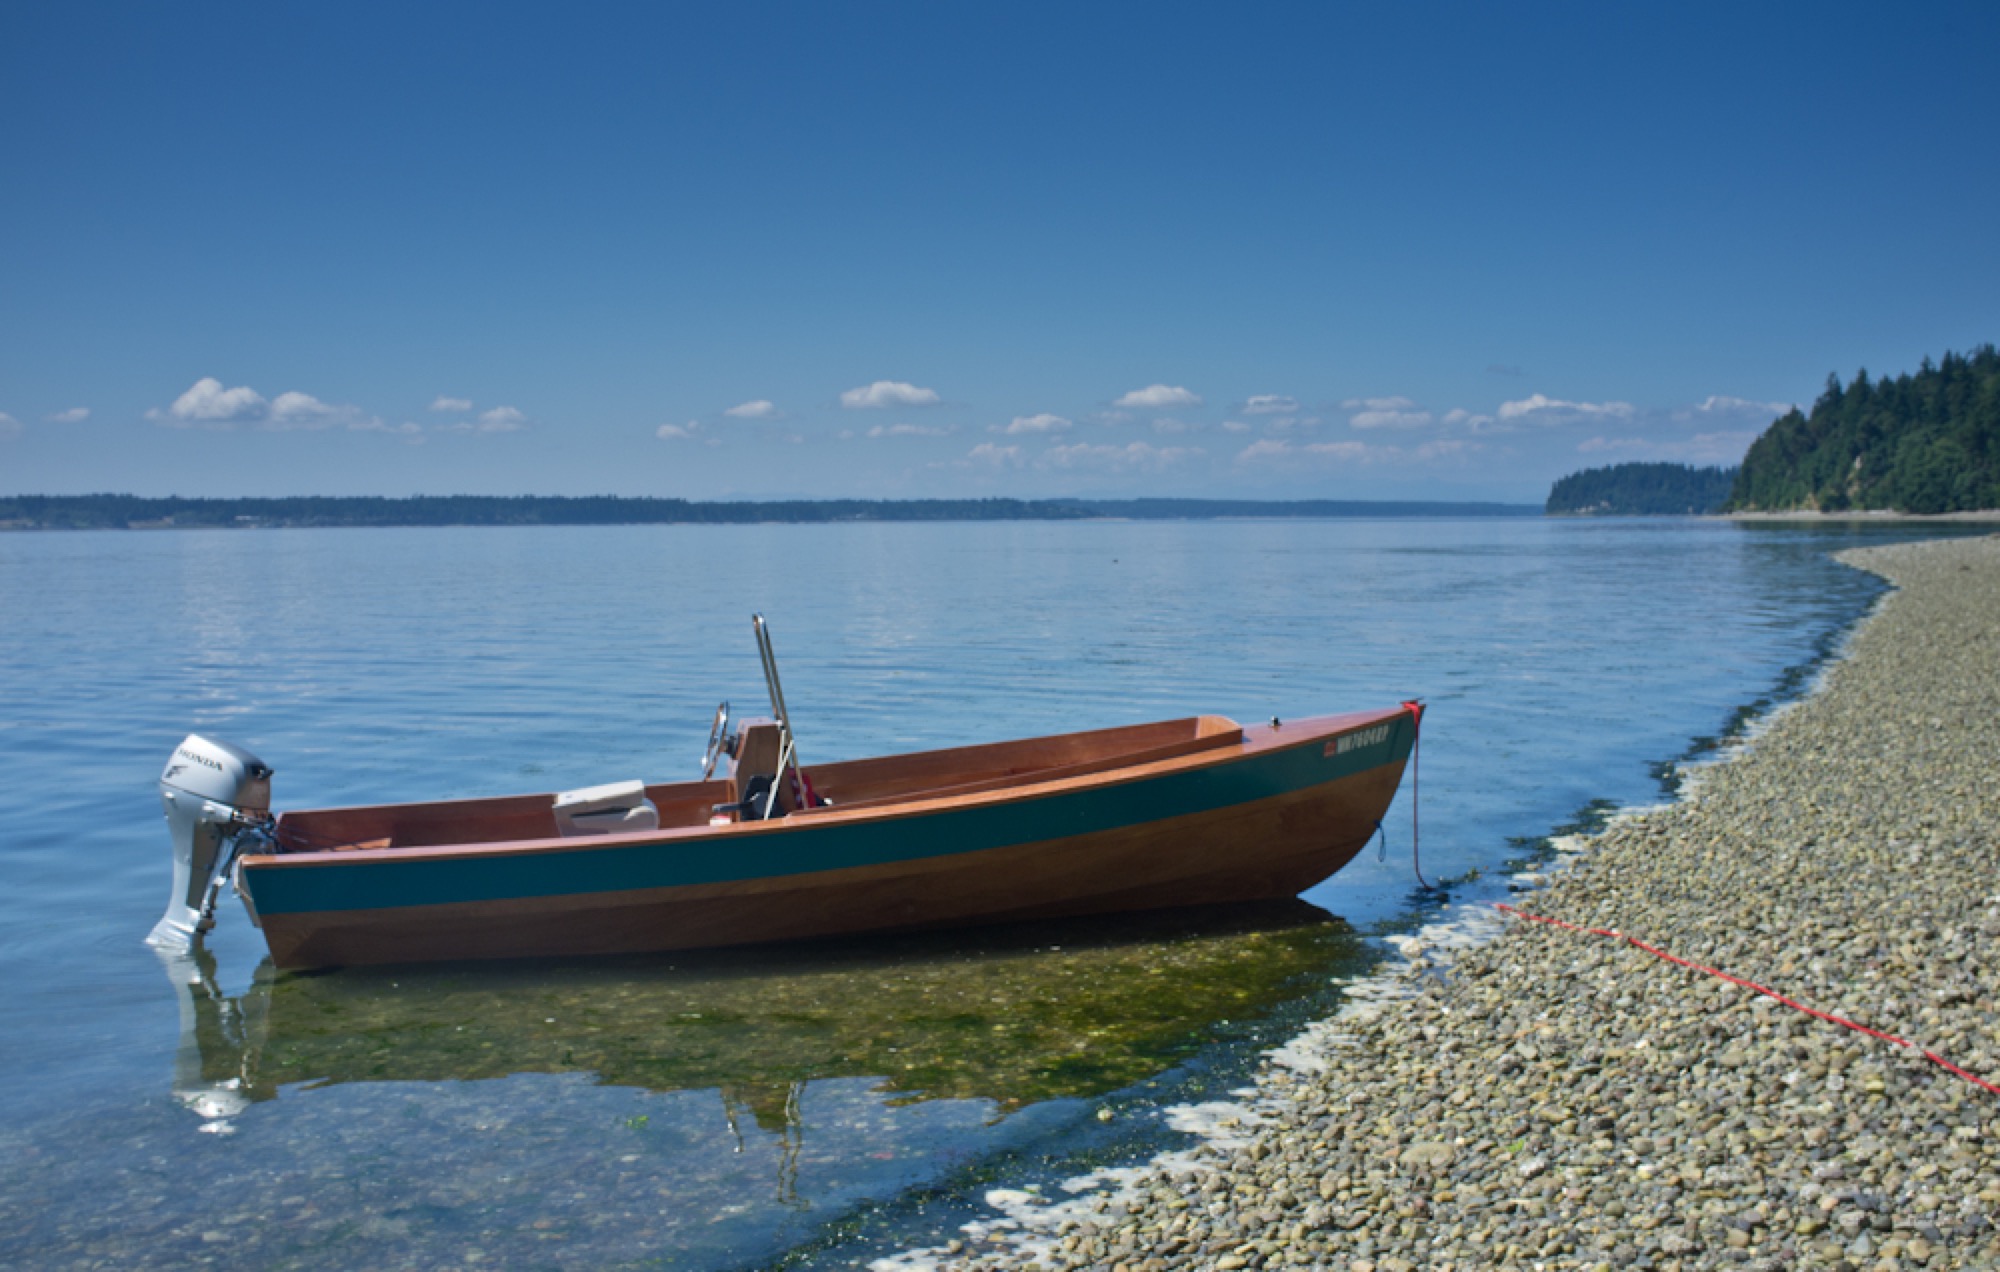
1/19/11 - The kit has arrived. What is packed in these three boxes will eventually become a boat!
-
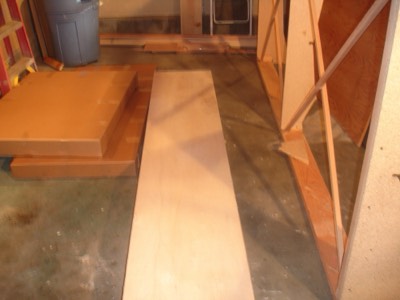
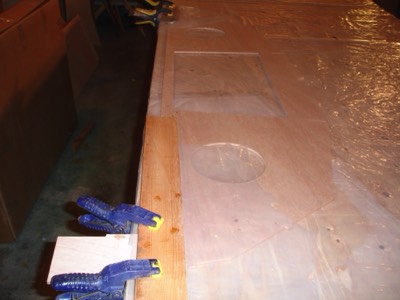
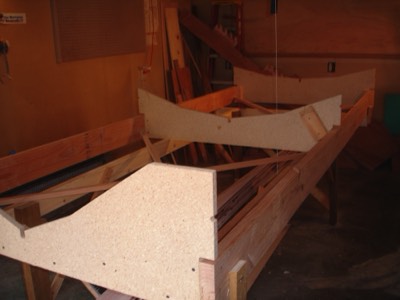
The construction talble is built. Camera problems left me with a blurred photo.
-
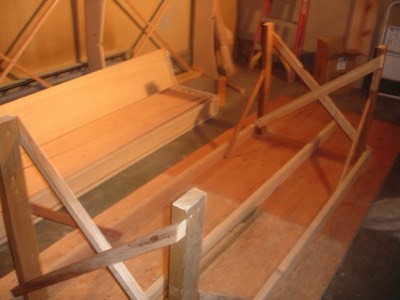
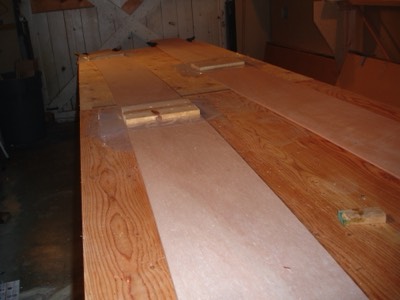
1/21/11 - The plans are laid out in preparation of opening up the kit.
-
Panels 1 and 2 are dry fitted.
-
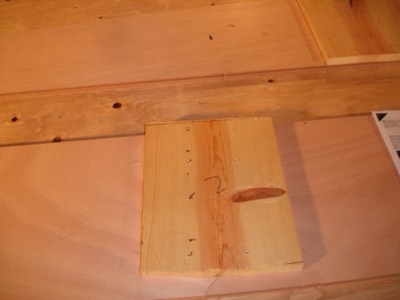
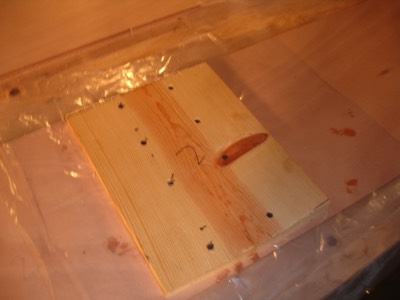
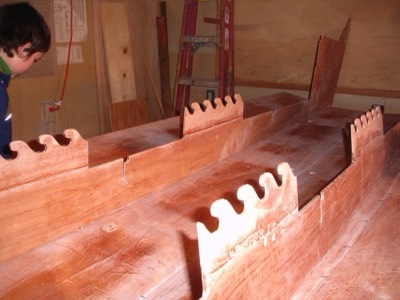
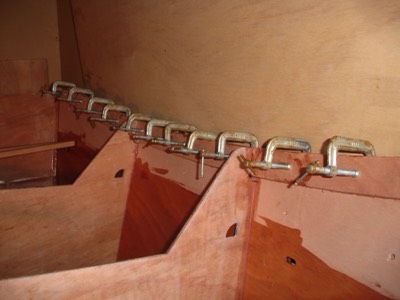
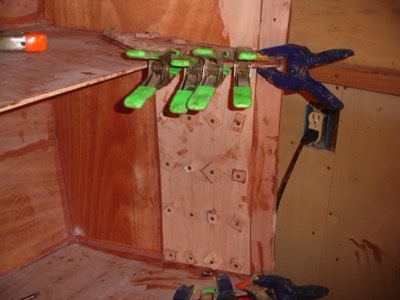
Pressure plates are pre-drilled. They keep clamping pressure on the puzzle joints.
-
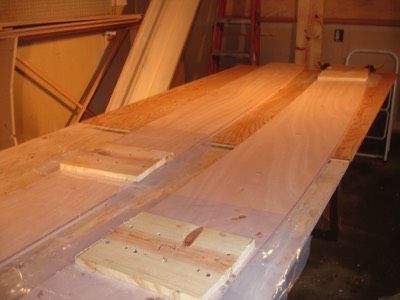
The puzzle joints on panels 1 and 2 are glued and clamped.
-
The puzzle joints on panels 1 and 2 are glued and clamped.
-
1/22/11 - The clamps are removed after the puzzle joints cured overnight.
-

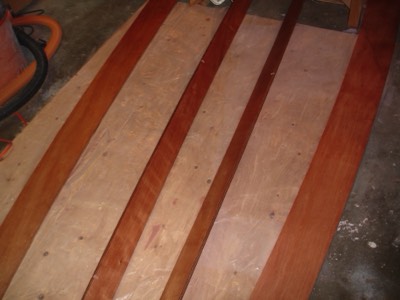
Panels 3 and 4 are glued together.
-
Looking back towards the bow. My workshop has just barely enough room.
-
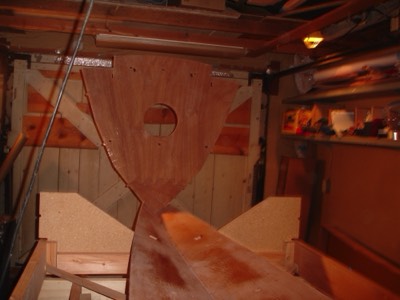
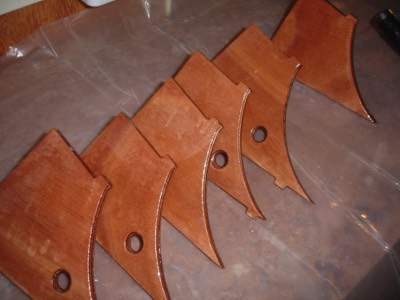
The puzzle joint on frame 1 is glued togther.
-
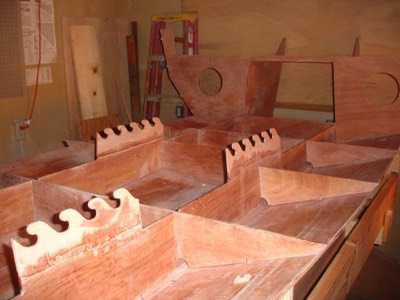
The puzzle joints on the longitudinal bulkheads are glued together.
-
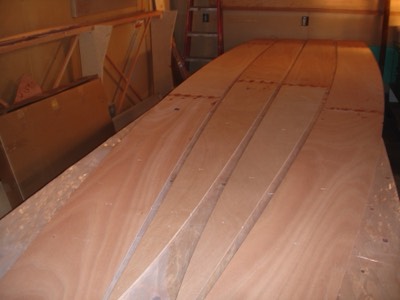
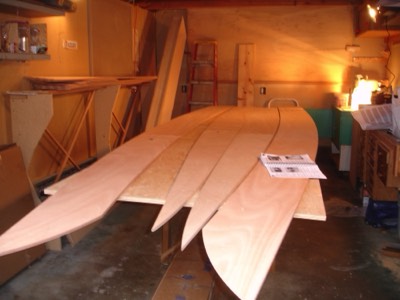
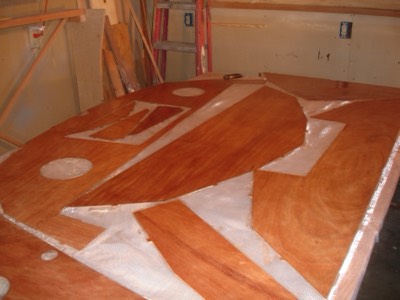
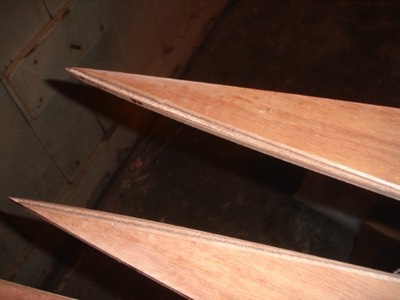
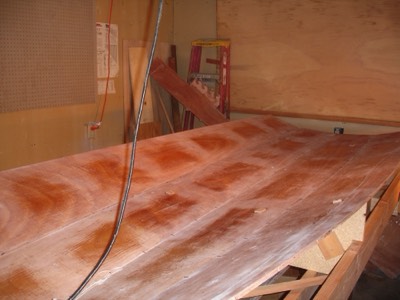
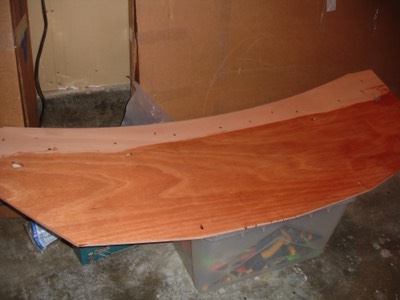
1/23/11 - Panels 1 and 2 are ready to be sanded.
-
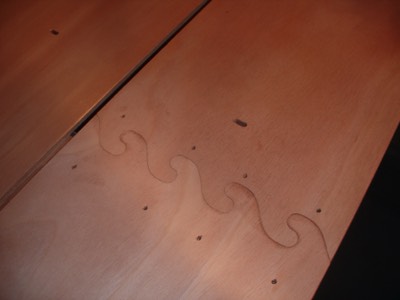
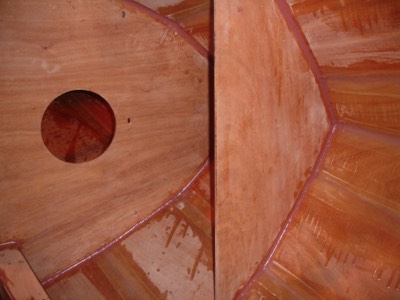
A puzzle joint after sanding.
-
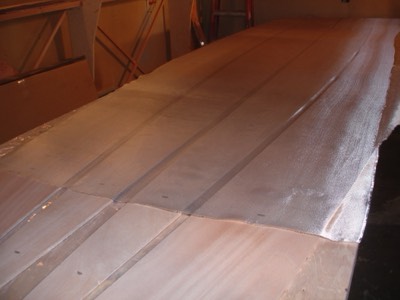
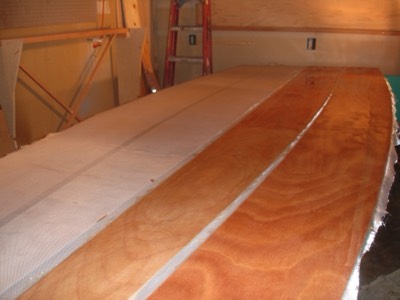
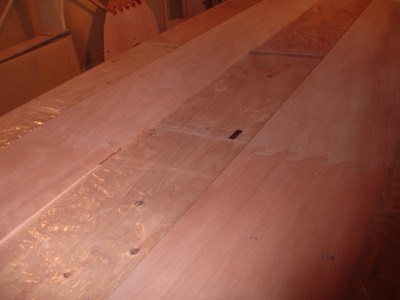
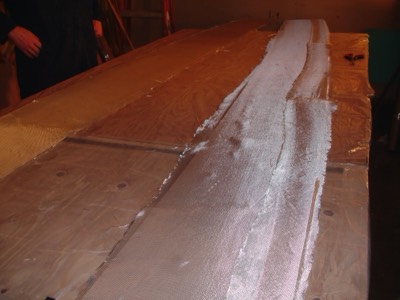
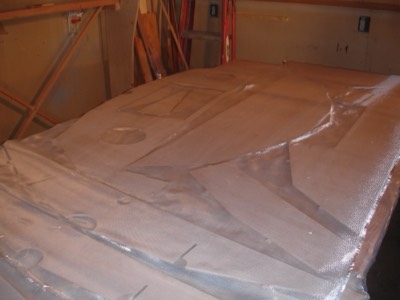
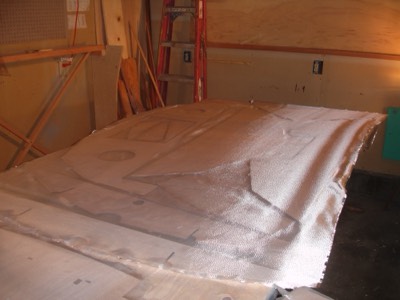
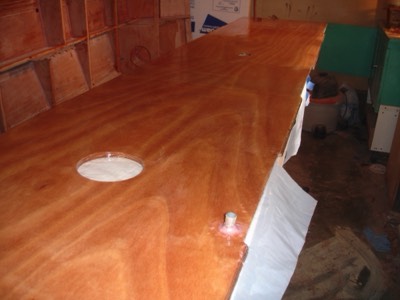
Fiberglass cloth is laid out on the panels. The front tips do not get fiberglassed, only sealed with epoxy.
-
The cloth is nice and smooth.
-
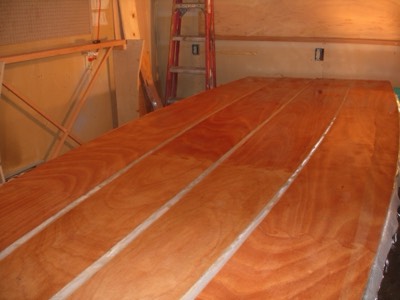
The fiberglassing is halfway done.
-
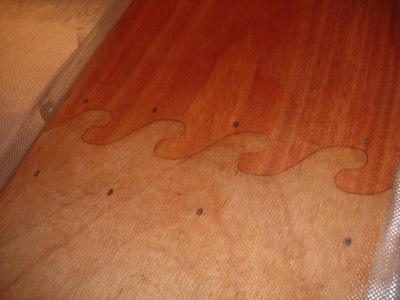
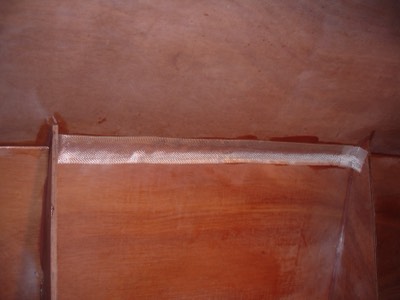
A close up of a puzzle joint after fiberglassing.
-
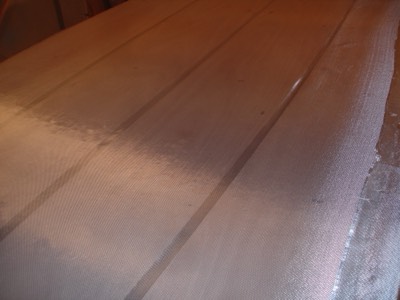
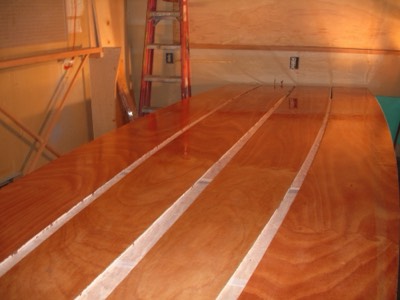
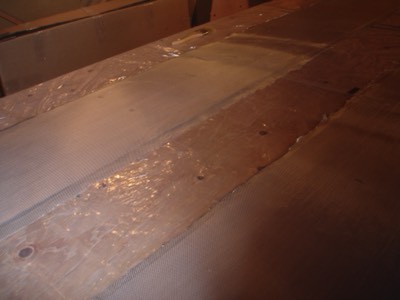
The cloth is all wetted out and set to cure.
-
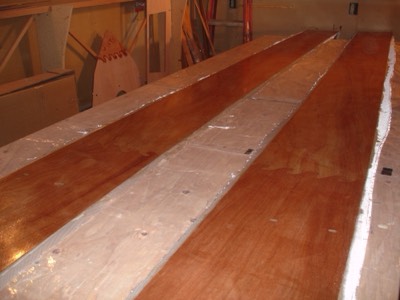
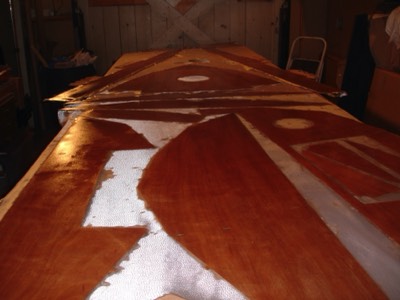
1/24/11 - The first fill coat is applied.
-
1/25/11 - Small parts of bulkhead 10 are glued in place.
-
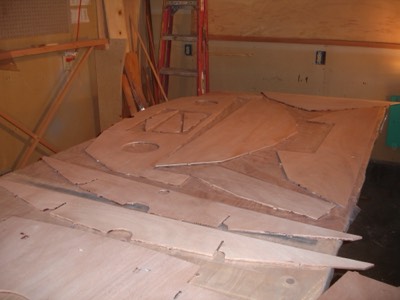
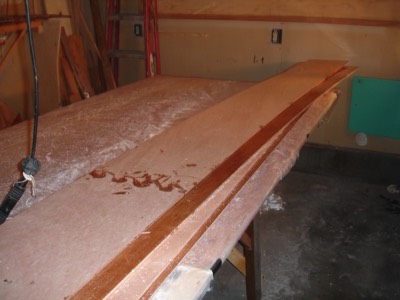
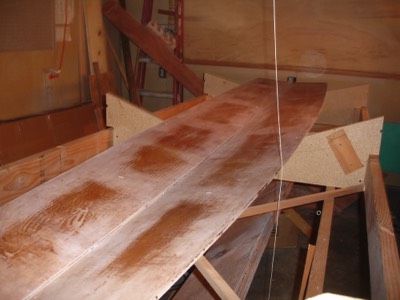
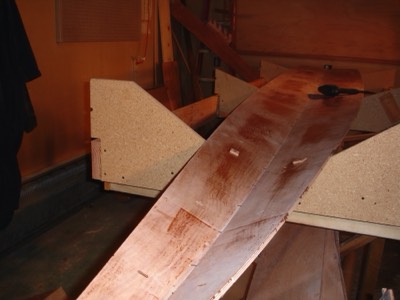
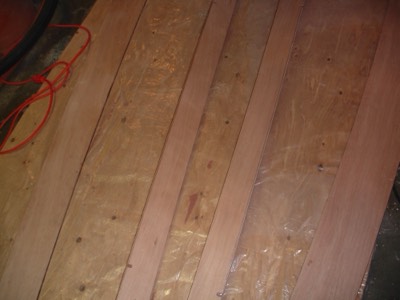
1/26/11 - The two number 4 panels are sanded. There wasn't enough room on the table to do 3 and 4 together.
-
Fiberglass cloth is laid out over the panels.
-
The cloth is wetted out with epoxy.
-
1/28/11 - Fiberglass cloth is laid out onto the number 3 panels.
-
The cloth is wetted out with epoxy.
-
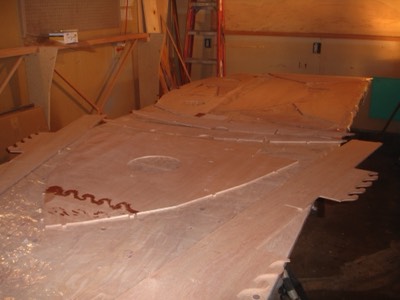
1/29/11 - The bulkheads are laid out for fiberglassing.
-
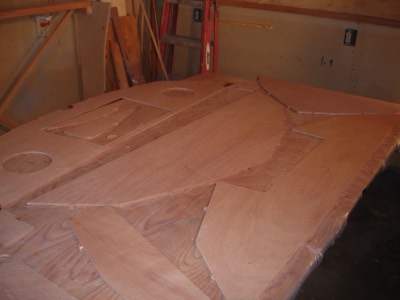
View of the rest of the bulkheads.
-
Fiberglass cloth is rolled out.
-
The cloth is all wetted out.
-
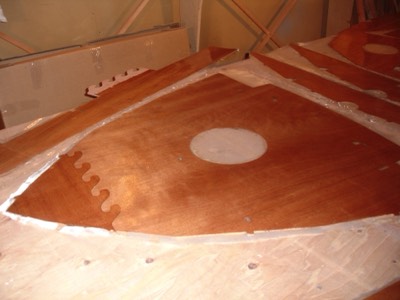
Bulkhead #1
-
1/30/11 - The reverse sides of the bulkheads are sanded.
-
Fiberglass cloth is laid out.
-
1/31/11 - The reverse sides of the bulkheads is fiberglassed.
-
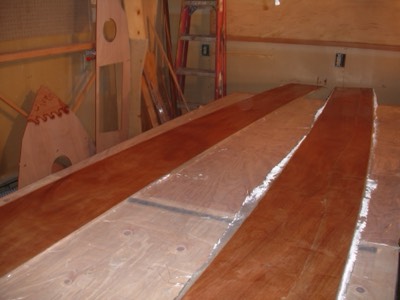
2/2/11 - The hull panesl are ready to be sanded.
-
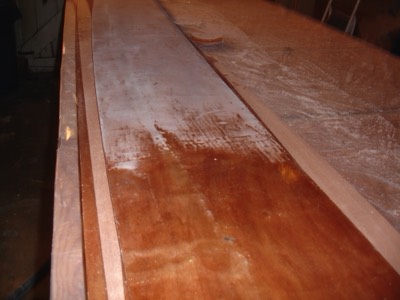
Before and after sanding.
-
2/4/11 - The tips of #1 panels are tapered.
-
Goodbye to the table, hello to the cradle.
-
#1 panels are laid in the cradle
-
#1 panels are wired together and screwed into place on the cradle
-

#1 bulkhead is wired into place.
-

It looks precarious up there.
-
Port #2 panel is wired into place.
-
Both #2 panels are wired in place.
-

2/5/11 - Bulkhead # 2 is wired in place.
-
The longitudinal pieces are put in place.
-
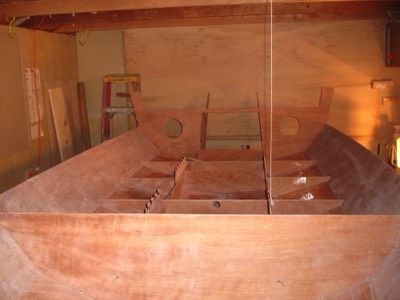
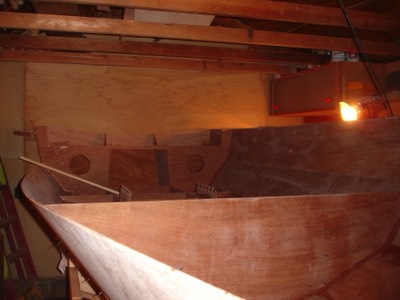
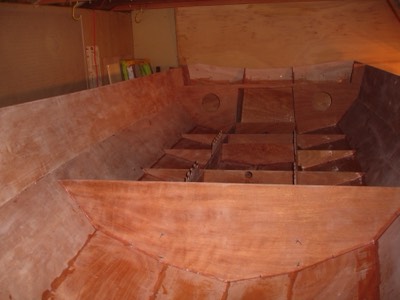
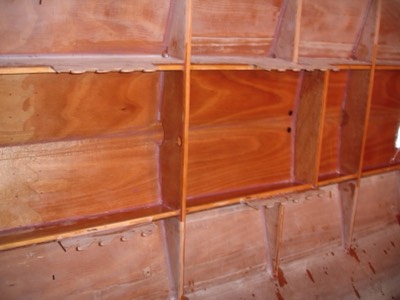
The rest of the bulkheads except #5 are wired in place.
-
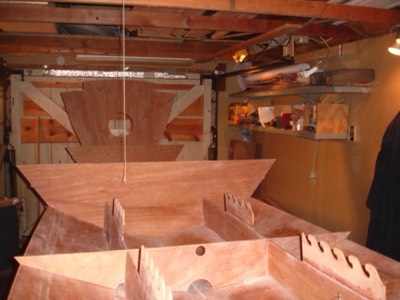
View looking forward.
-
Bulkheads 1 and 3.
-
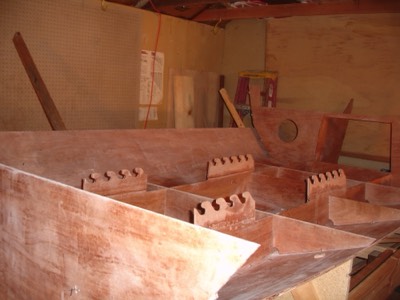
2/6/11 - The starboard #3 panel is held temporarily in place.
-
Both #3 panels are wired into place.
-
The transom gets a seal coat of epoxy.
-
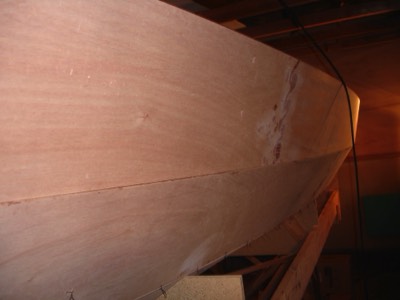
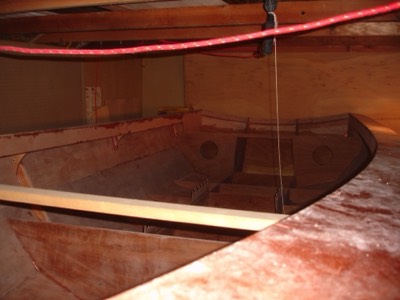
The boat is really taking shape now.
-
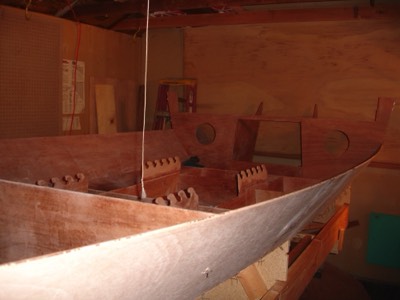
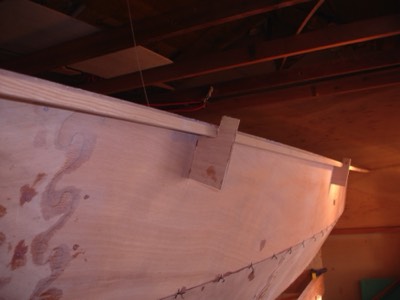
2/7/11 - The transom is wired into place.
-
The piece on the back of the transom is temporary and will come off when the epoxy in the seams has fully cured.
-
2/9/11 - The side decks and coamings are glued to full length.
-
Side supports are fiberglassed.
-
2/10/11 - The #4 panel is put in place.
-
#4 panel is wired in place.
-
View from the inside.
-
Both panels are wired into place.
-
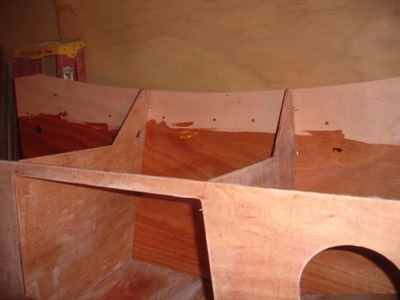
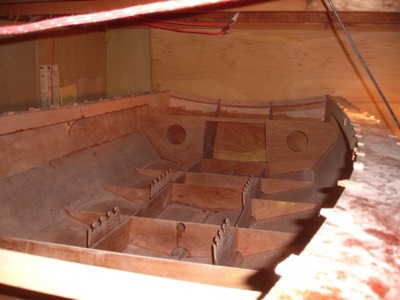
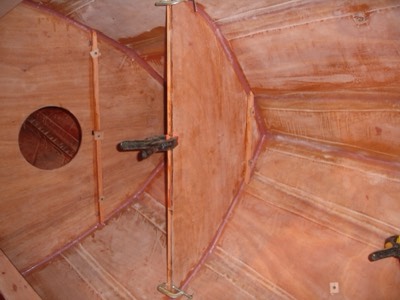
View of the forward compartment.
-
The seam between #4 and #3 is glued as is the entire bow section.
-
2/10/11 - One of the coamings is laminated from two pieces.
-
Many small parts are given a coat of epoxy.
-
The side decks are fiberglassed for extra protection.
-
Ribs are installed on either side of the boat.
-
The transom reinforcements are installed.
-
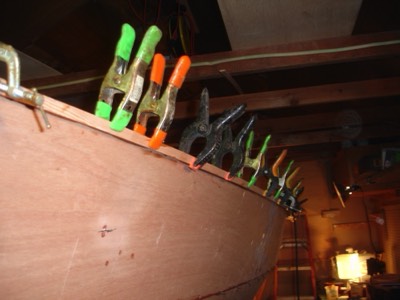
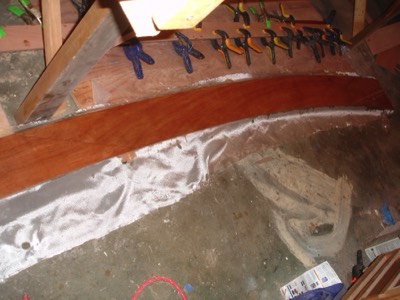
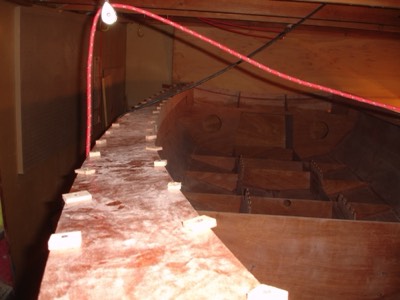
2/13/11 - The port rubrail is glued in place.
-
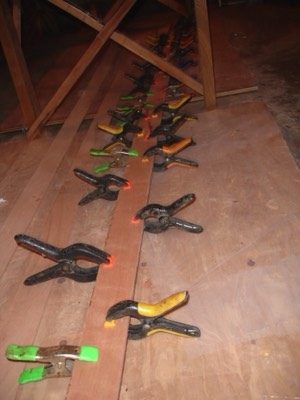
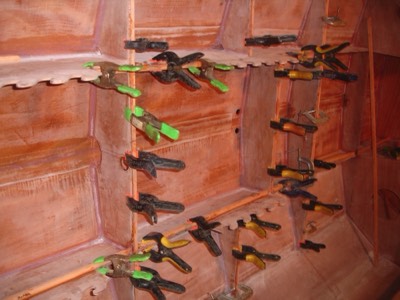
The starboard rubrail is glued in place. This is a graphic demonstration of the old adage, "you can never have too many clamps when building a boat."
-
Side decks and coamings are ready for fill coats.
-
2/14/11 - The coaming gussets are given 3 coats of epoxy.
-
The underside of the side decks and inside of the coamings are given 3 coats of epoxy.
-
2/18/11 - The coamings and gussets are fit into place.
-
Coamings on both sides, ready for the side decks.
-
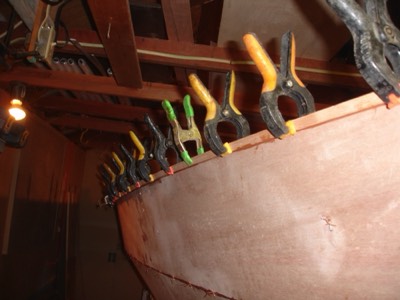
2/19/11 - Rubrails are reinstalled correctly.
-

Lots of clamps.
-
2/20/11 - The starboard side deck is temporarily screwed into place.
-
2/21/11 - The side decks are epoxied into place.
-
2/23/11 - The screws that were holding the side decks in place are removed.
-
The boat is lowered and tilted so the wires can be clipped and the seams glued.
-
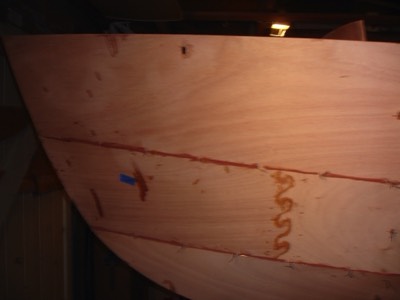
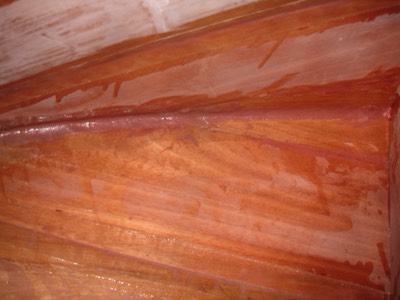
The outside of the seams are glued.
-
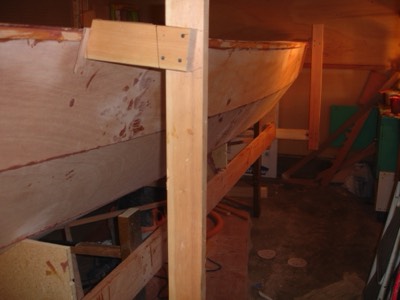
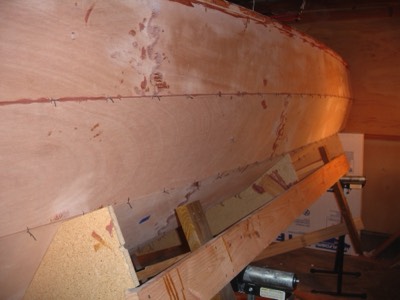
02/25/11 - Stands for when the boat is on its side are built.
-
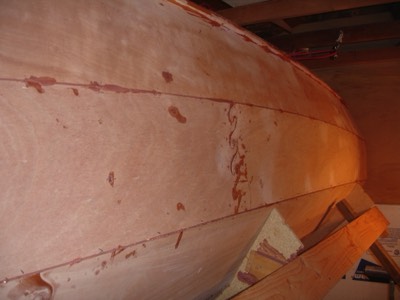
The boat is tilted on its side. It will be like this almost until the end.
-
2/26/11 - The motorblocking is installed.
-
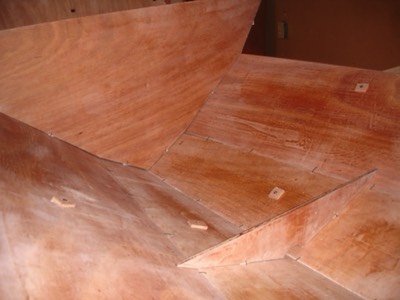
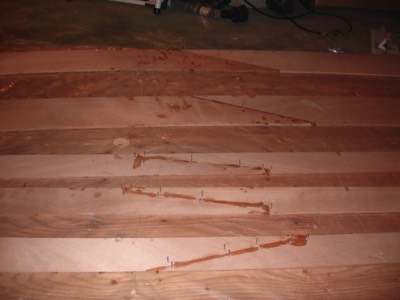
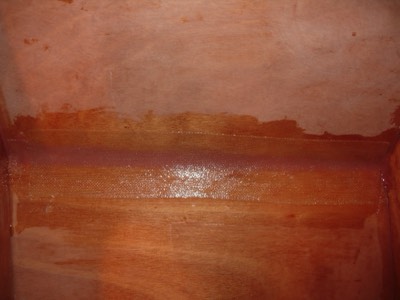
2/28/11 - A piece of fiberglass tape is stuck onto an epoxy fillet on the seam between panels.
-
Several seams have been filleted and taped.
-
3/1/11 - Upclose of a filleted and taped seam.
-
Several more seams have been taped.
-
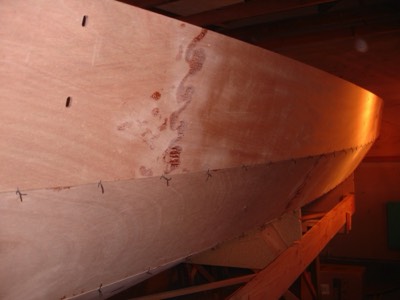
3/3/11 - Chine seams are taped in the forward part of the boat.
-
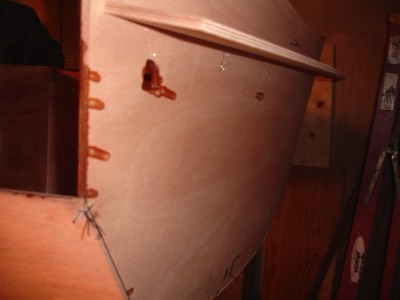
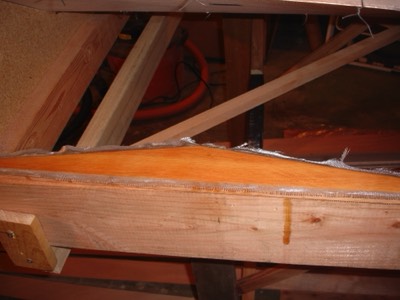
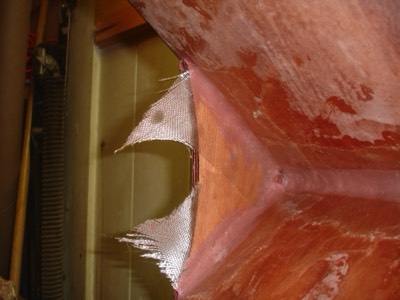
3/4/11 - The stem is filleted and taped.
-
The underside of the breasthook is filleted and taped.
-
3/5/11 - The joints between the bulkheads are filleted.
-
3/6/11 - The rest of the bulkhead joints are filleted.
-
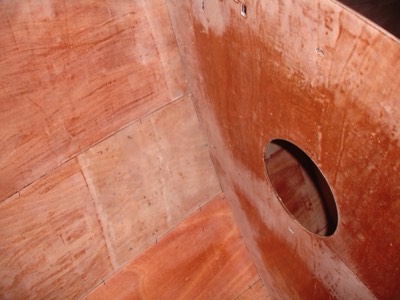
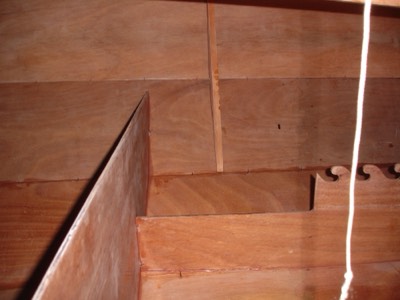
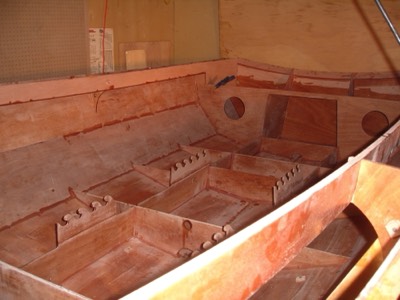
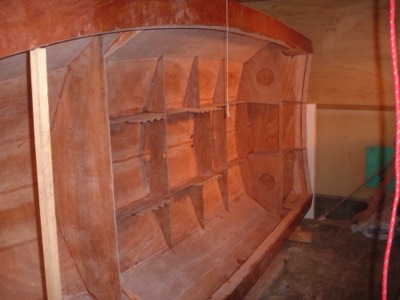
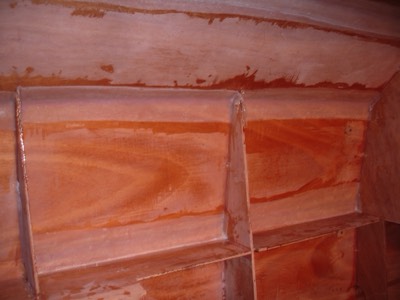
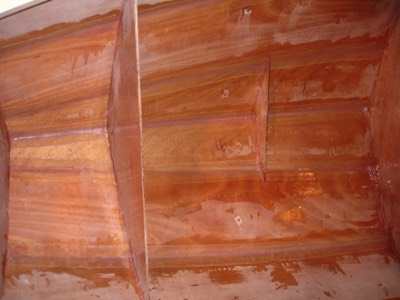
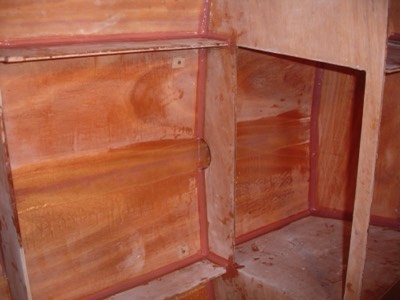
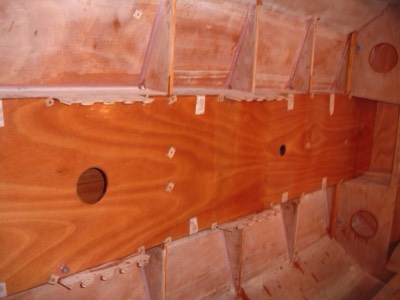
View of the water ballast area.
-
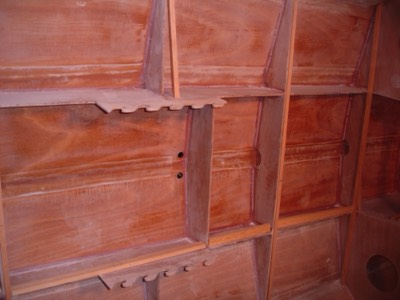
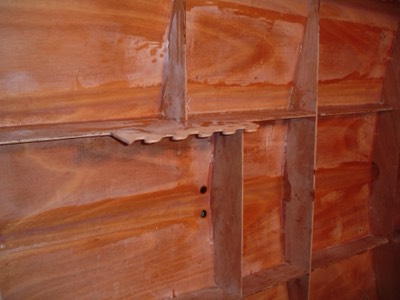
3/9/11 - Floorboard glue cleats are test fit before being glued in.
-
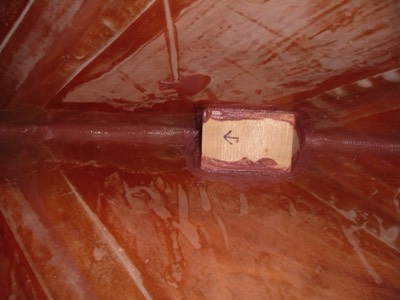
A reinforceing block is epoxied into the bow. This will have a hole drilled in it to serve as a place for a line to be attached.
-
3/12/11 - Glue cleats for the tank lid and floor grates are glued in place.
-

More glue cleats.
-
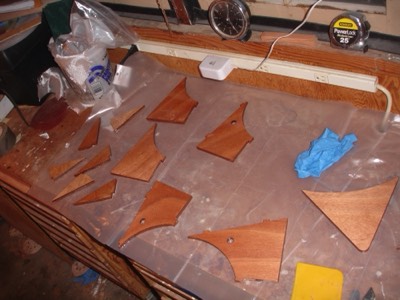
Glue cleats for the front seat and forward sole are glued in place.
-
The underside of the tank lid is fiberglassed.
-
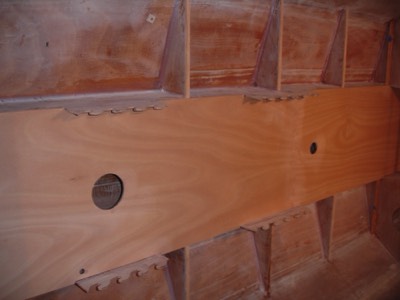
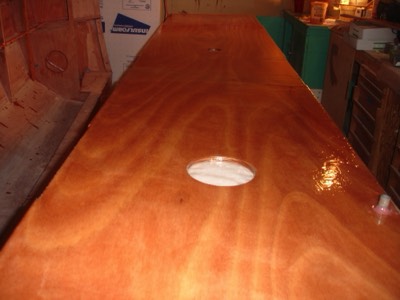
3/13/11 - The tank lid is test fit.
-
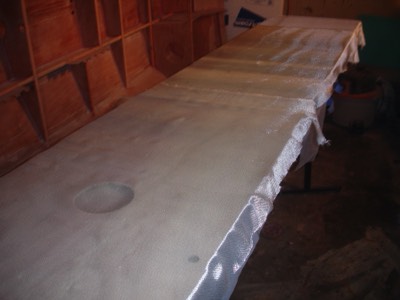
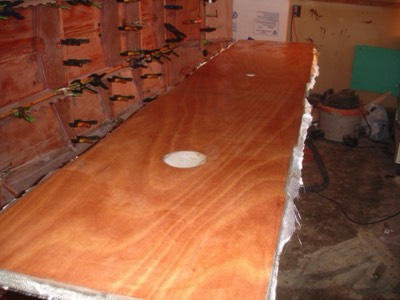
Fiberglass cloth is laid on the tank lid.
-
The top of the tank lid is fiberglassed.
-
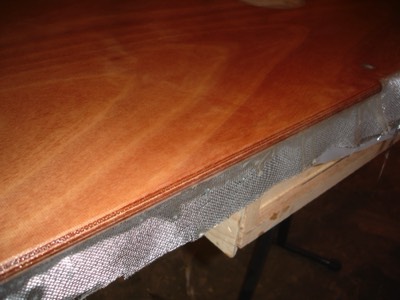
Close up of the edges that have been rounded over.
-
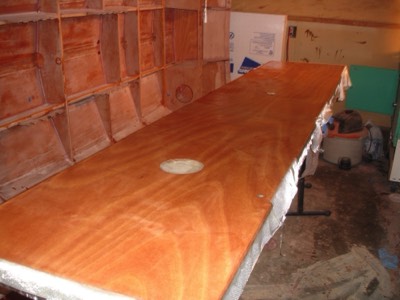
3/14/11 - The top of the tank lid is given a fill coat. Also, the ballast tank valve is epoxied into place.
-
A second fill coat is applied.
-
4/16/11 - The area covered by the tank lid is given a final thin coat of epoxy.
-
The tank lid is epoxied in place.