-
11/5/19 - The project begins.
-
11/12/19 - The hull seams are filled with epoxy.
-
11/13/19 - Rudder trunk pieces are fiberglassed.
-
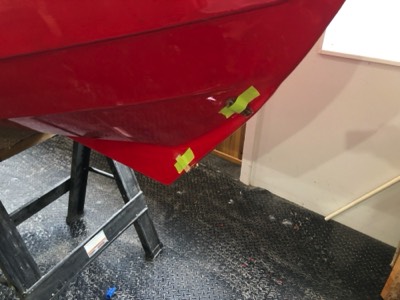
Skeg wormshoe is epoxied in place.
-
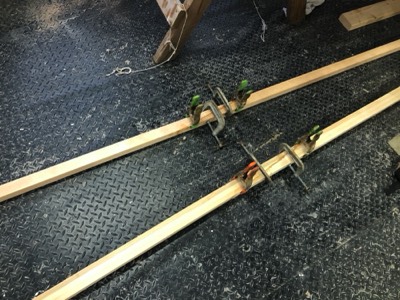
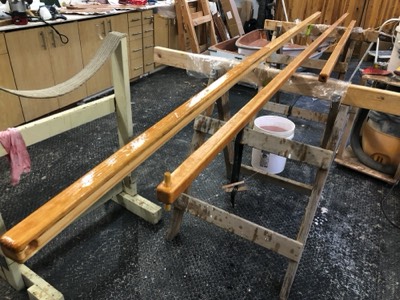
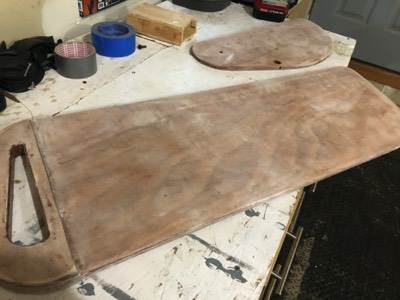
The spars are epoxied to full length.
-
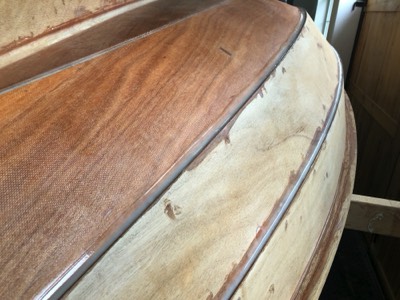
11/16/19 - The first seal coat of epoxy is applied to the hull.
-

11/17/19 - The second seal coat is applied.
-

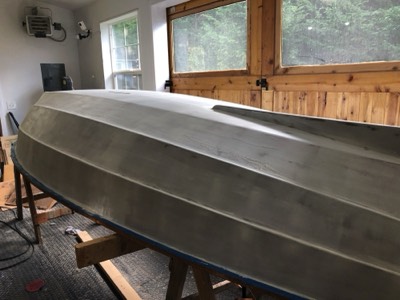
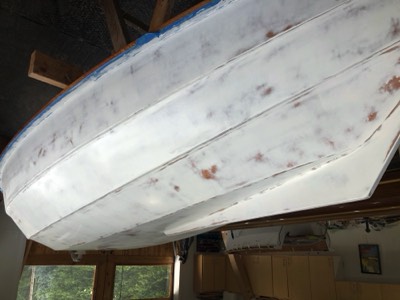
11/20/19 - The hull is partially sanded.
-
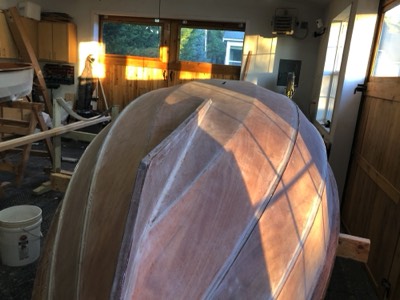
The hull is sanded and ready for primer.
-
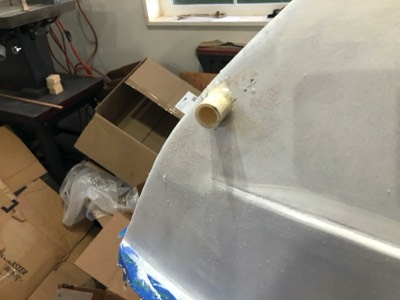
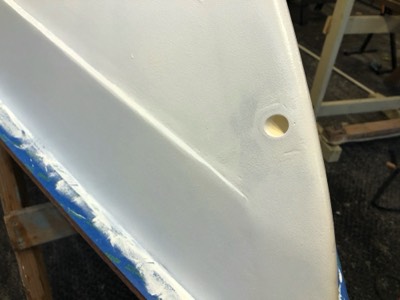
11/24/19 - A PVC tow eye is installed.
-
11/25/19 - The first coat of primer is sanded.
-
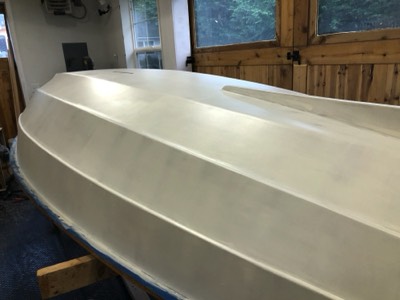
Second coat of primer is applied.
-
PVC is trimmed and sanded.
-
11/26/19 - The primer is sanded.
-
11/27/19 - The first coat of paint is appiled.
-
12/1/19 - The second coat of paint is on.
-
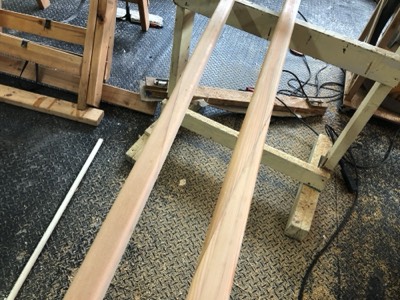
12/3/19 - The spars are sanded.
-
Four coats of paint are applied.
-
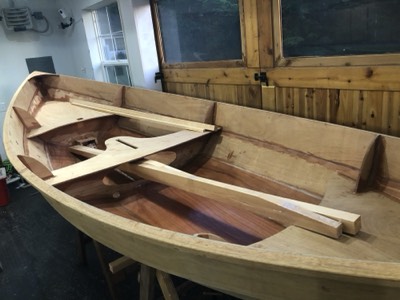
12/5/19 - Work on the interior begins!
-
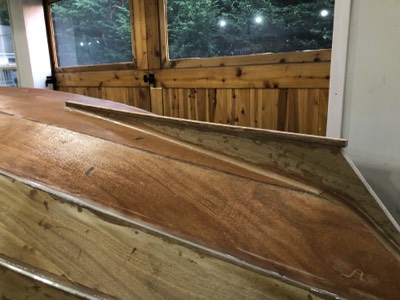
One seal coat of epoxy is applied.
-
Two seal coats of epoxy.
-
12/6/19 - The first seal coat of epoxy is applied to the spars.
-
-

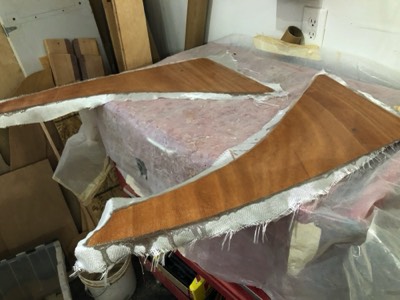
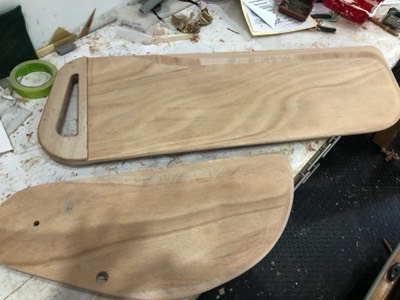
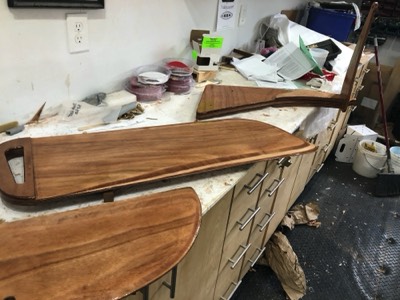
Foils are fiberglassed.
-
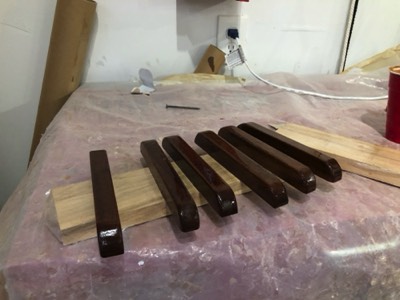
Mahogany footbraces are sealed with epoxy.
-
12/10/19 - Seal coats of epoxy are applied.
-
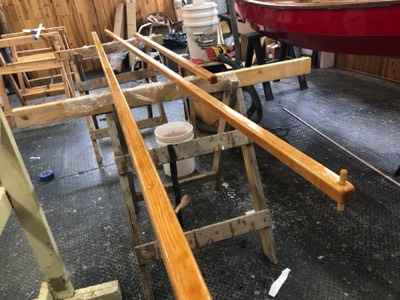
Final seal coat of epoxy is applied to the spars.
-
Spacers for rudder gudgeons are epoxied in place.
-
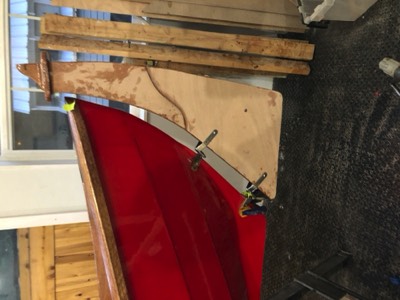
The rudder is test mounted.
-
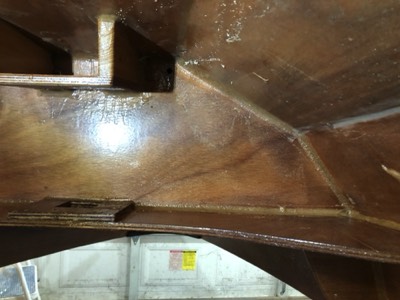
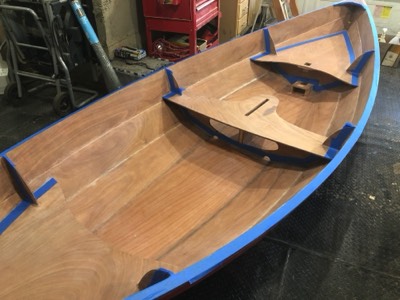
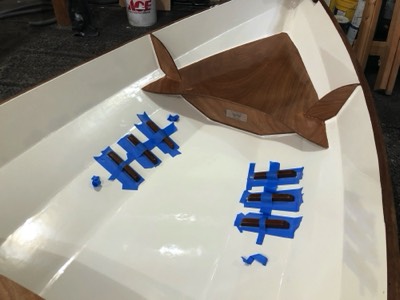
3/11/20 - The underside of the seat/bulkhead joint is filletted.
-
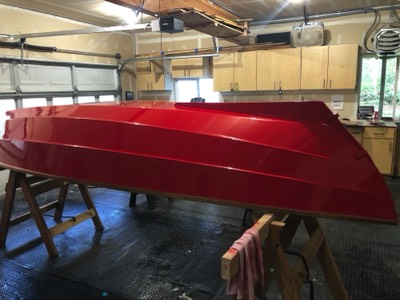
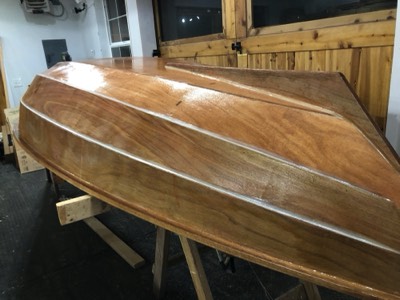
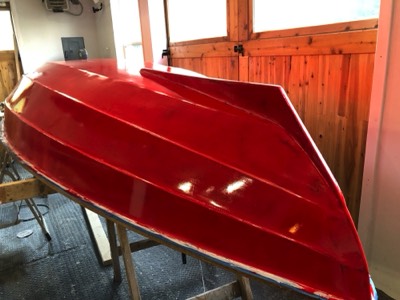
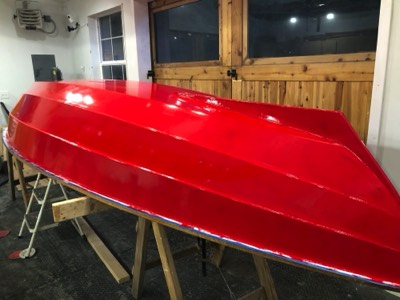
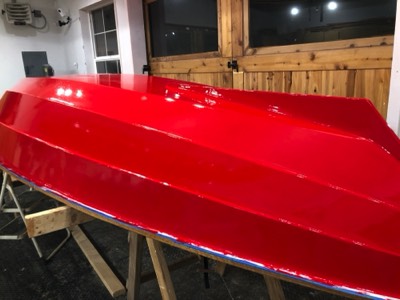
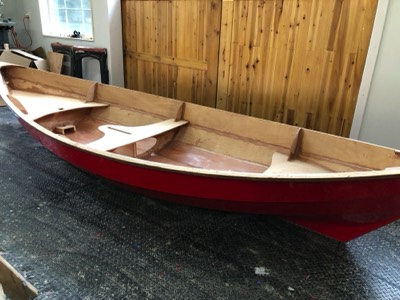
3/12/20 - The final coat of paint is applied to the hull.
-
3/14/20 - The foils are sanded.
-
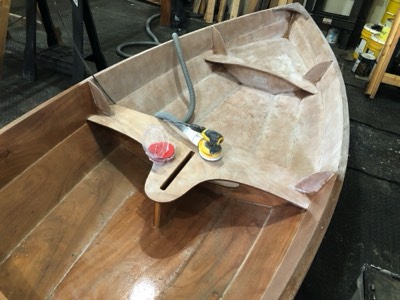
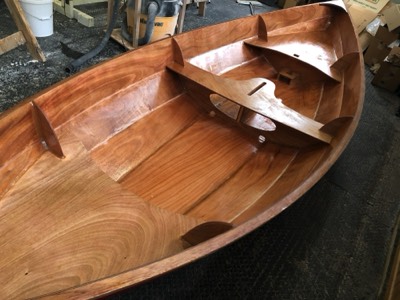
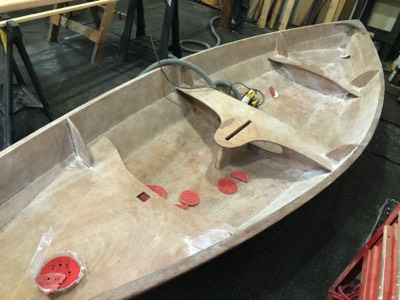
3/17/20 - The interior is half sanded.
-
Sanding of the interior is complete.�
-
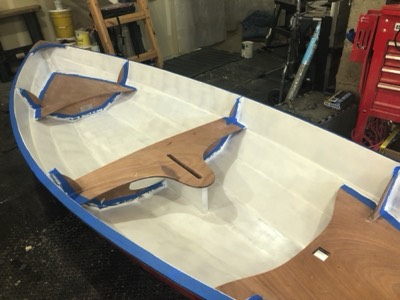
3/18/20 - The interior is washed.
-
The interior is taped off in preparation for primer.
-
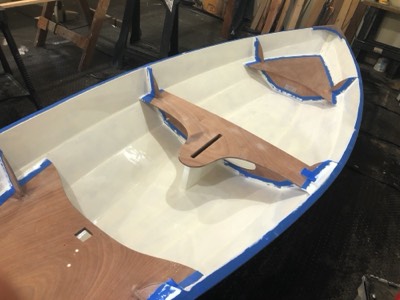
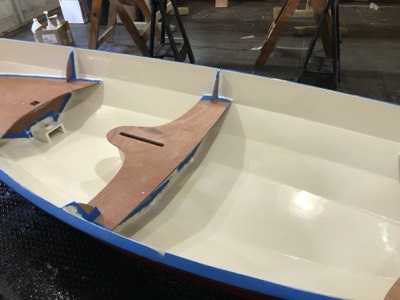
3/19/20 - The first coat of primer is applied to the interior.�
-
3/20/20 - The first coat of paint is applied.
-

3/23/20 - Second coat of paint is applied.
-
3/24/20 - The final coat of paint is applied.
-
3/25/20 - The tape is removed and the boat is ready for varnish.
-
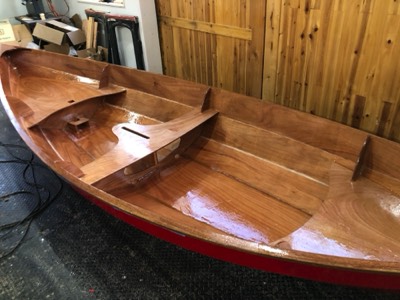
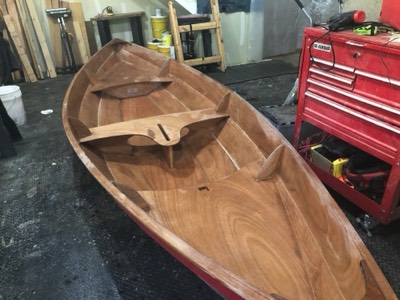
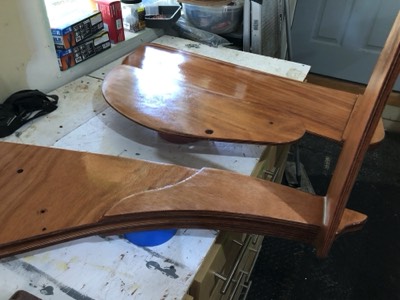
3/26/20 - The first coat of varnish is applied to the seats and bulkheads.
-
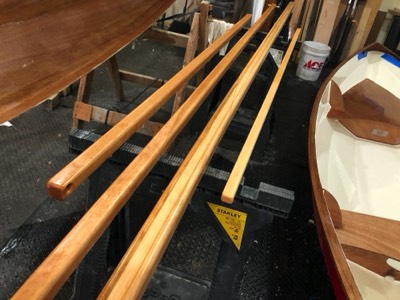
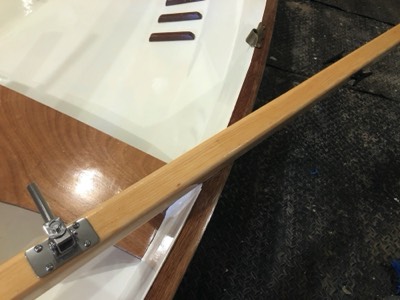
The spars get a coat of varnish.
-
Rudder and daggerboard are varnished.
-
3/27/20 - Two more coats of varnish have been applied.
-
4/1/20 - Footbraces are epoxied in place.
-
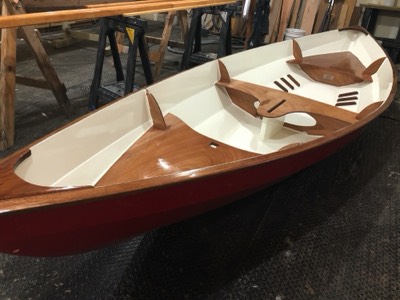
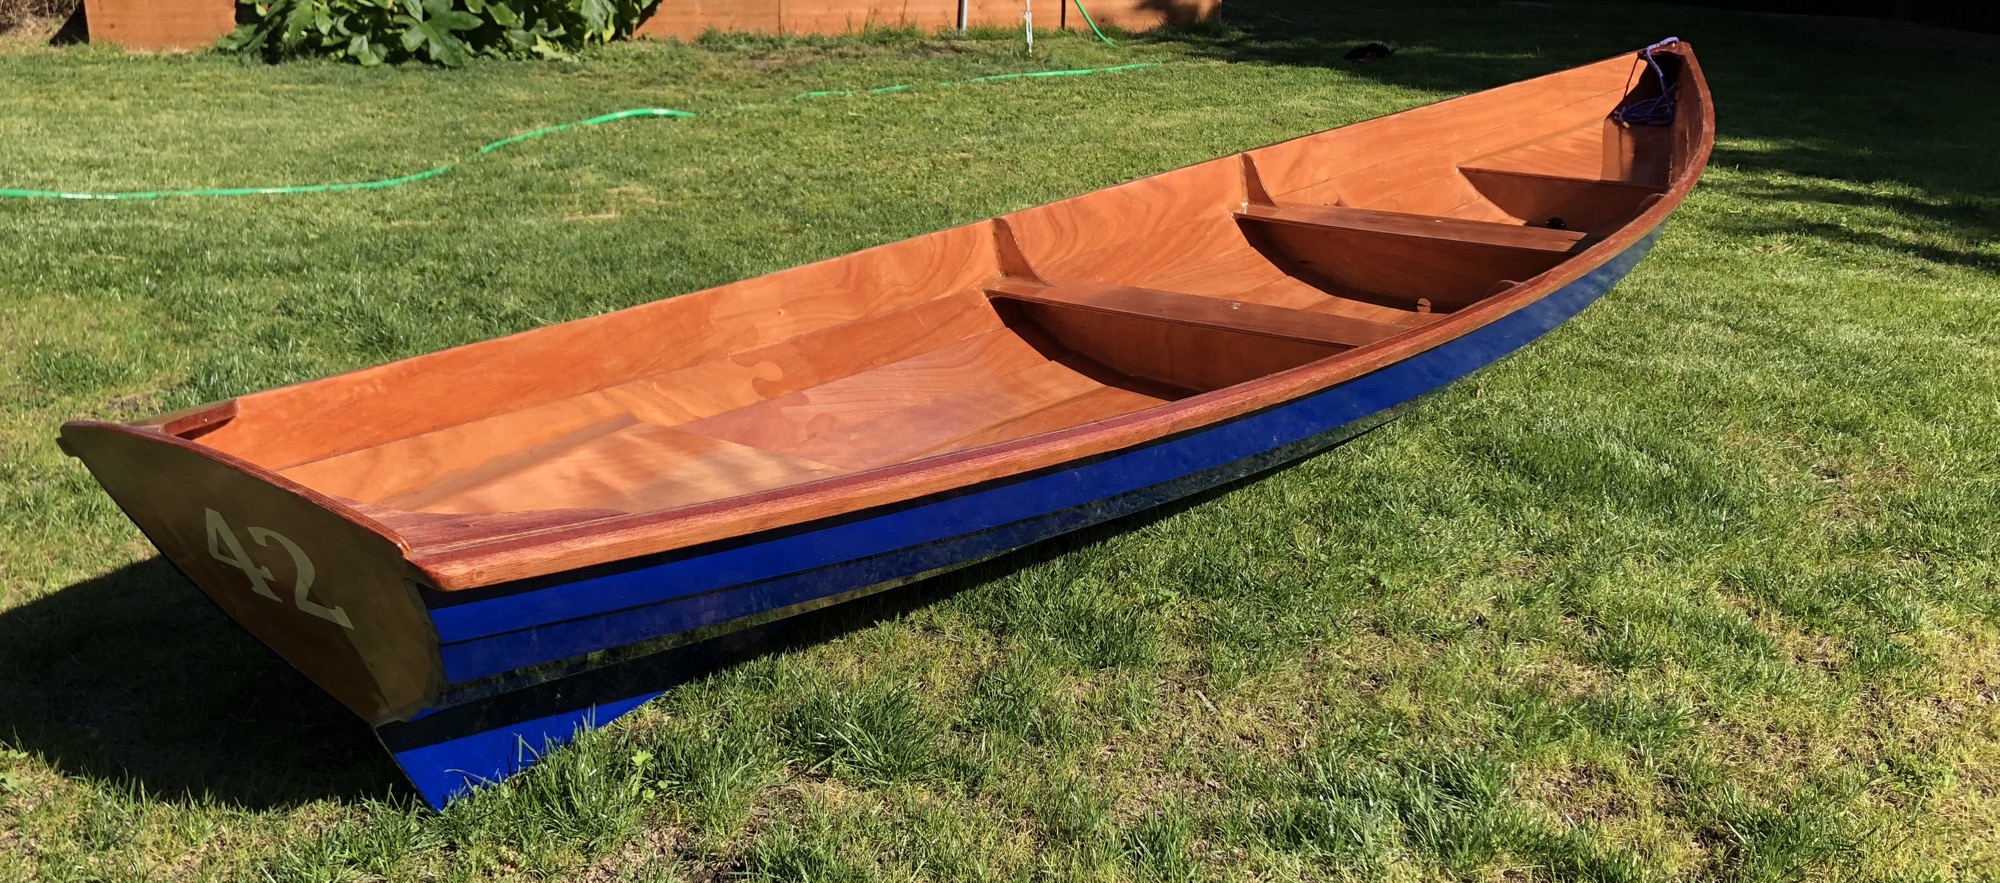
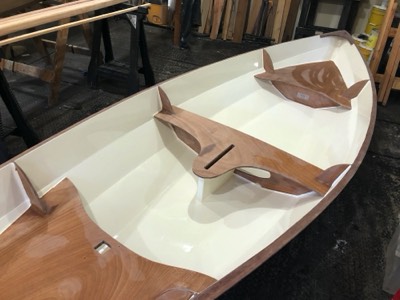
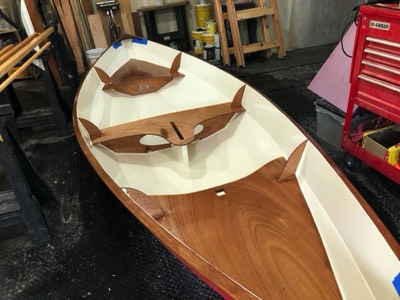
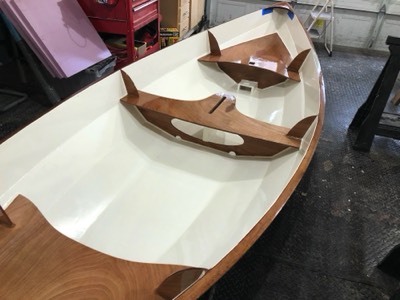
Major construction is complete!
-
Hardware is installed on mast.
-
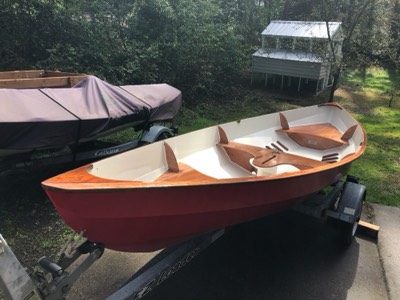
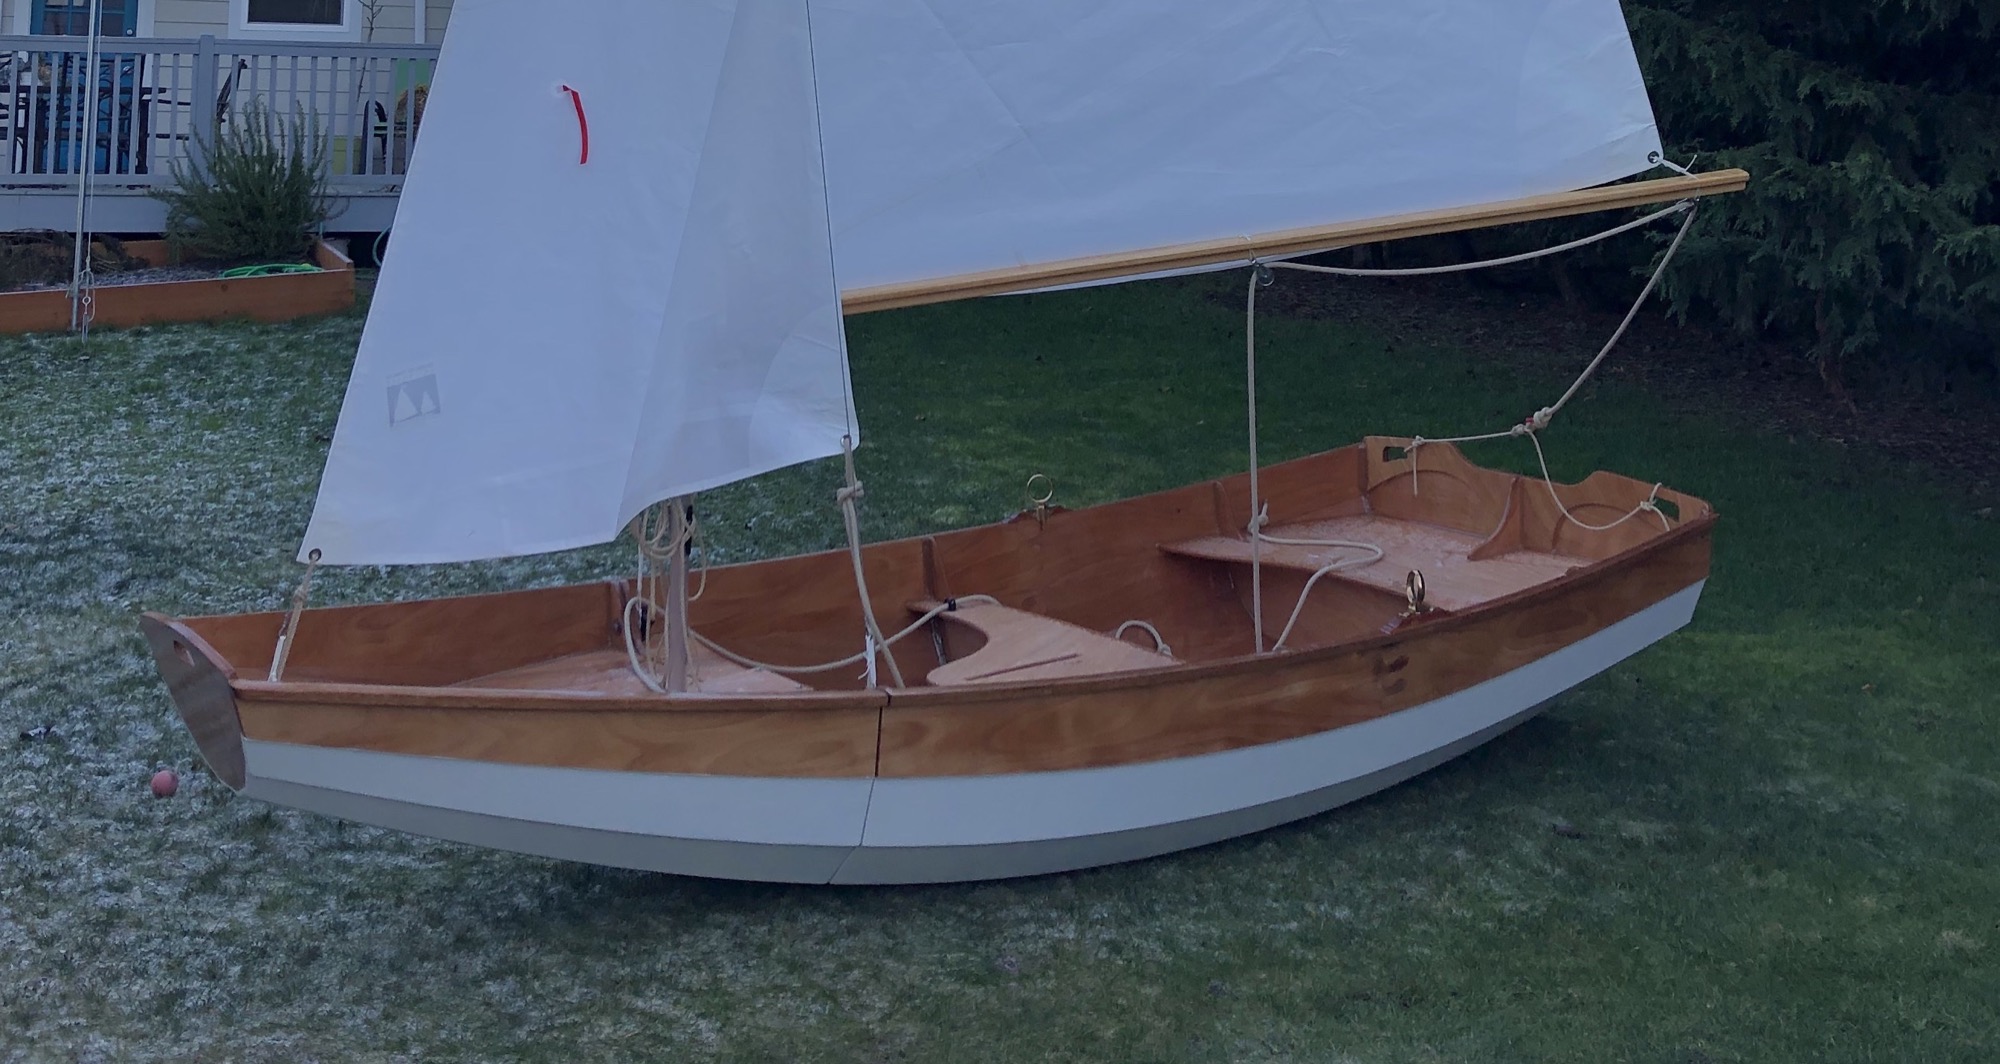
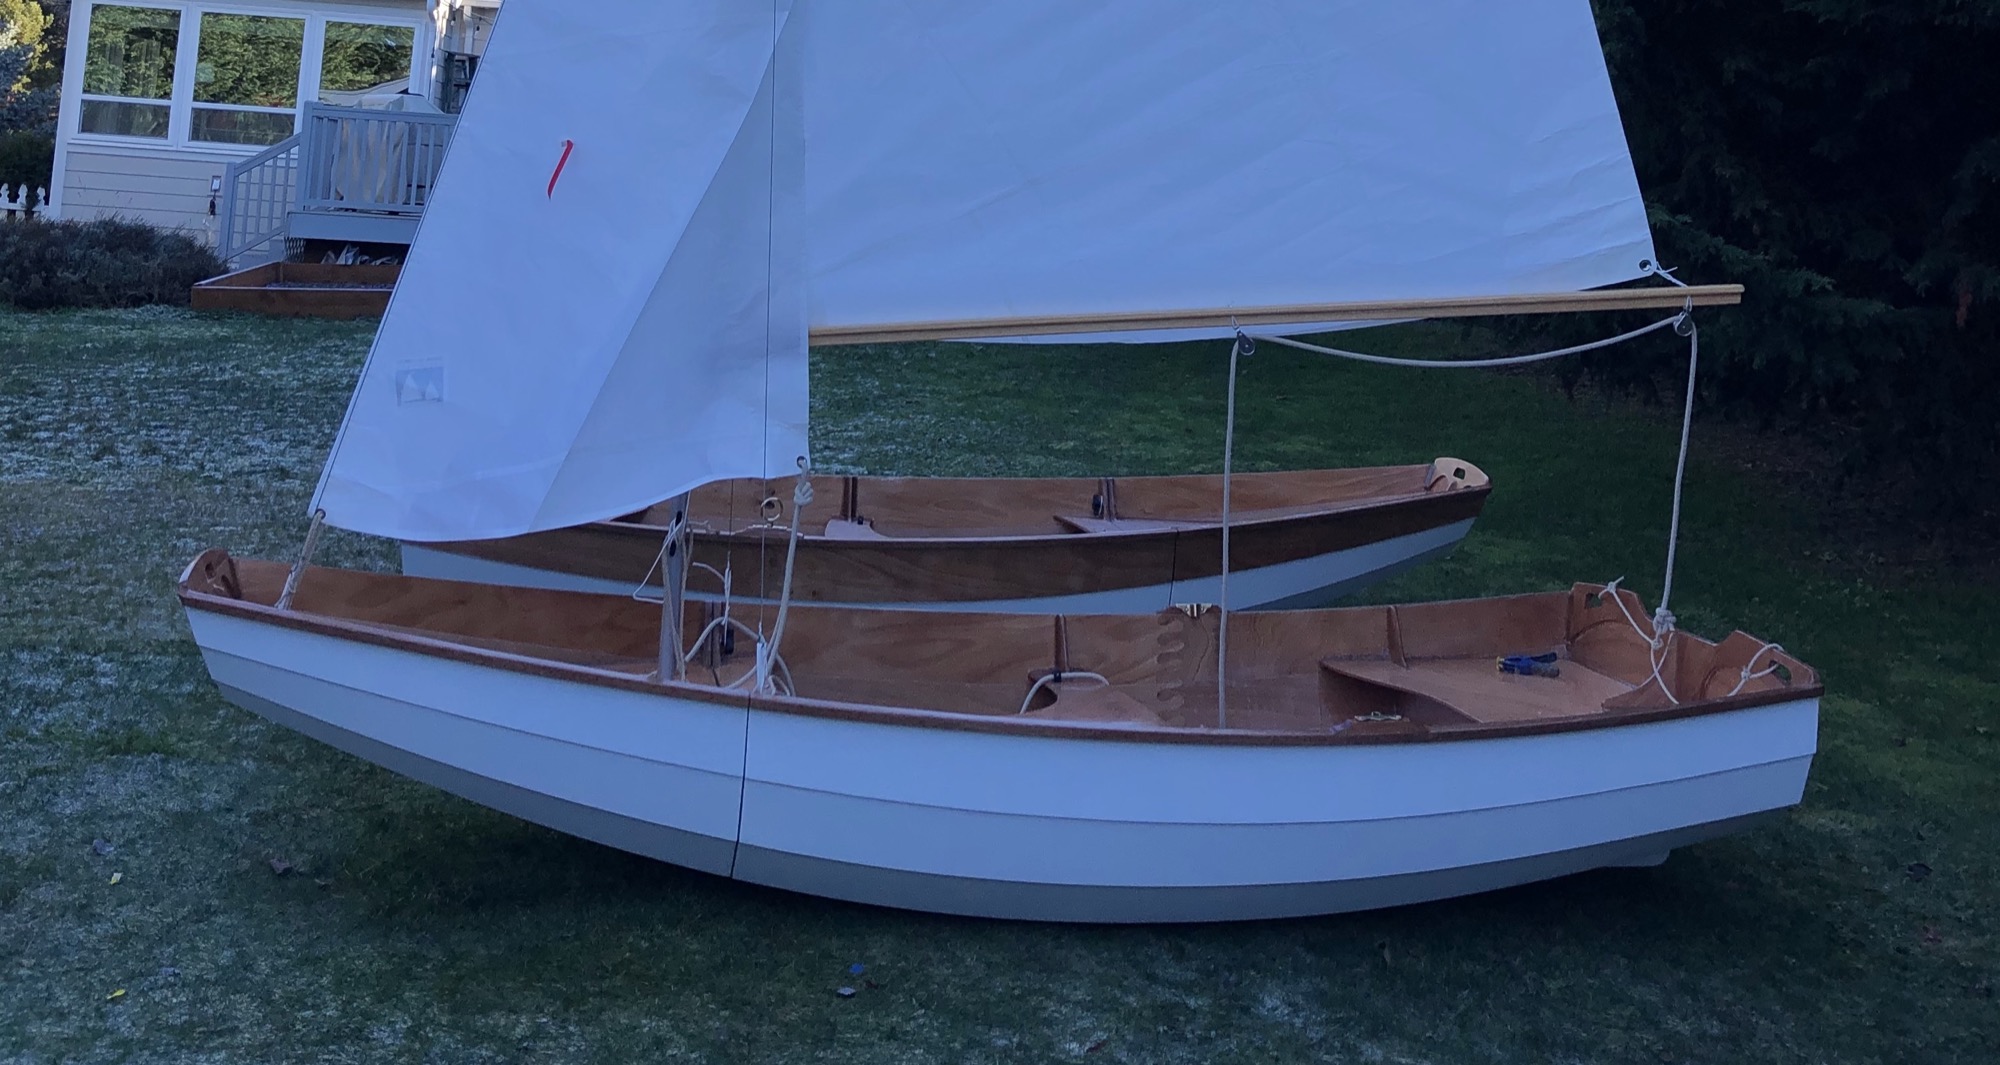
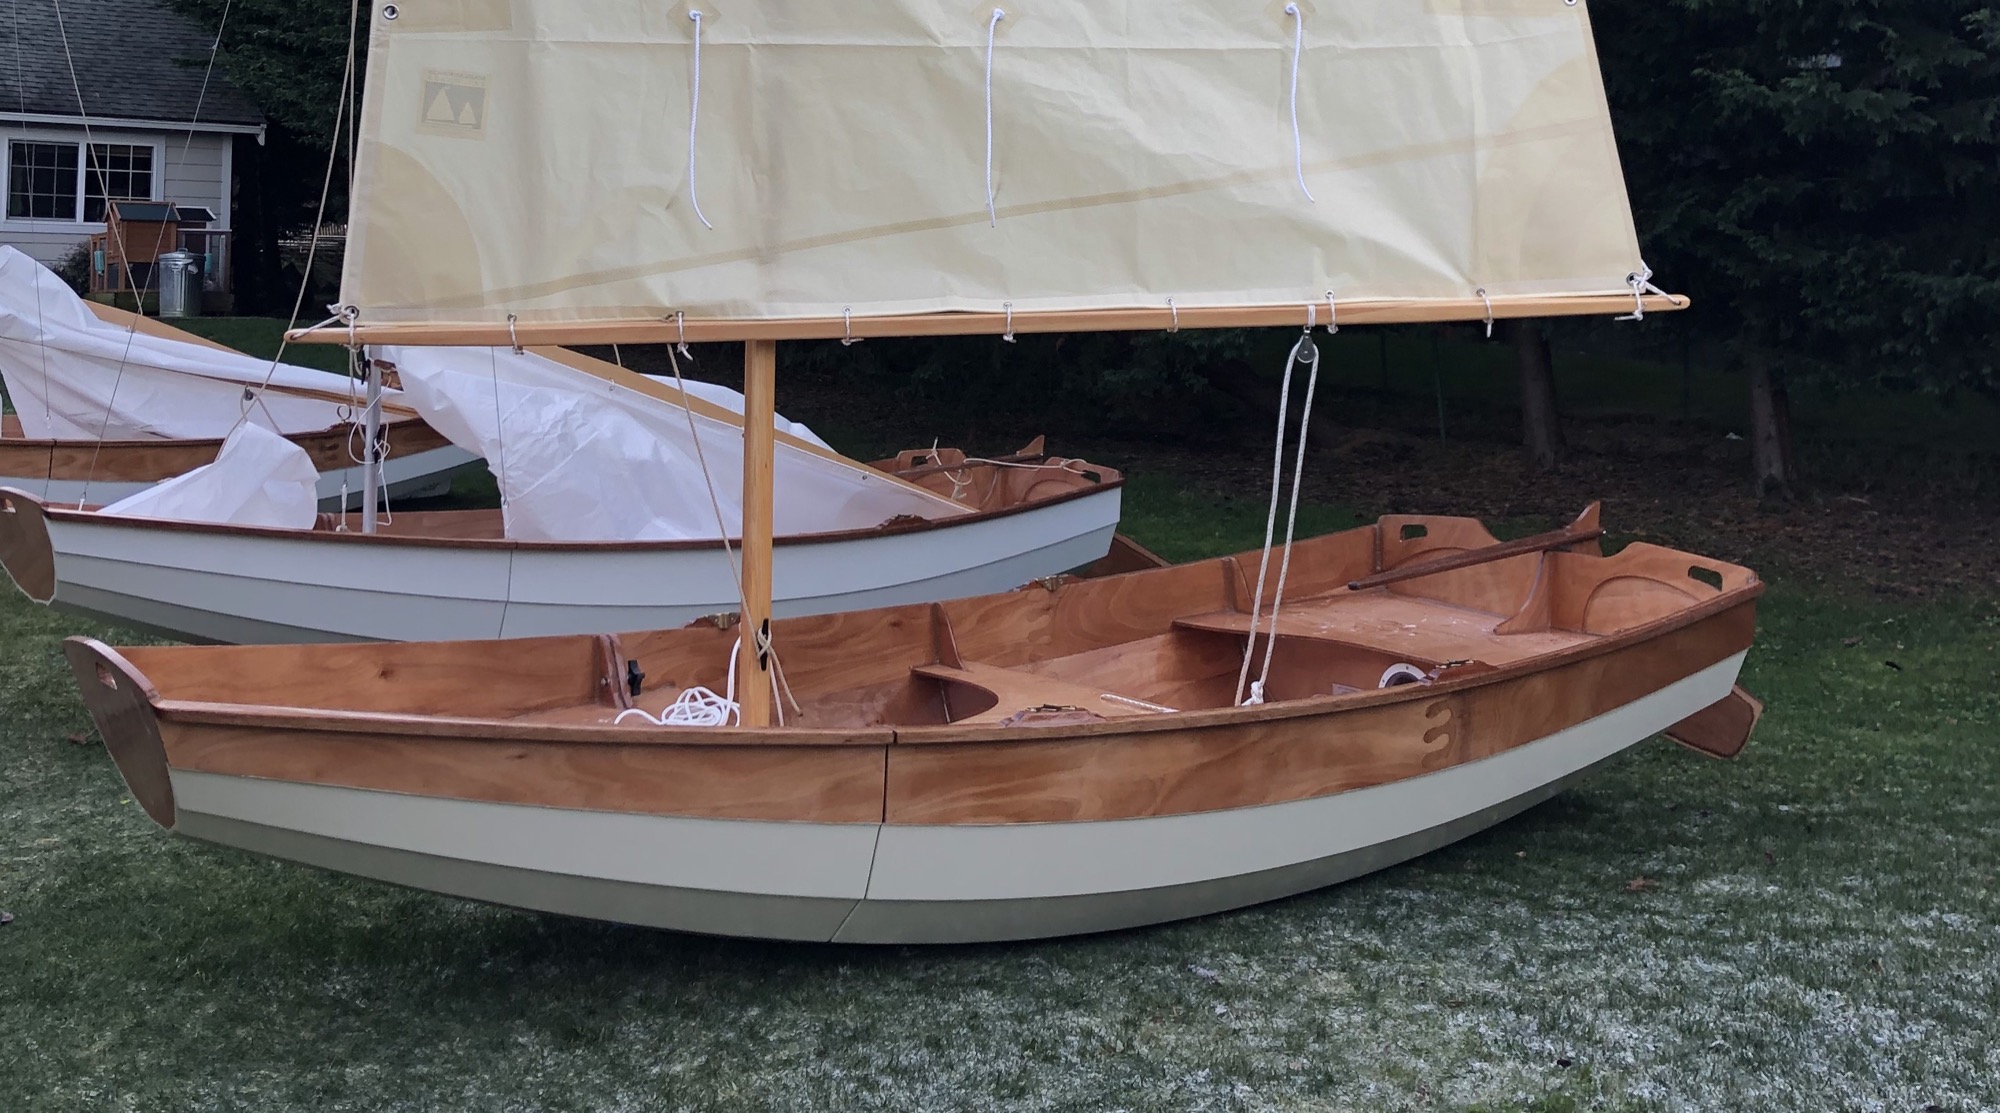
4/2/20 - The boat is moved outside to allow for rigging the sail.
-
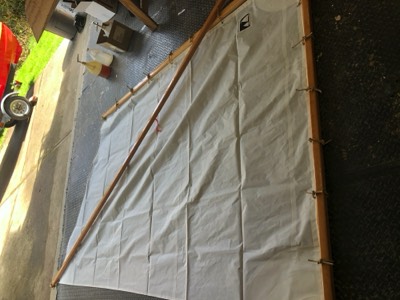
The sail is fit to the spars.
-
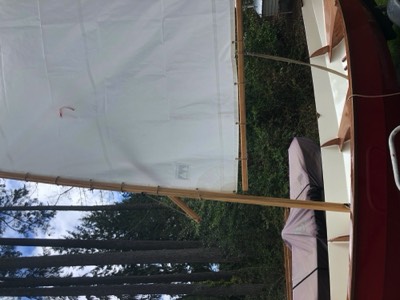
The sail rig is set up.
-
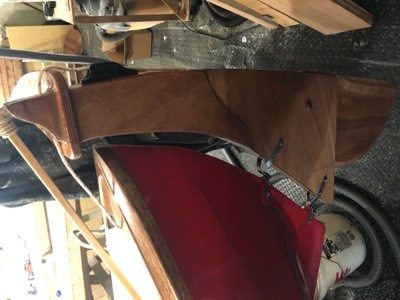
The rudder is hung on the stern.