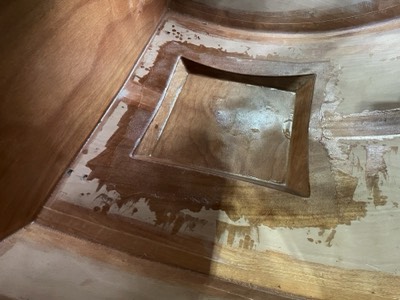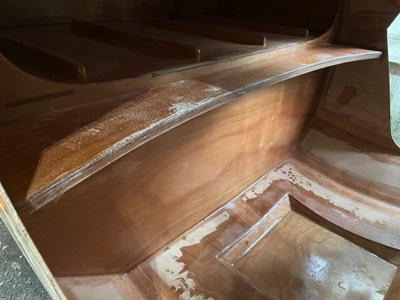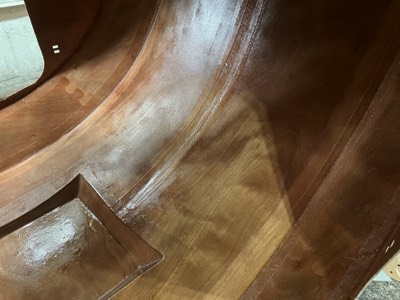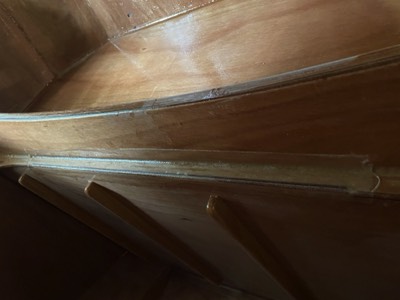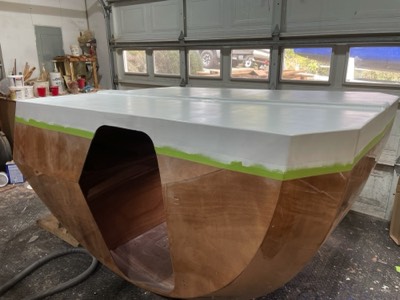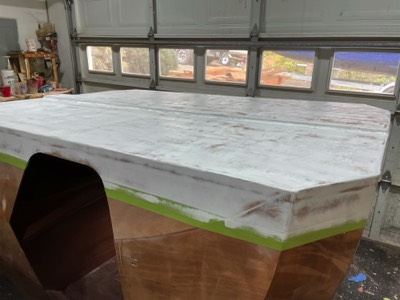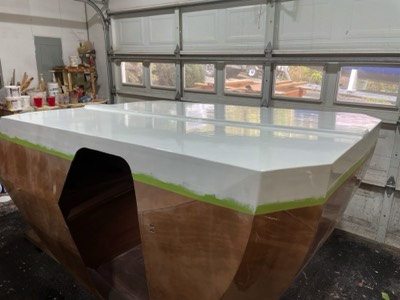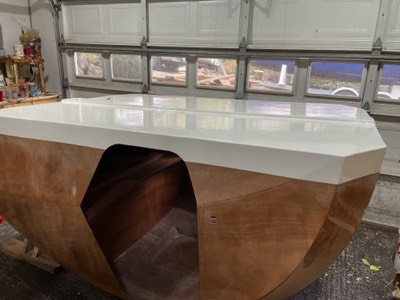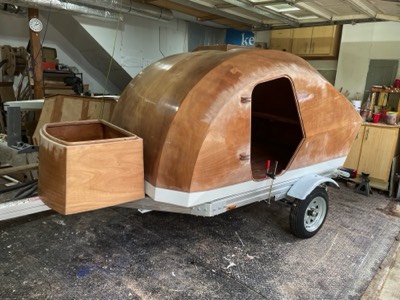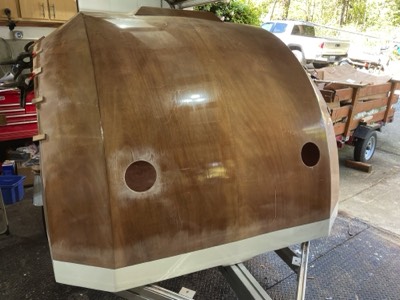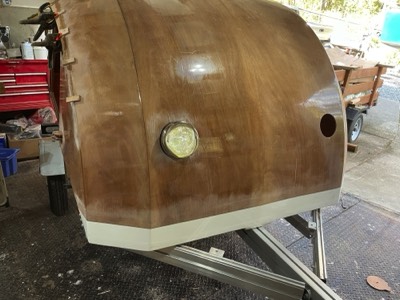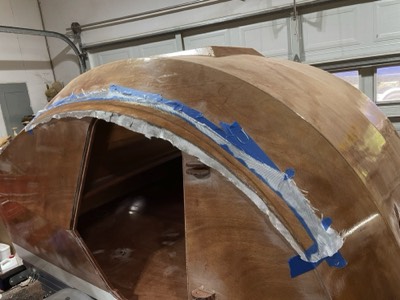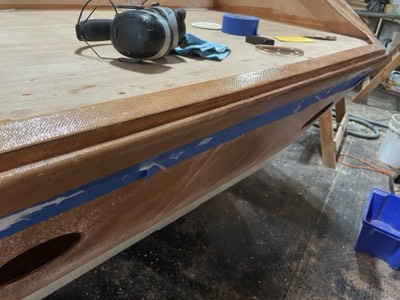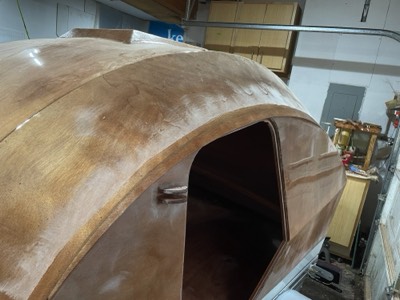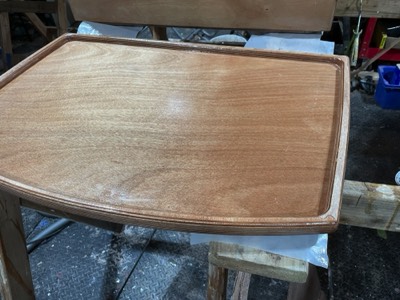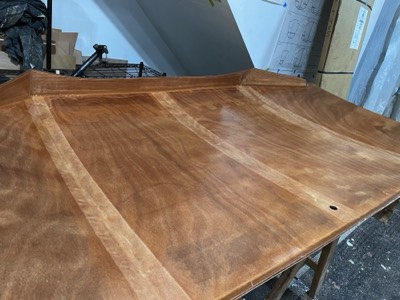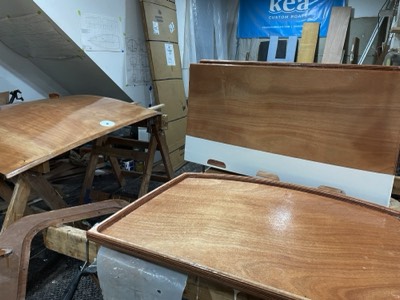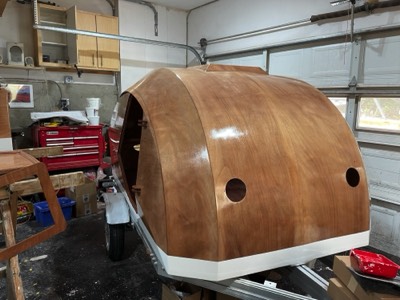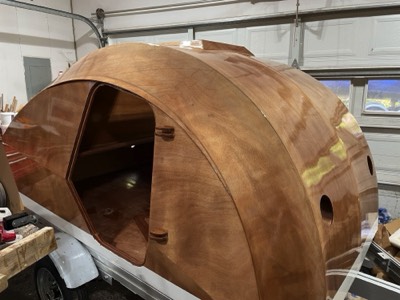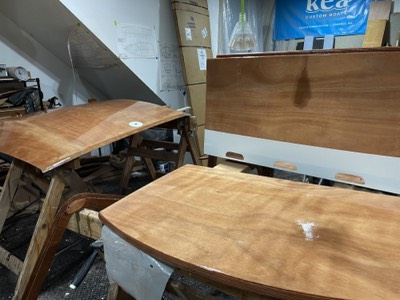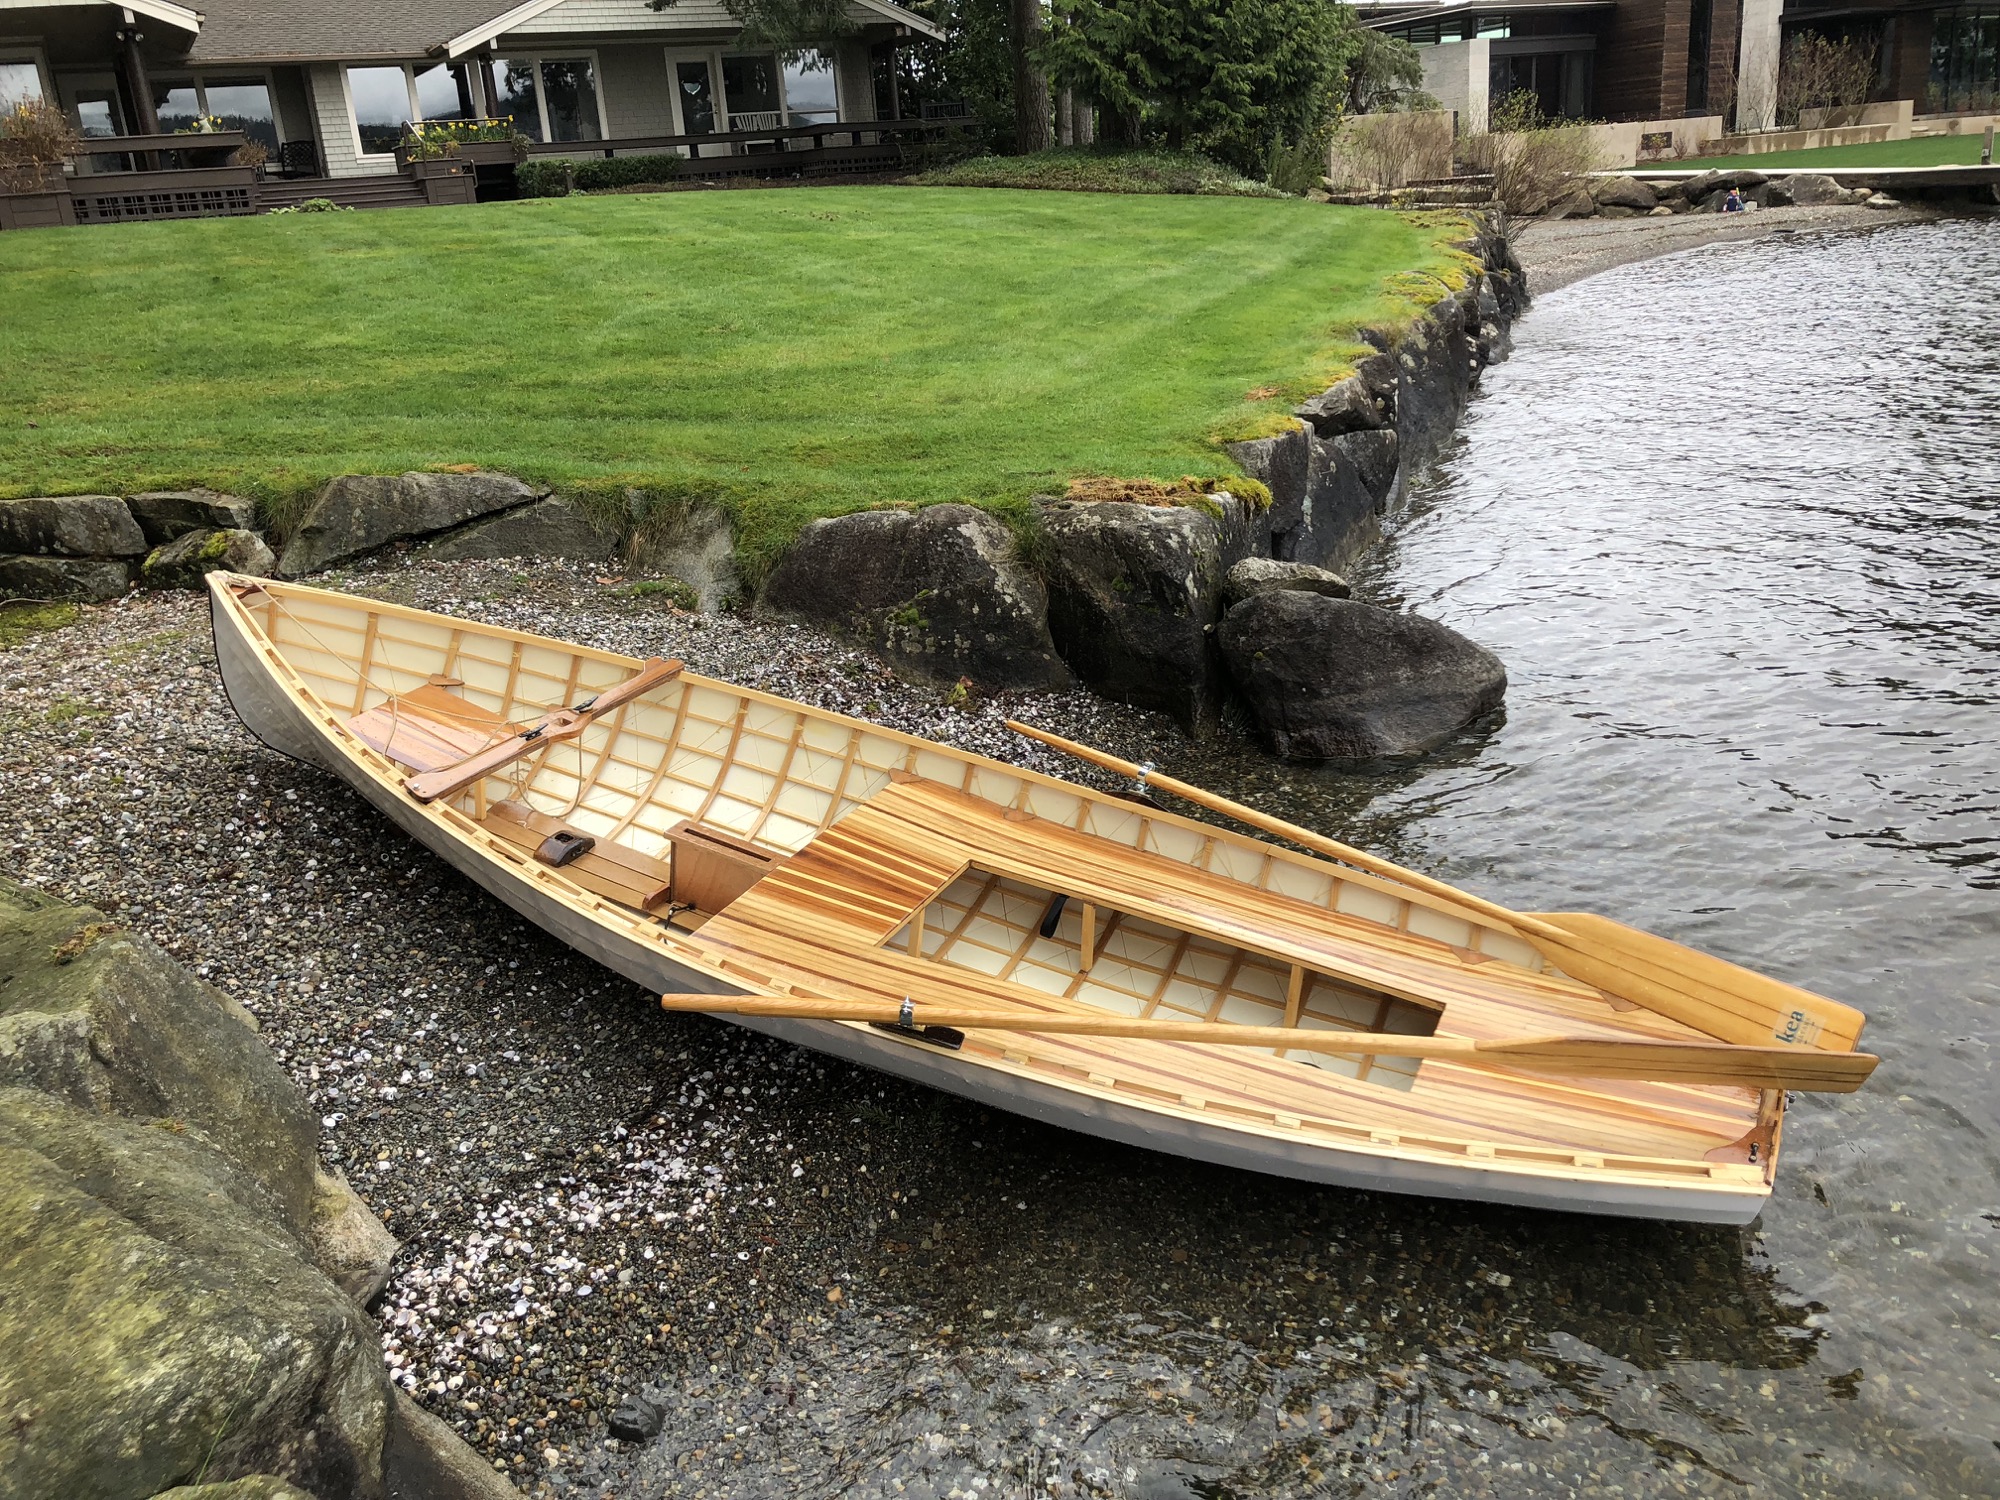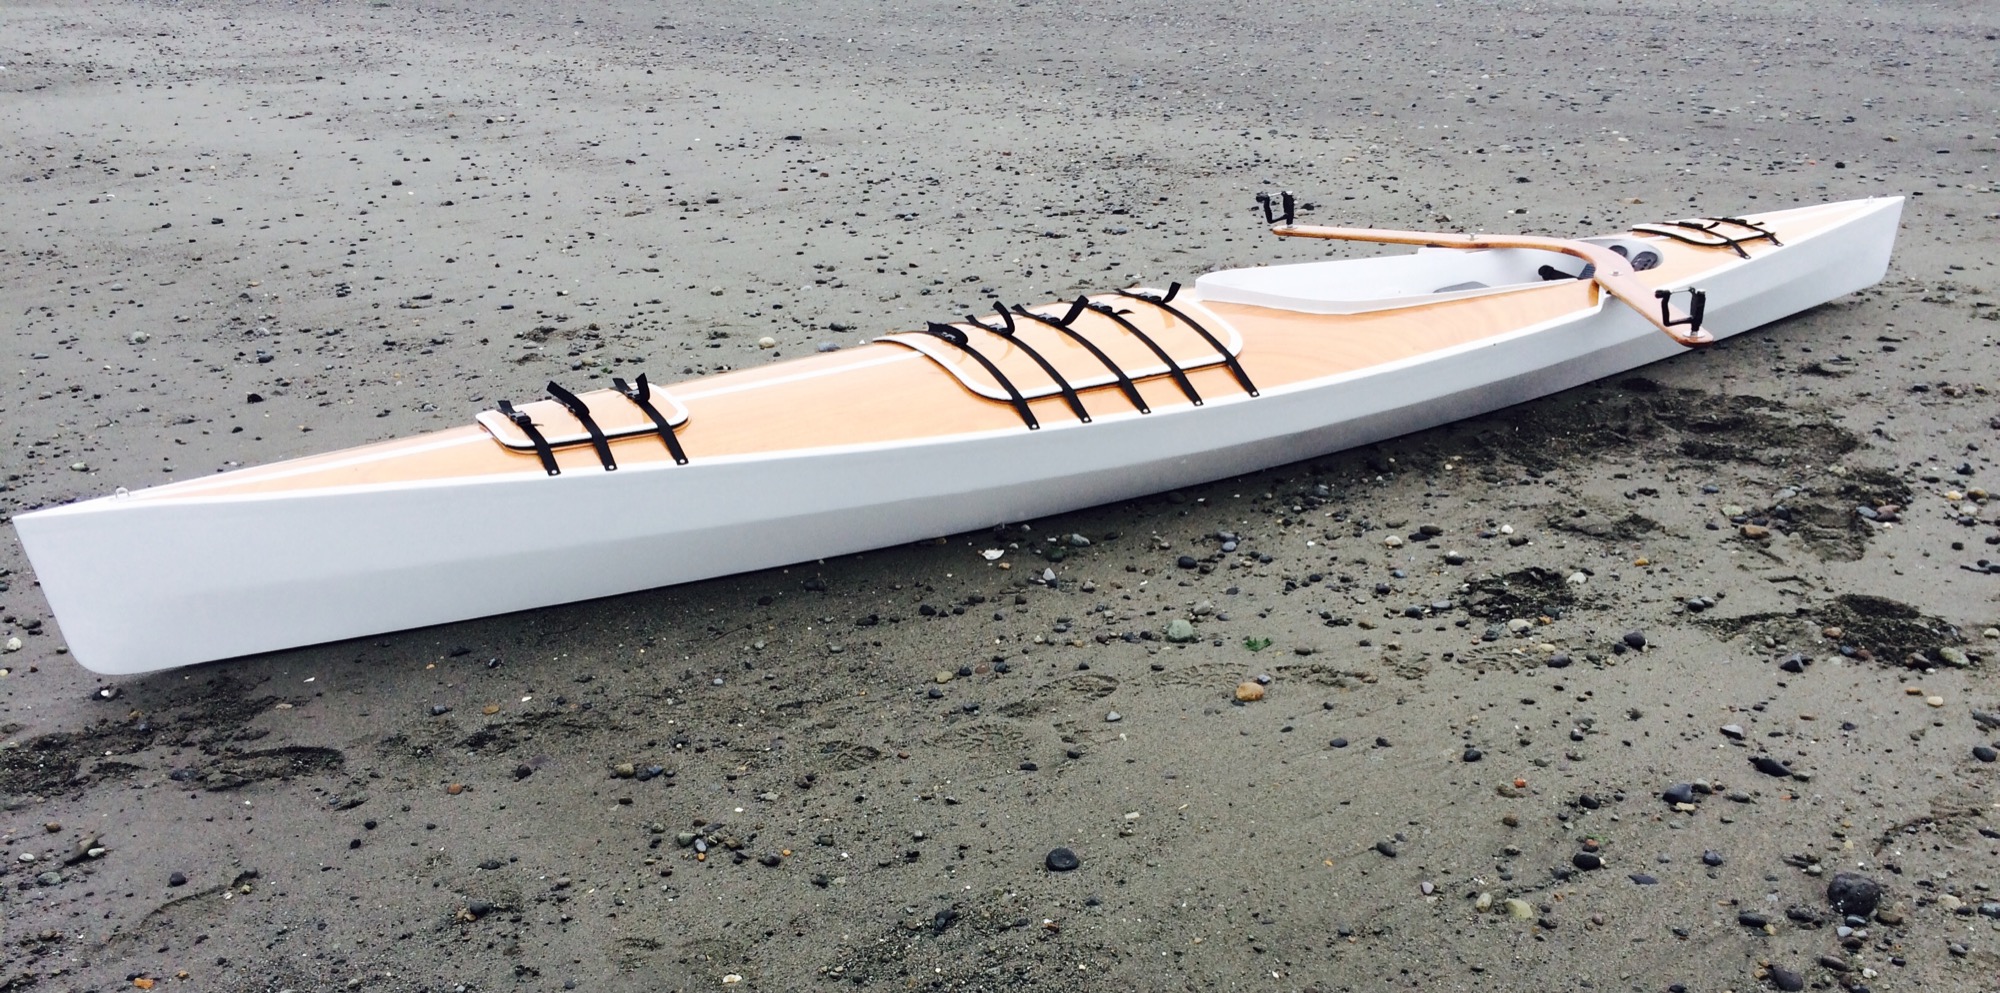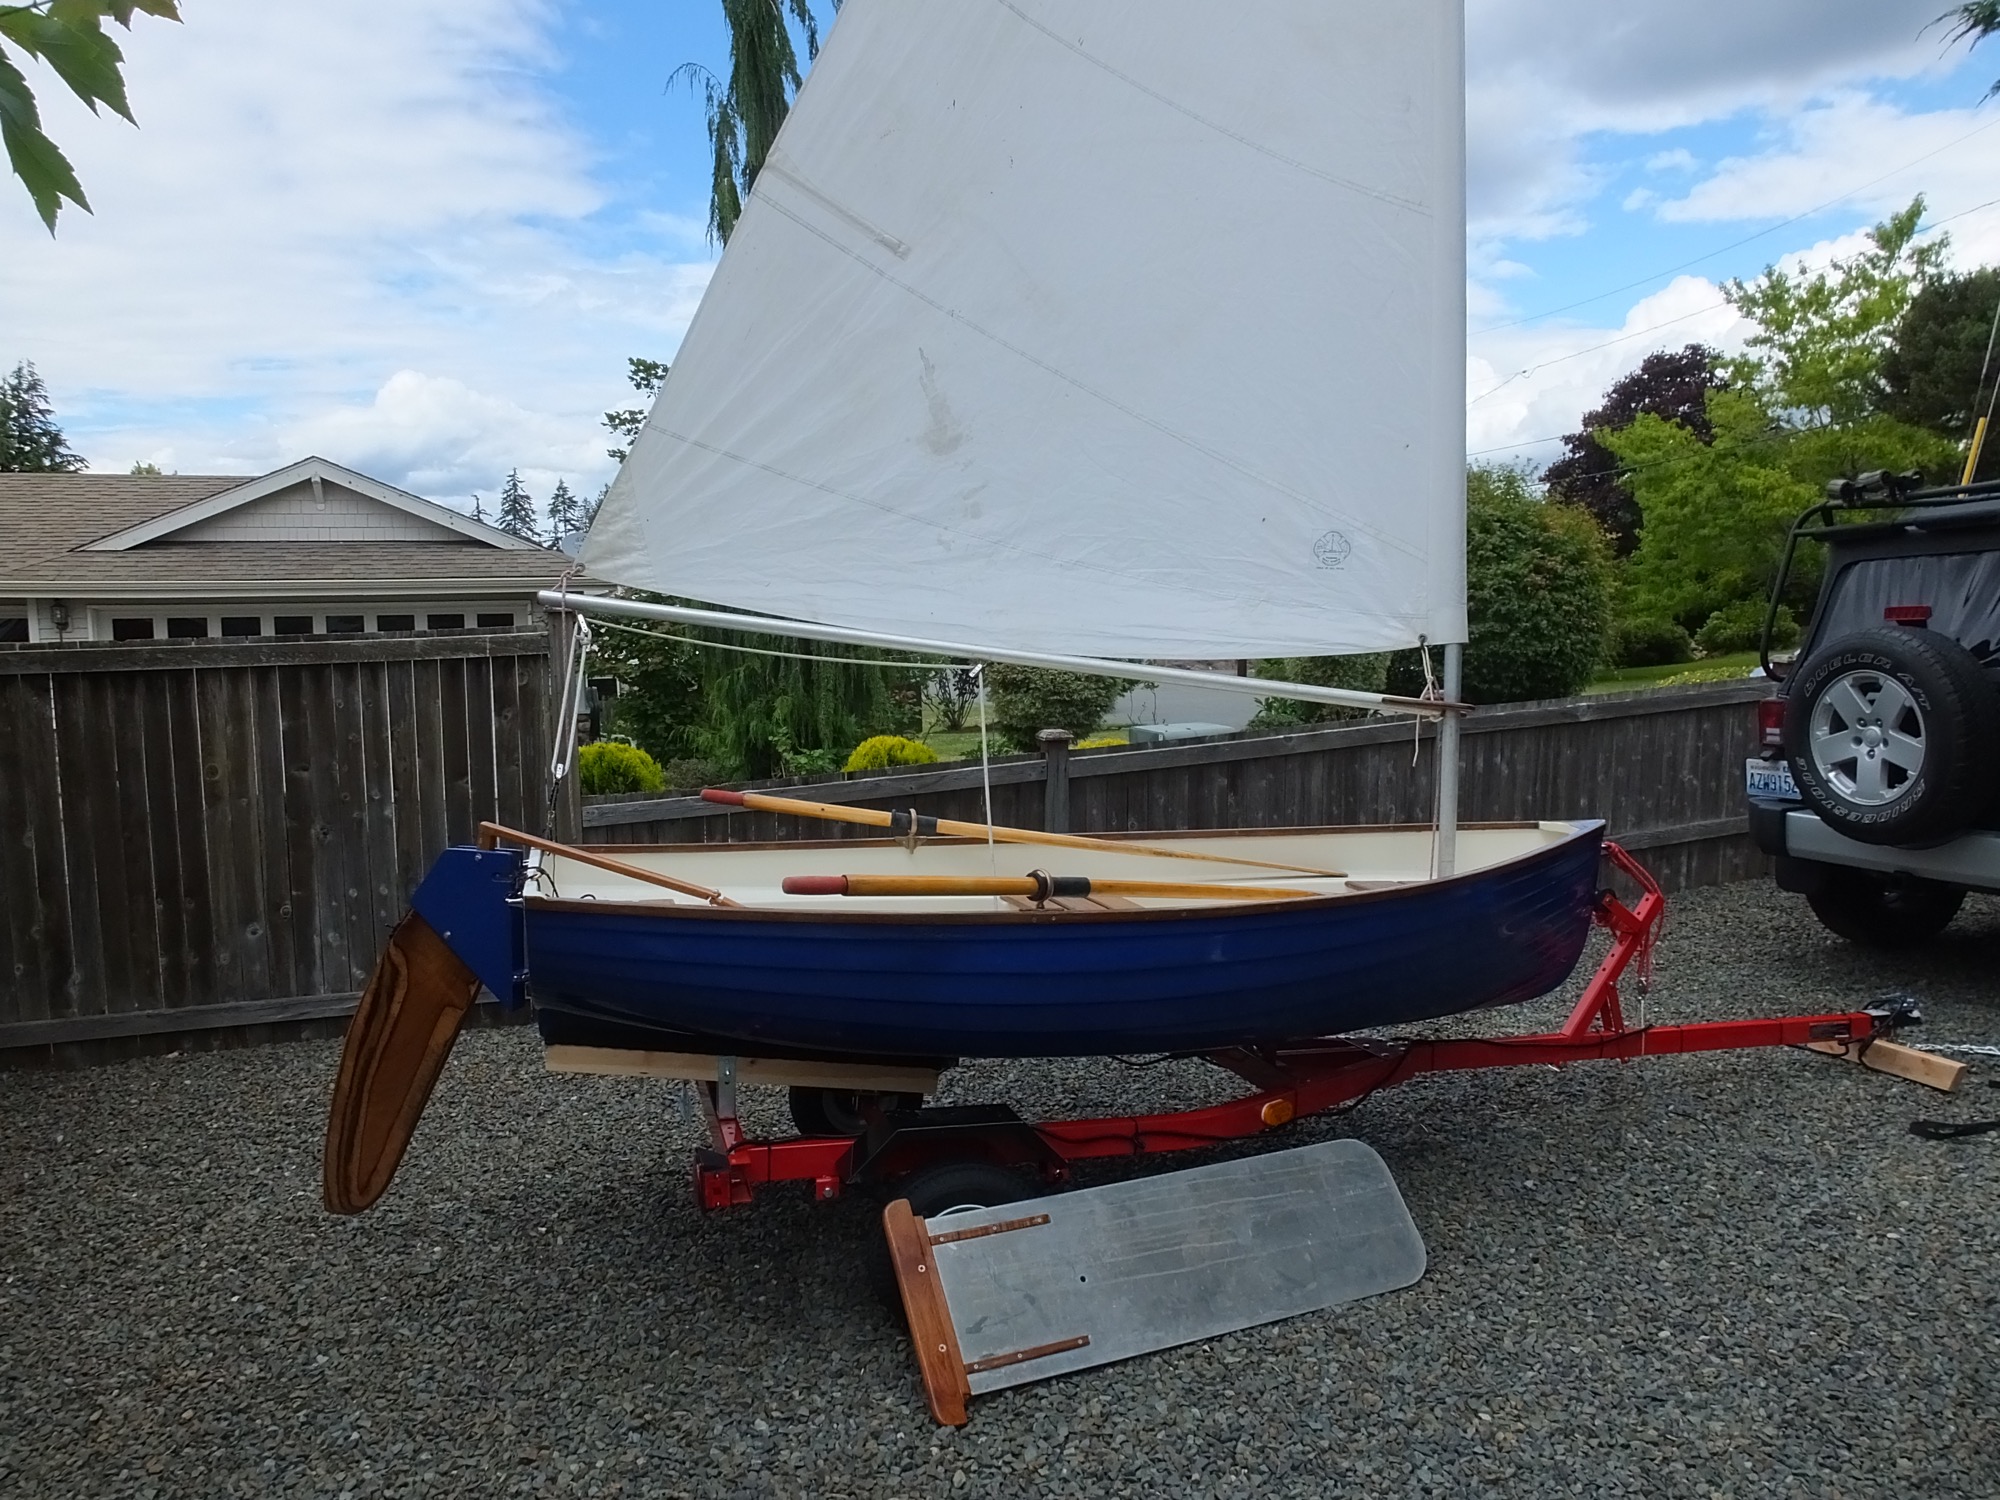
Photos of the construction process.
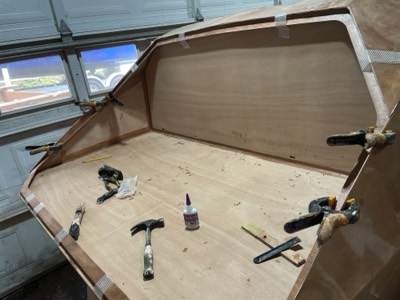
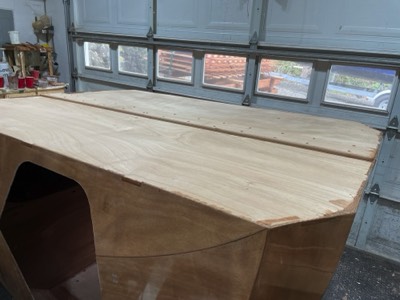
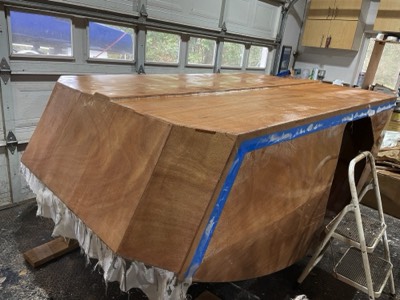
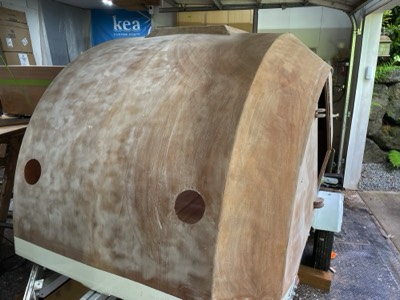
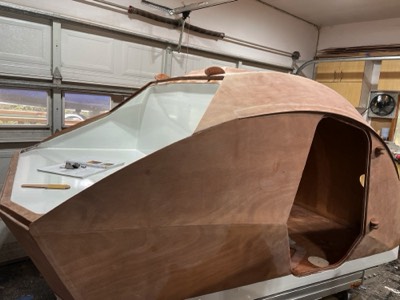
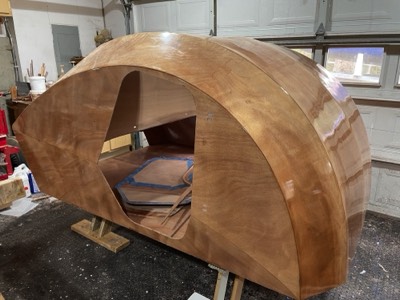
  •  3/14/22 - The trailer body as I recieved it.

    3/14/22 - The trailer body as I recieved it.

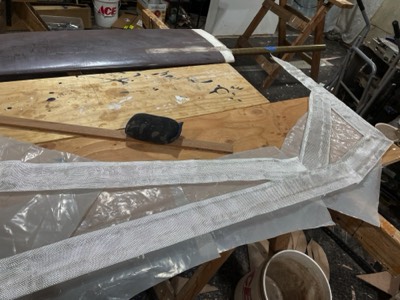
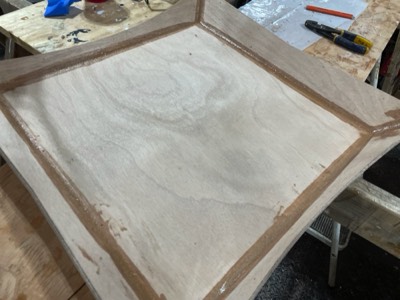
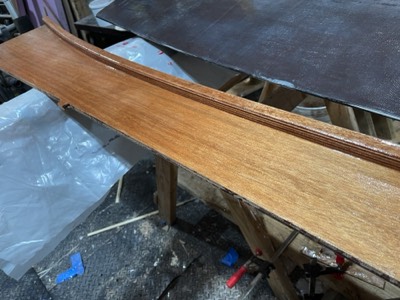
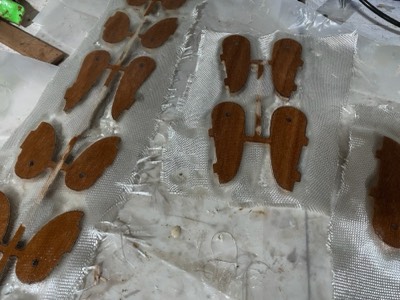
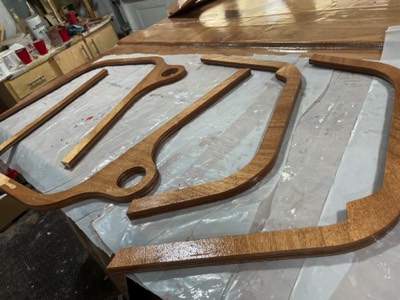
  •  Rear hatch sills are ready to be fiberglassed.

    Rear hatch sills are ready to be fiberglassed.

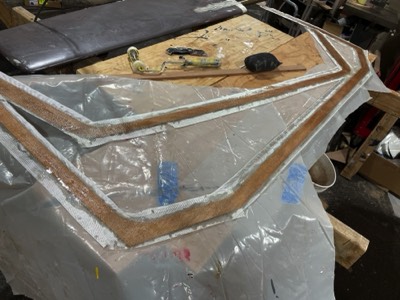
  •  Sills have been epoxied.

    Sills have been epoxied.

  •  3/15/22 - The rear hatch sill is epoxied in place.

    3/15/22 - The rear hatch sill is epoxied in place.

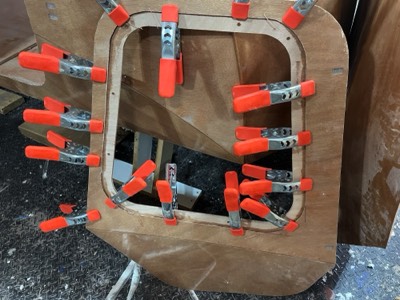
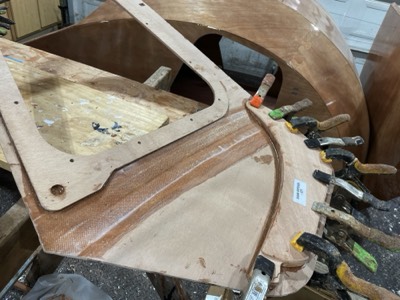
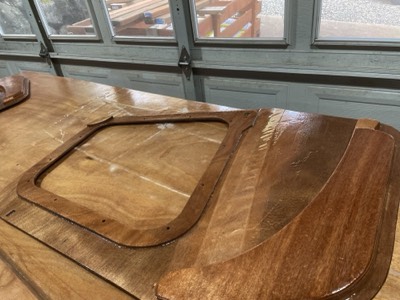
  •  Door window supports are test fit.

    Door window supports are test fit.

  •  3/16/22 - The window supports are epoxied in place.

    3/16/22 - The window supports are epoxied in place.

  •  The ventilation hatch riser is filletted.

    The ventilation hatch riser is filletted.

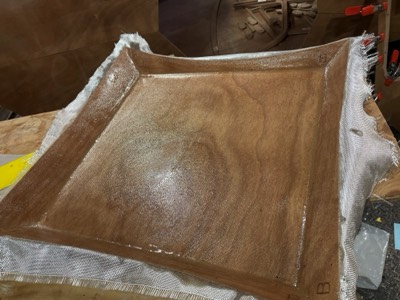
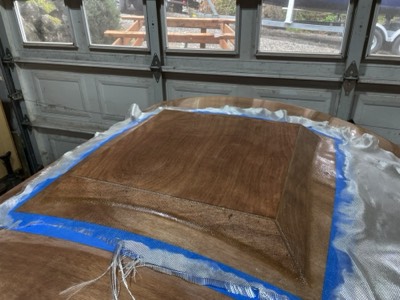
  •  Fiberglassed.

    Fiberglassed.

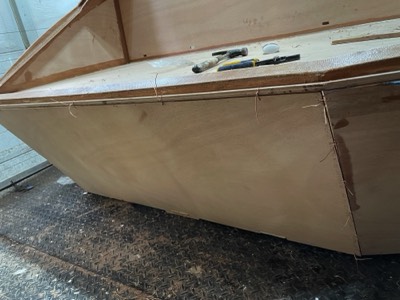
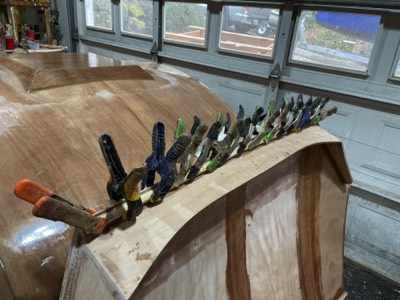
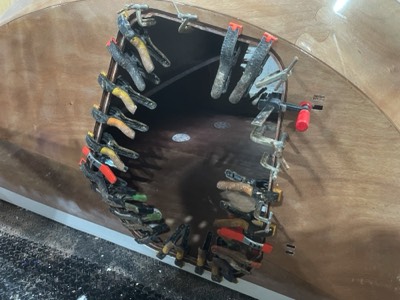
  •  Trailer body transom is wired and epoxied in place.

    Trailer body transom is wired and epoxied in place.

  •  3/17/22 - Lower door reinforcements are epoxied in place.

    3/17/22 - Lower door reinforcements are epoxied in place.

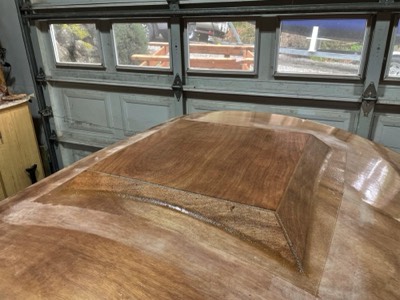
  •  3/18/22 - The vent riser is epoxied in place.

    3/18/22 - The vent riser is epoxied in place.

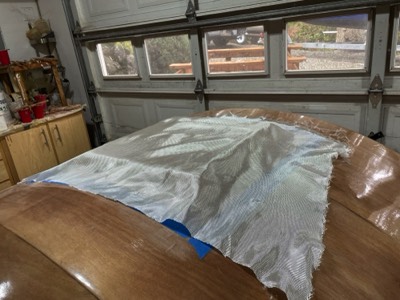
  •  3/21/22 - Fibglass cloth is laid out on the hatch.

    3/21/22 - Fibglass cloth is laid out on the hatch.

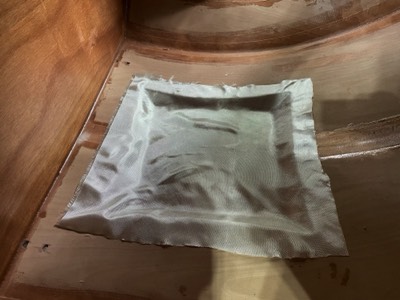
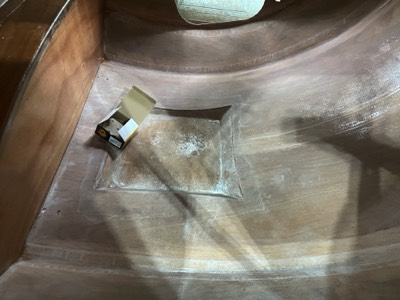
  •  Inside of the transom joints are filletted and fiberglassed.

    Inside of the transom joints are filletted and fiberglassed.

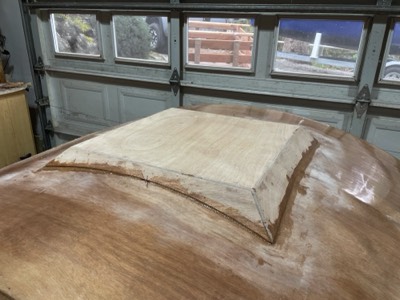
  •  Hatch support is fiberglassed.

    Hatch support is fiberglassed.

  •  Extra glass is cut off.

    Extra glass is cut off.

  •  3/22/22 - The interior shelf is sealed with epoxy.

    3/22/22 - The interior shelf is sealed with epoxy.

  •  Drip catcher is epoxied in place.

    Drip catcher is epoxied in place.

  •  3/23/22 - Hinge parts are fiberglassed.

    3/23/22 - Hinge parts are fiberglassed.

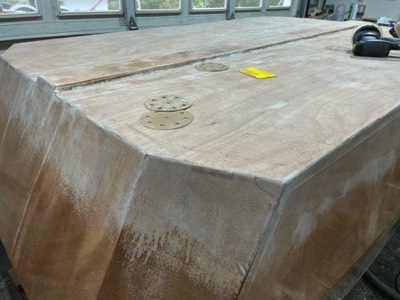
  •  3/24/22 - The underside of the trailer is sanded smooth.

    3/24/22 - The underside of the trailer is sanded smooth.

  •  The underside is fiberglassed.

    The underside is fiberglassed.

  •  3/25/22 - Inside of the hatch support is ready for epoxy.

    3/25/22 - Inside of the hatch support is ready for epoxy.

  •  Fiberglass is saturated. The rest of the interior will be epoxy sealed next.

    Fiberglass is saturated. The rest of the interior will be epoxy sealed next.

  •  The shelf is mounted.

    The shelf is mounted.

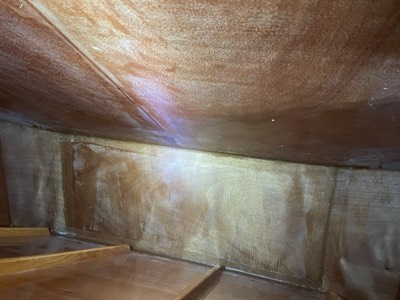
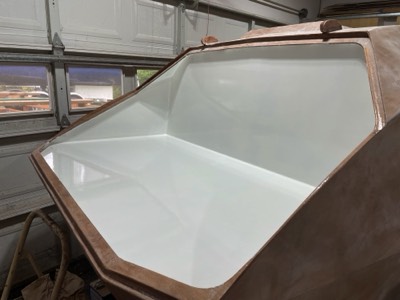
  •  3/24/22 - The inside of the roof is epoxy sealed.

    3/24/22 - The inside of the roof is epoxy sealed.

  •  3/28/22 - The underside of the galley shelf and cabin shelf is reinforced.

    3/28/22 - The underside of the galley shelf and cabin shelf is reinforced.

  •  3/30/22 - Door sill parts are epoxy sealed.

    3/30/22 - Door sill parts are epoxy sealed.

  •  3/31/22 - Inside of the doors are epoxy sealed.

    3/31/22 - Inside of the doors are epoxy sealed.

  •  4/1/22 - The bottom is sanded and ready for primer.

    4/1/22 - The bottom is sanded and ready for primer.

  •  The ceiling is sanded.

    The ceiling is sanded.

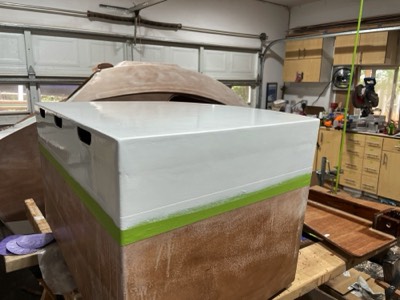
  •  4/11/22 - First coat of primer is applied.

    4/11/22 - First coat of primer is applied.

  •  4/12/22 - The primer is sanded.

    4/12/22 - The primer is sanded.

  •  First coat of paint.

    First coat of paint.

  •  4/14/22 - Several coats of paint have been applied.

    4/14/22 - Several coats of paint have been applied.

  •  4/18/22 - The door sills are epoxied in place.

    4/18/22 - The door sills are epoxied in place.

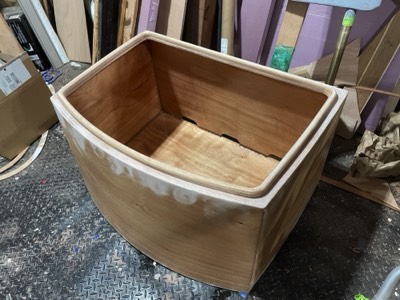
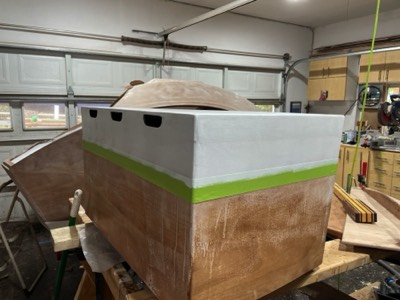
  •  4/19/22 - The storage box is ready for final assembly.

    4/19/22 - The storage box is ready for final assembly.

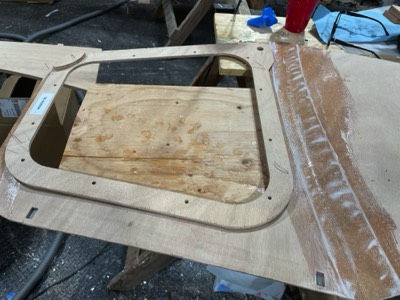
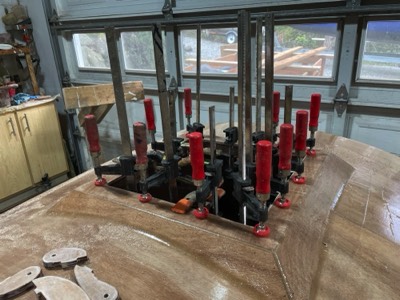
  •  Hatch cutout doubler is epoxied in place.

    Hatch cutout doubler is epoxied in place.

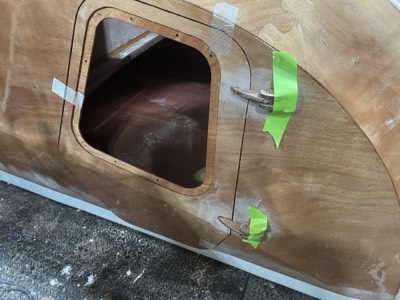
  •  4/20/22 - Door hinges are tacked in place with epoxy.

    4/20/22 - Door hinges are tacked in place with epoxy.

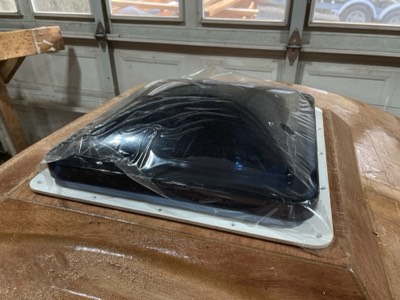
  •  4/21/22 - The roof vent is test fit.

    4/21/22 - The roof vent is test fit.

  •  View of the galley hatch hinges. They will be filletted next.

    View of the galley hatch hinges. They will be filletted next.

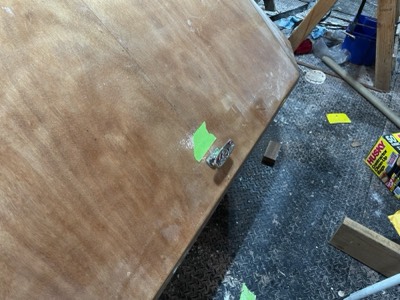
  •  4/25/22 - A locking handle is mounted on the galley hatch.

    4/25/22 - A locking handle is mounted on the galley hatch.

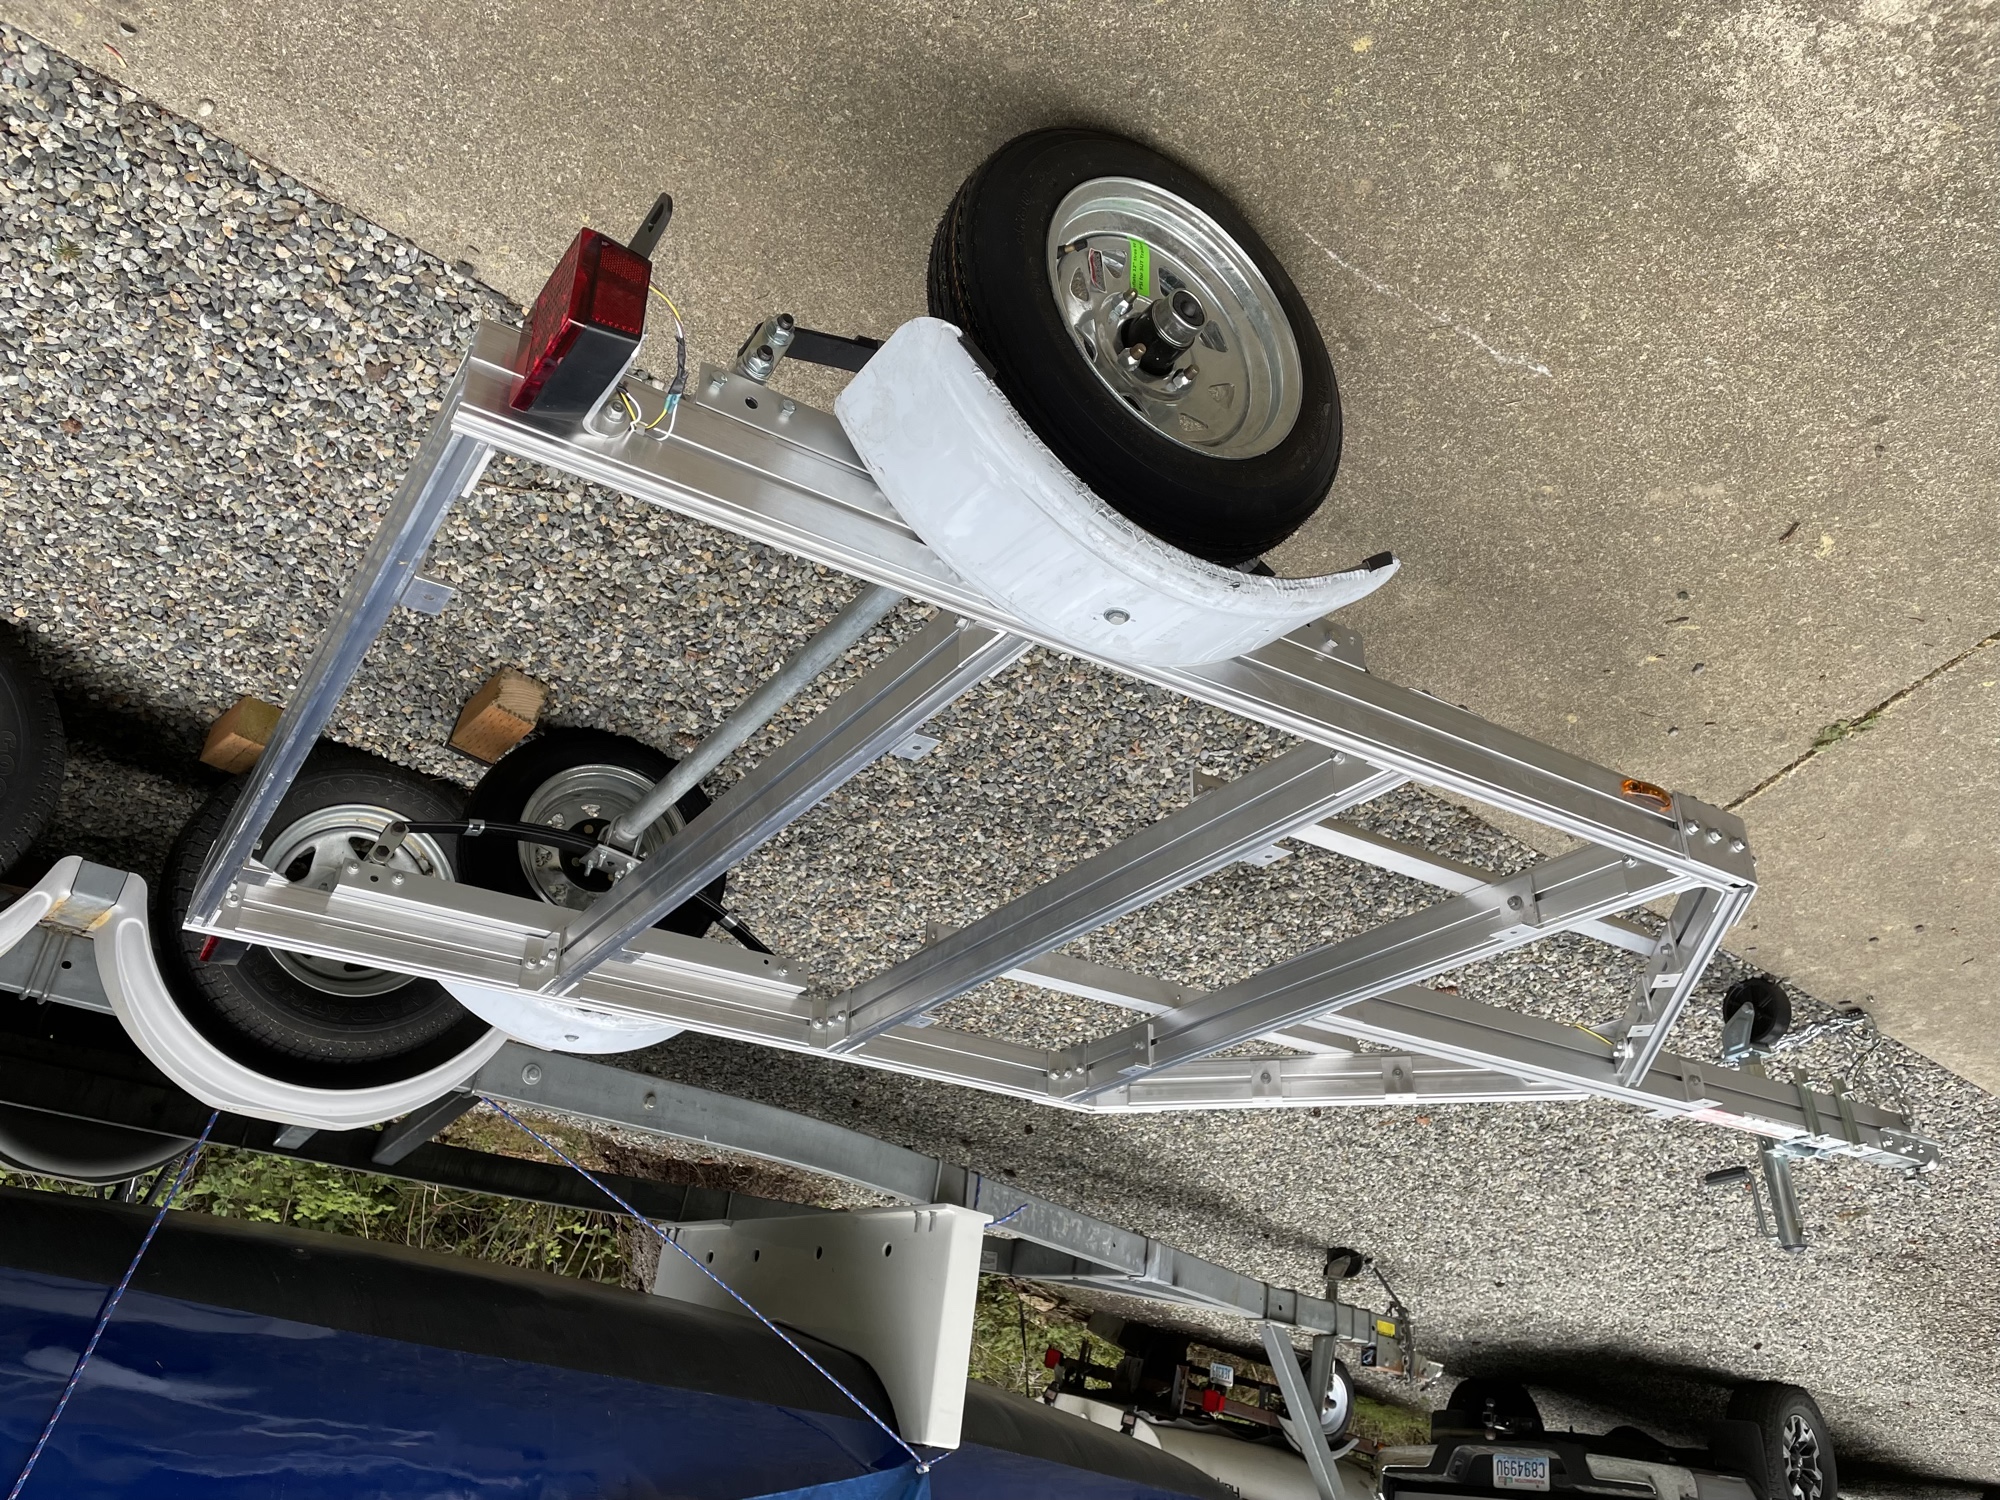
  •  The trailer is built.

    The trailer is built.

  •  2/26/22 - The trailer body and storage unit are test mounted.

    2/26/22 - The trailer body and storage unit are test mounted.

  •  Holes for vents are cut.

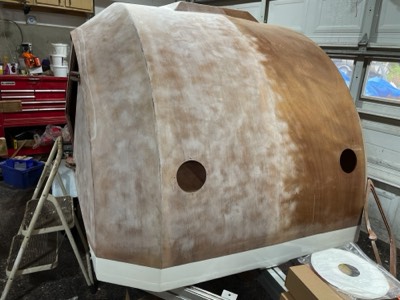
    Holes for vents are cut.

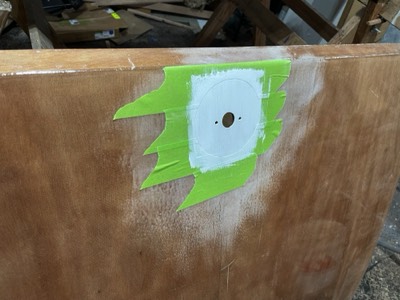
  •  One of the vents is test fit.

    One of the vents is test fit.

  •  4/28/22 - The eyebrow is fiberglassed.

    4/28/22 - The eyebrow is fiberglassed.

  •  The joint between galley deck and rear wall is glassed.

    The joint between galley deck and rear wall is glassed.

  •  The extra fiberglass is trimmed off.

    The extra fiberglass is trimmed off.

  •  5/23/22 - Underside of the stoarge box lid is epoxy sealed.

    5/23/22 - Underside of the stoarge box lid is epoxy sealed.

  •  Underside of galley hatch lid is epoxy sealed.

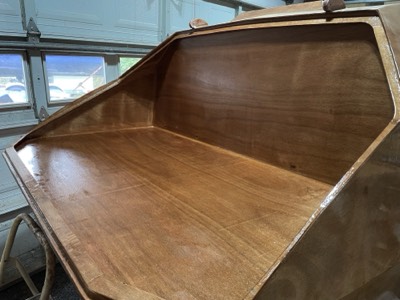
    Underside of galley hatch lid is epoxy sealed.

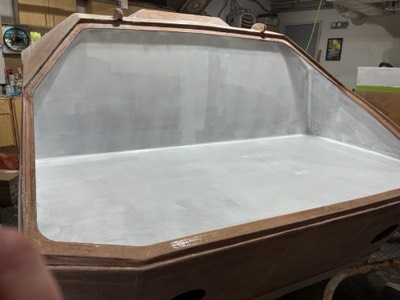
  •  Galley area is epoxy sealed.

    Galley area is epoxy sealed.

  •  5/11/22 - Hinges are test fit on the storage box.

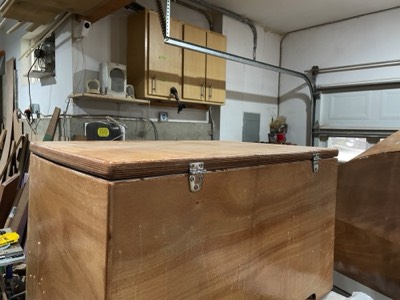
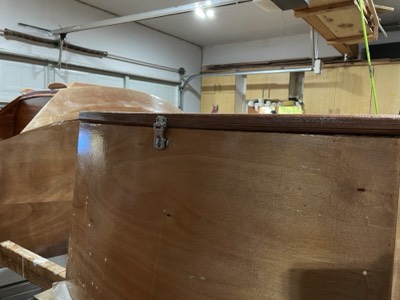
    5/11/22 - Hinges are test fit on the storage box.

  •  Hasp is test fit.

    Hasp is test fit.

  •  5/12/22 - Half of the trailer body is sanded.

    5/12/22 - Half of the trailer body is sanded.

  •  5/23/22 - The entire trailer is sanded and ready for varnish.

    5/23/22 - The entire trailer is sanded and ready for varnish.

  •  5/24/22 - A circle is primered around the galley hatch location.

    5/24/22 - A circle is primered around the galley hatch location.

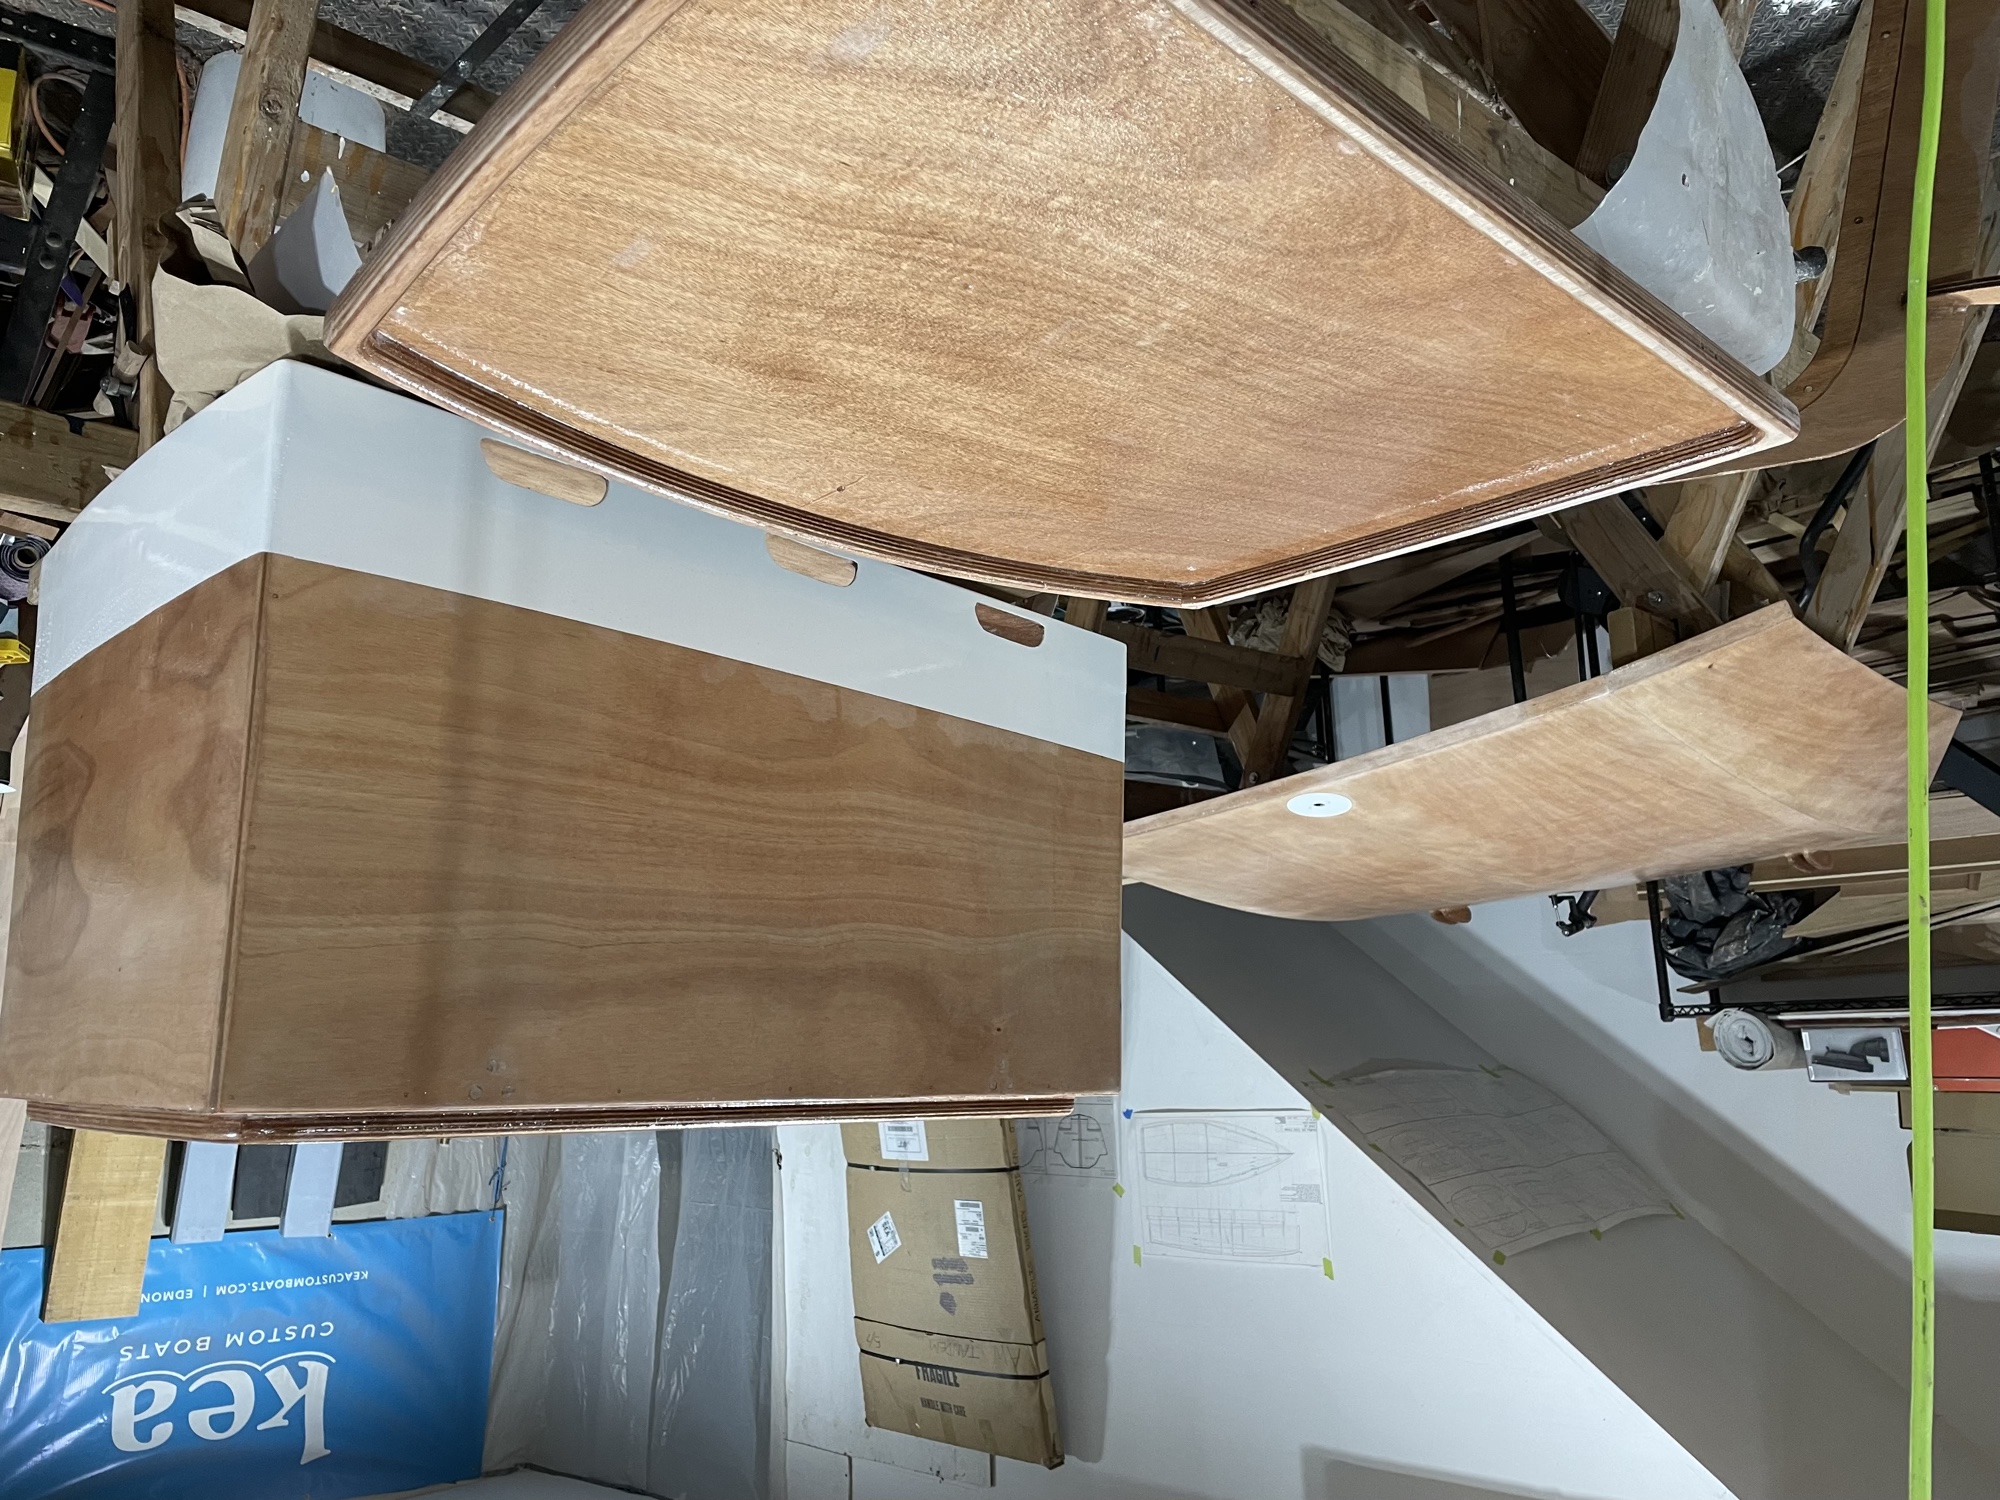
  •  Primer is applied to storage box.

    Primer is applied to storage box.

  •  Galley area is given a coat of primer.

    Galley area is given a coat of primer.

  •  5/26/22 - Several coats of paint have been applied.

    5/26/22 - Several coats of paint have been applied.

  •  Several coats of paint have been applied.

    Several coats of paint have been applied.

  •  5/30/22 - TThe storage box and galley lid are sanded and washed down.

    5/30/22 - TThe storage box and galley lid are sanded and washed down.

  •  The trailer body is sanded and washed down.

    The trailer body is sanded and washed down.

  •  5/31/22 - First coat of varnish is applied.

    5/31/22 - First coat of varnish is applied.

  •  First coat of varnish.

    First coat of varnish.

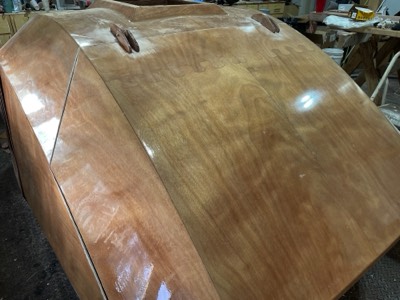
  •  6/3/22 - Several coats of varnish have been added.

    6/3/22 - Several coats of varnish have been added.

  •  Several coats of varnish later.

    Several coats of varnish later.

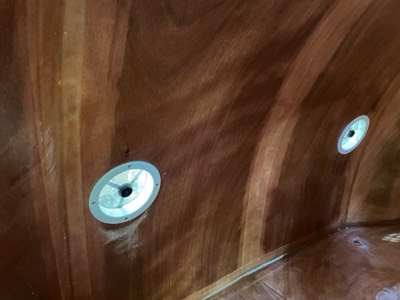
  •  6/6/22 - Inside portion of vents are installed.

    6/6/22 - Inside portion of vents are installed.

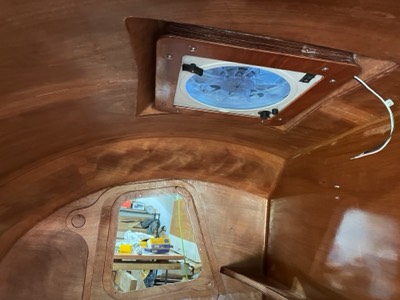
  •  Electric vent fan is installed.

    Electric vent fan is installed.

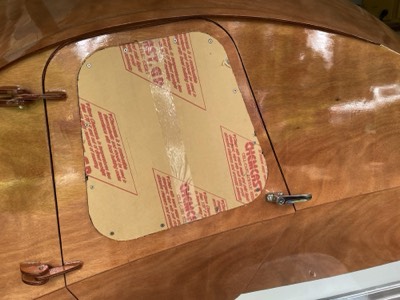
  •  6/7/22 - Windows are mounted in the doors.

    6/7/22 - Windows are mounted in the doors.

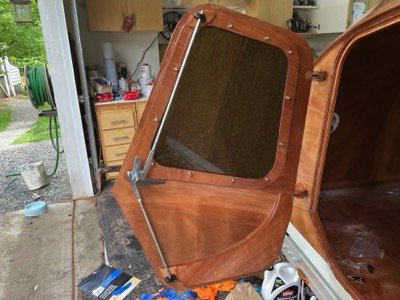
  •  Door latch mechanism is installed.

    Door latch mechanism is installed.