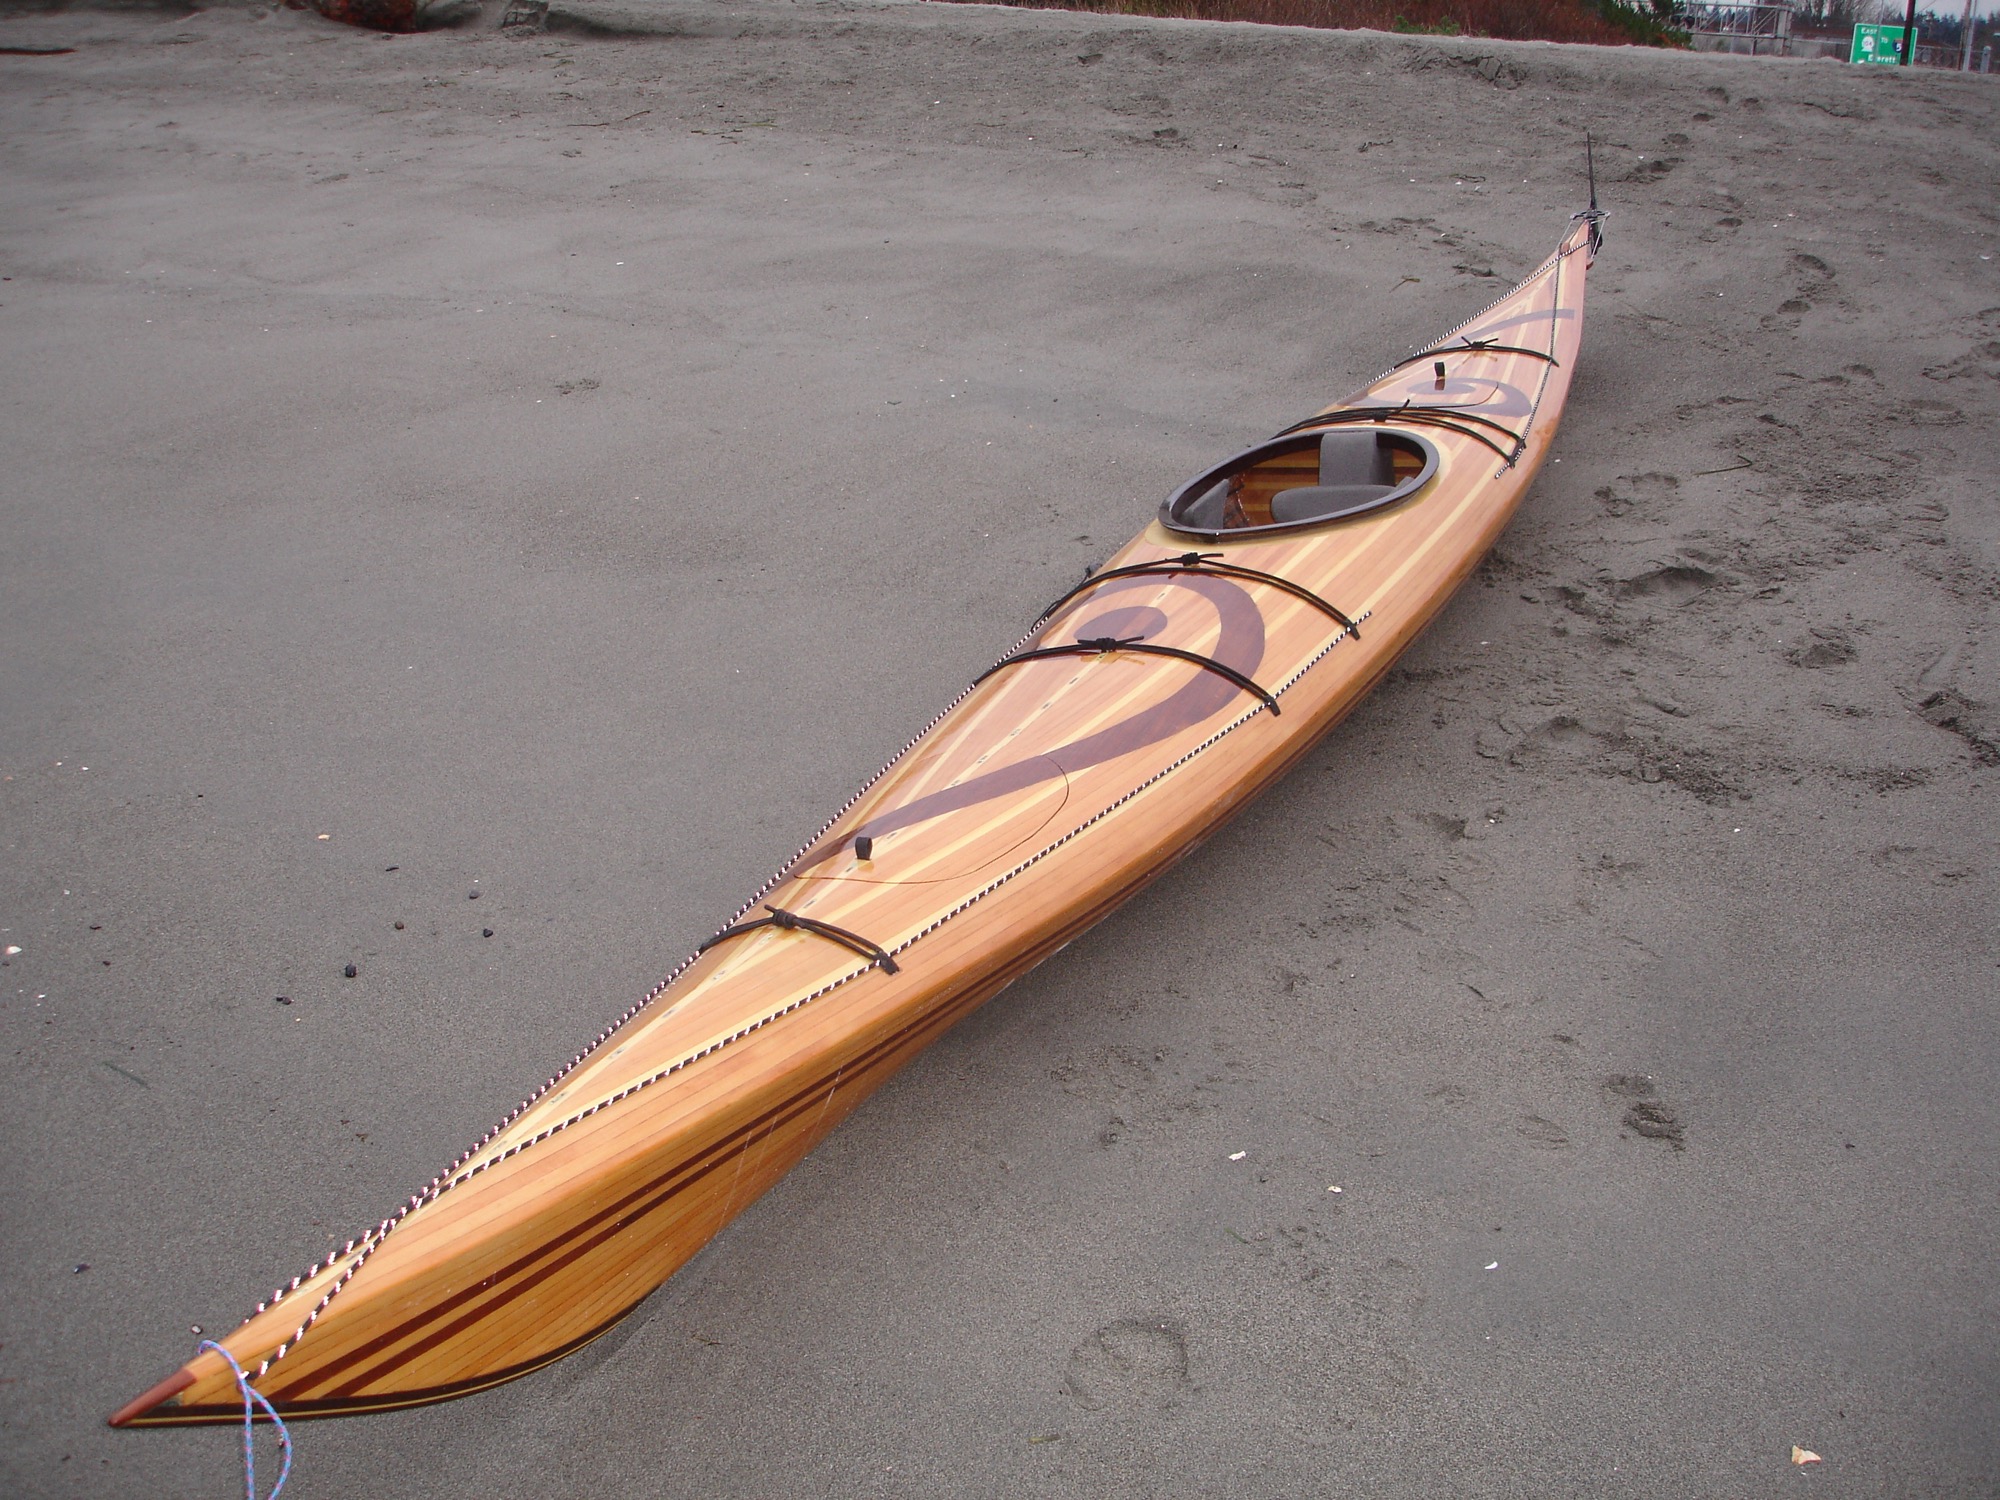
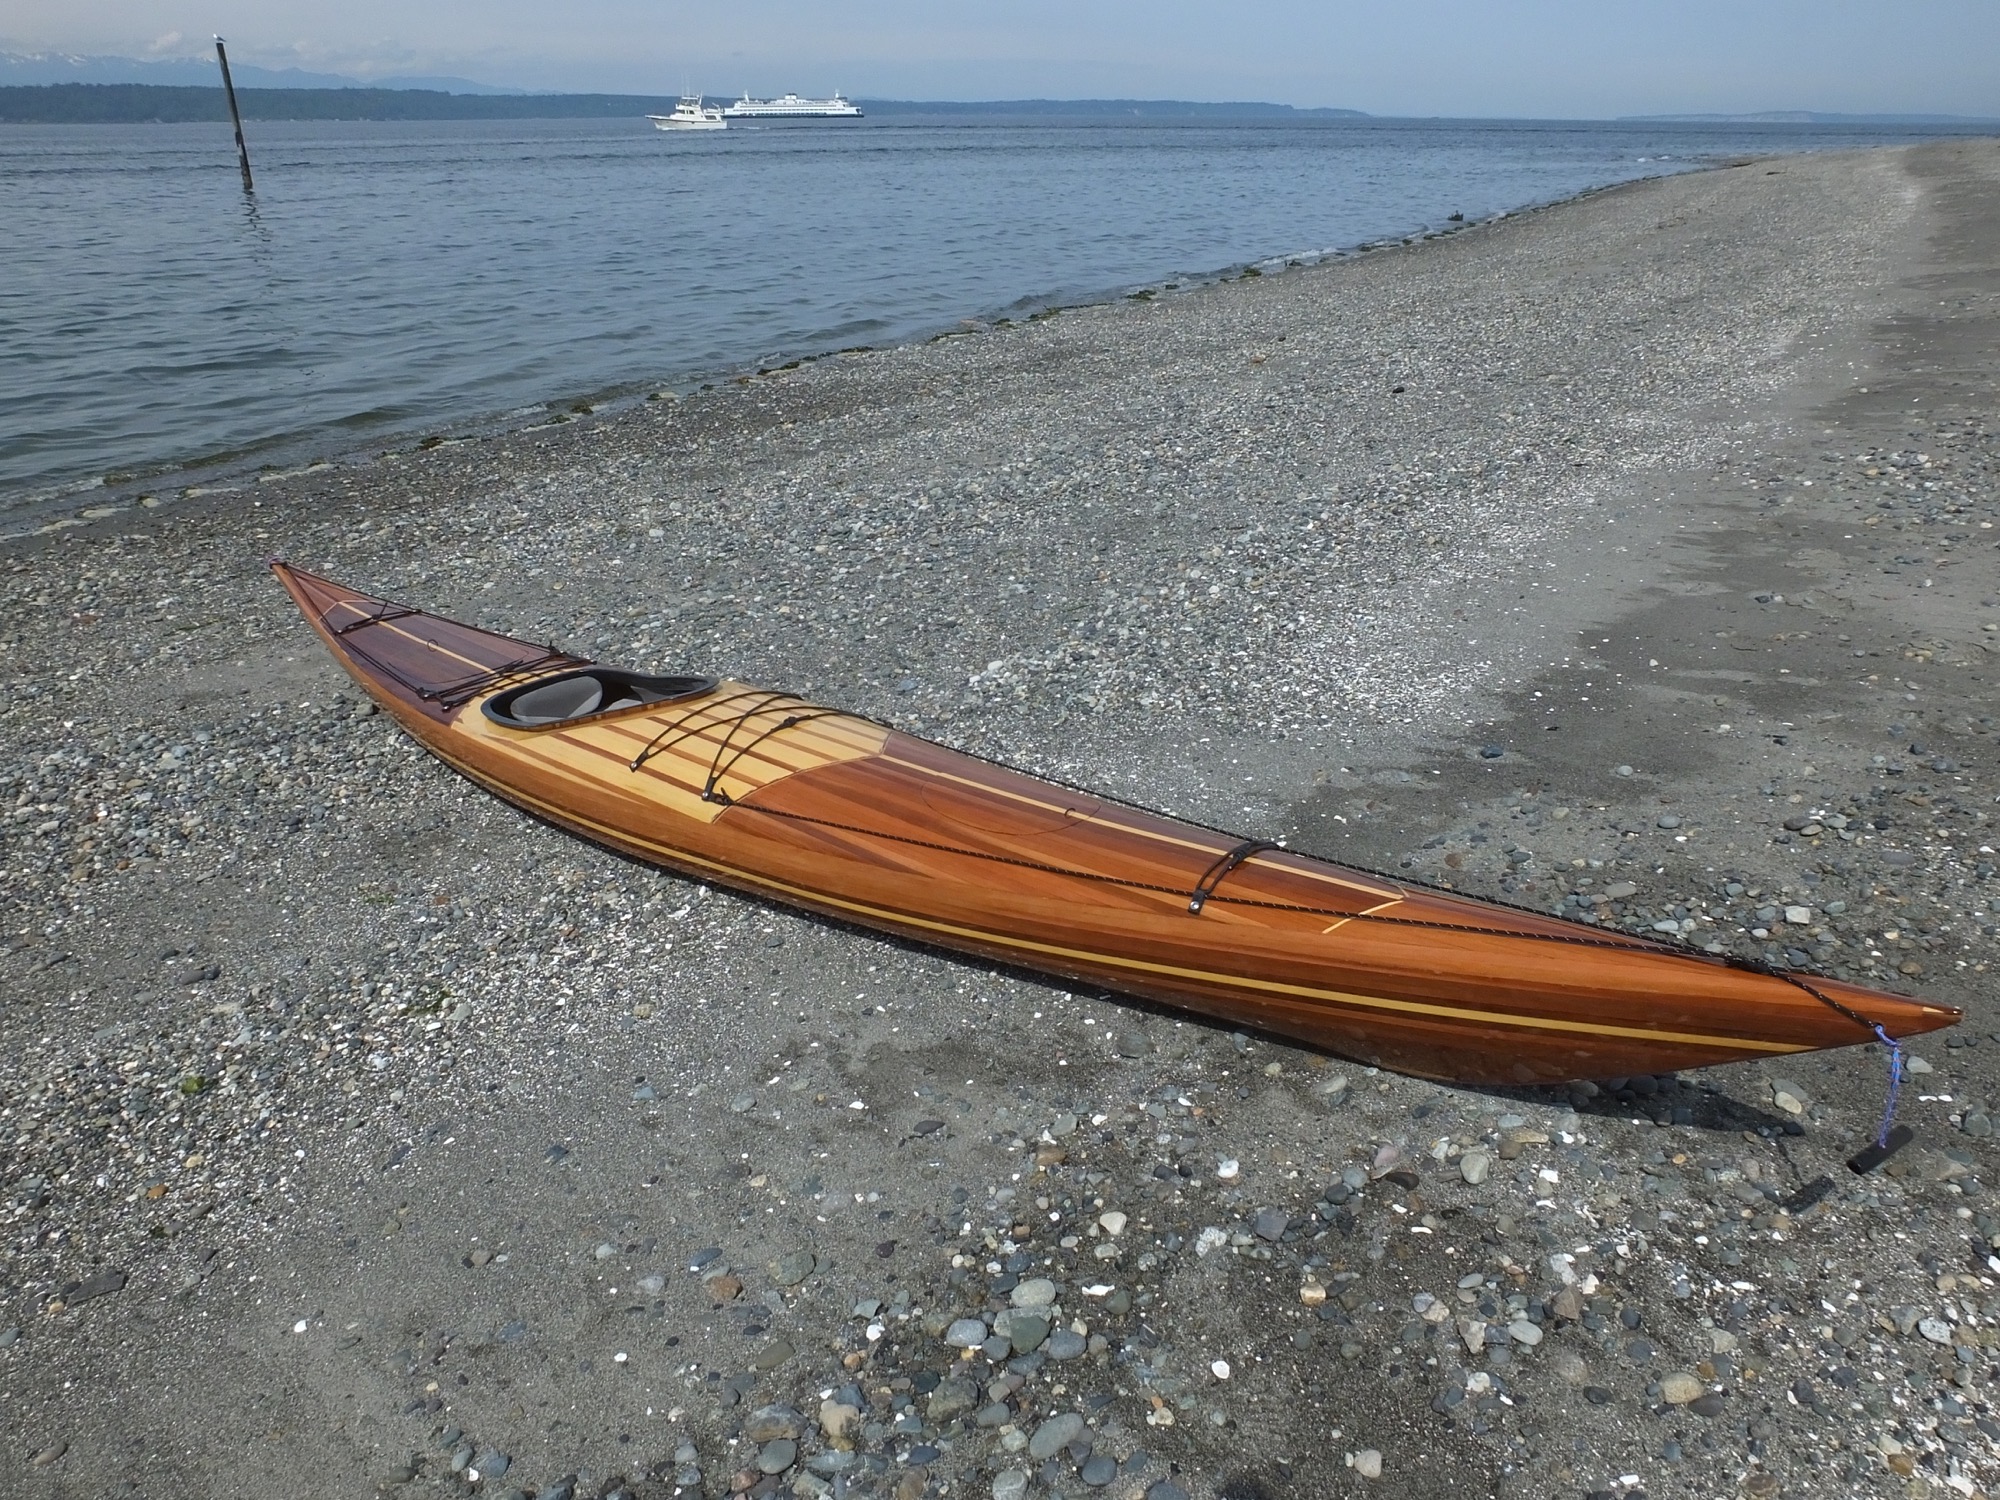
-

Turned over and setting in on her cradles.
-

View of the interior.
-

1/28/21 - The anchor locker is filleted.
-

2/5/21 - After several days filletting the bulkheads, the keelson is filletted with epoxy and fiberglass tape.
-

View in the bow section.
-

2/6/21 - A drain for the anchor well is temporarily installed.
-

2/7/21 - Reinforcement pieces are epoxied to the keel trunk.
-

Overhanging hull panels are trimmed to match the sheer clamp.
-

2/11/21 - Berth support gussets are epoxied in place and fill coats of epoxy are applied from the bow to bulkhead B.
-

2/15/21 - The forward berth/ salon sides are cut and put in place.
-

The berth sides are epoxied in place.
-

2/12/21 - Berth bearers are epoxied in place.
-

2/18/21 - The cabin sole supports are screwed and epoxied in place.
-

2/20/21 - Floatation foam is added in the bow.
-

Expanding foam is added in sugar scoop area.
-

2/22/21 - The rest of the sugar scoop is filled with floatation foam.
-

The anchor well is given a coat of paint.
-

2/23/21 - The foam is trimmed.
-

Stainless chainplates are ready to be polished.
-

2/24/21 - Areas that will be covered by seats or cabin sole are painted.
-

2/26/21 - The sugar scoop inner skin is test fit.
-

Inner skin is epoxied in place after being sealed with epoxy on the inside surface.
-

2/28/21 - The sugar scoop is filleted.
-

3/1/21 - Two of the forward berth tops are test fit.
-

3/3/21 - The starboard seat top shape is determined.
-

All of the forward seat tops are cut out.
-

Hull window reinforcements are epoxied in place.
-

3/4/21 - Hatch lips are epoxied in place on the forward berth.
-

3/7/21 - The sugar scoop is fiberglassed. (The white section is epoxy filler.)
-

3/10/21 - The forward seat tops are epoxied in place.
-

Forward seat hatch lids are fiberglassed.
-

3/12/21 - A part of bulkhead H that broke off during the hull turning is epoxied back in place.
-

3/15/21 - The entire interior is given a seal coat of epoxy.
-

3/16/21 - The berth storage lids are fill coated with epoxy.
-

3/17/21 - Supports for the battery platform are epoxied in place.
-

Berth support stringer epoxied in place.
-

The forward berth storage lids fit nicely.
-

3/19/21 - The cabinet fronts for the galley are cut and fit.
-

3/22/21 - Aft quarter berth walls are epoxied in place.
-

Galley cabinent supports epoxied in place.
-

3/23/21 - Quarter berth stringers are epoxied in place.
-

3/24/21 - The chart table / fuse panel cabinet is framed out.
-

The frame is epoxied in place.
-

3/26/21 - Port side berth tops are fit.
-

Starboard side berth tops are fit.
-

3/27/21 - Galley cabinet front is epoxied in place.
-

Starboard berth top is reinforced with carbon fiber.
-

3/28/21 - The chart table cabinet front is epoxied in place.
-

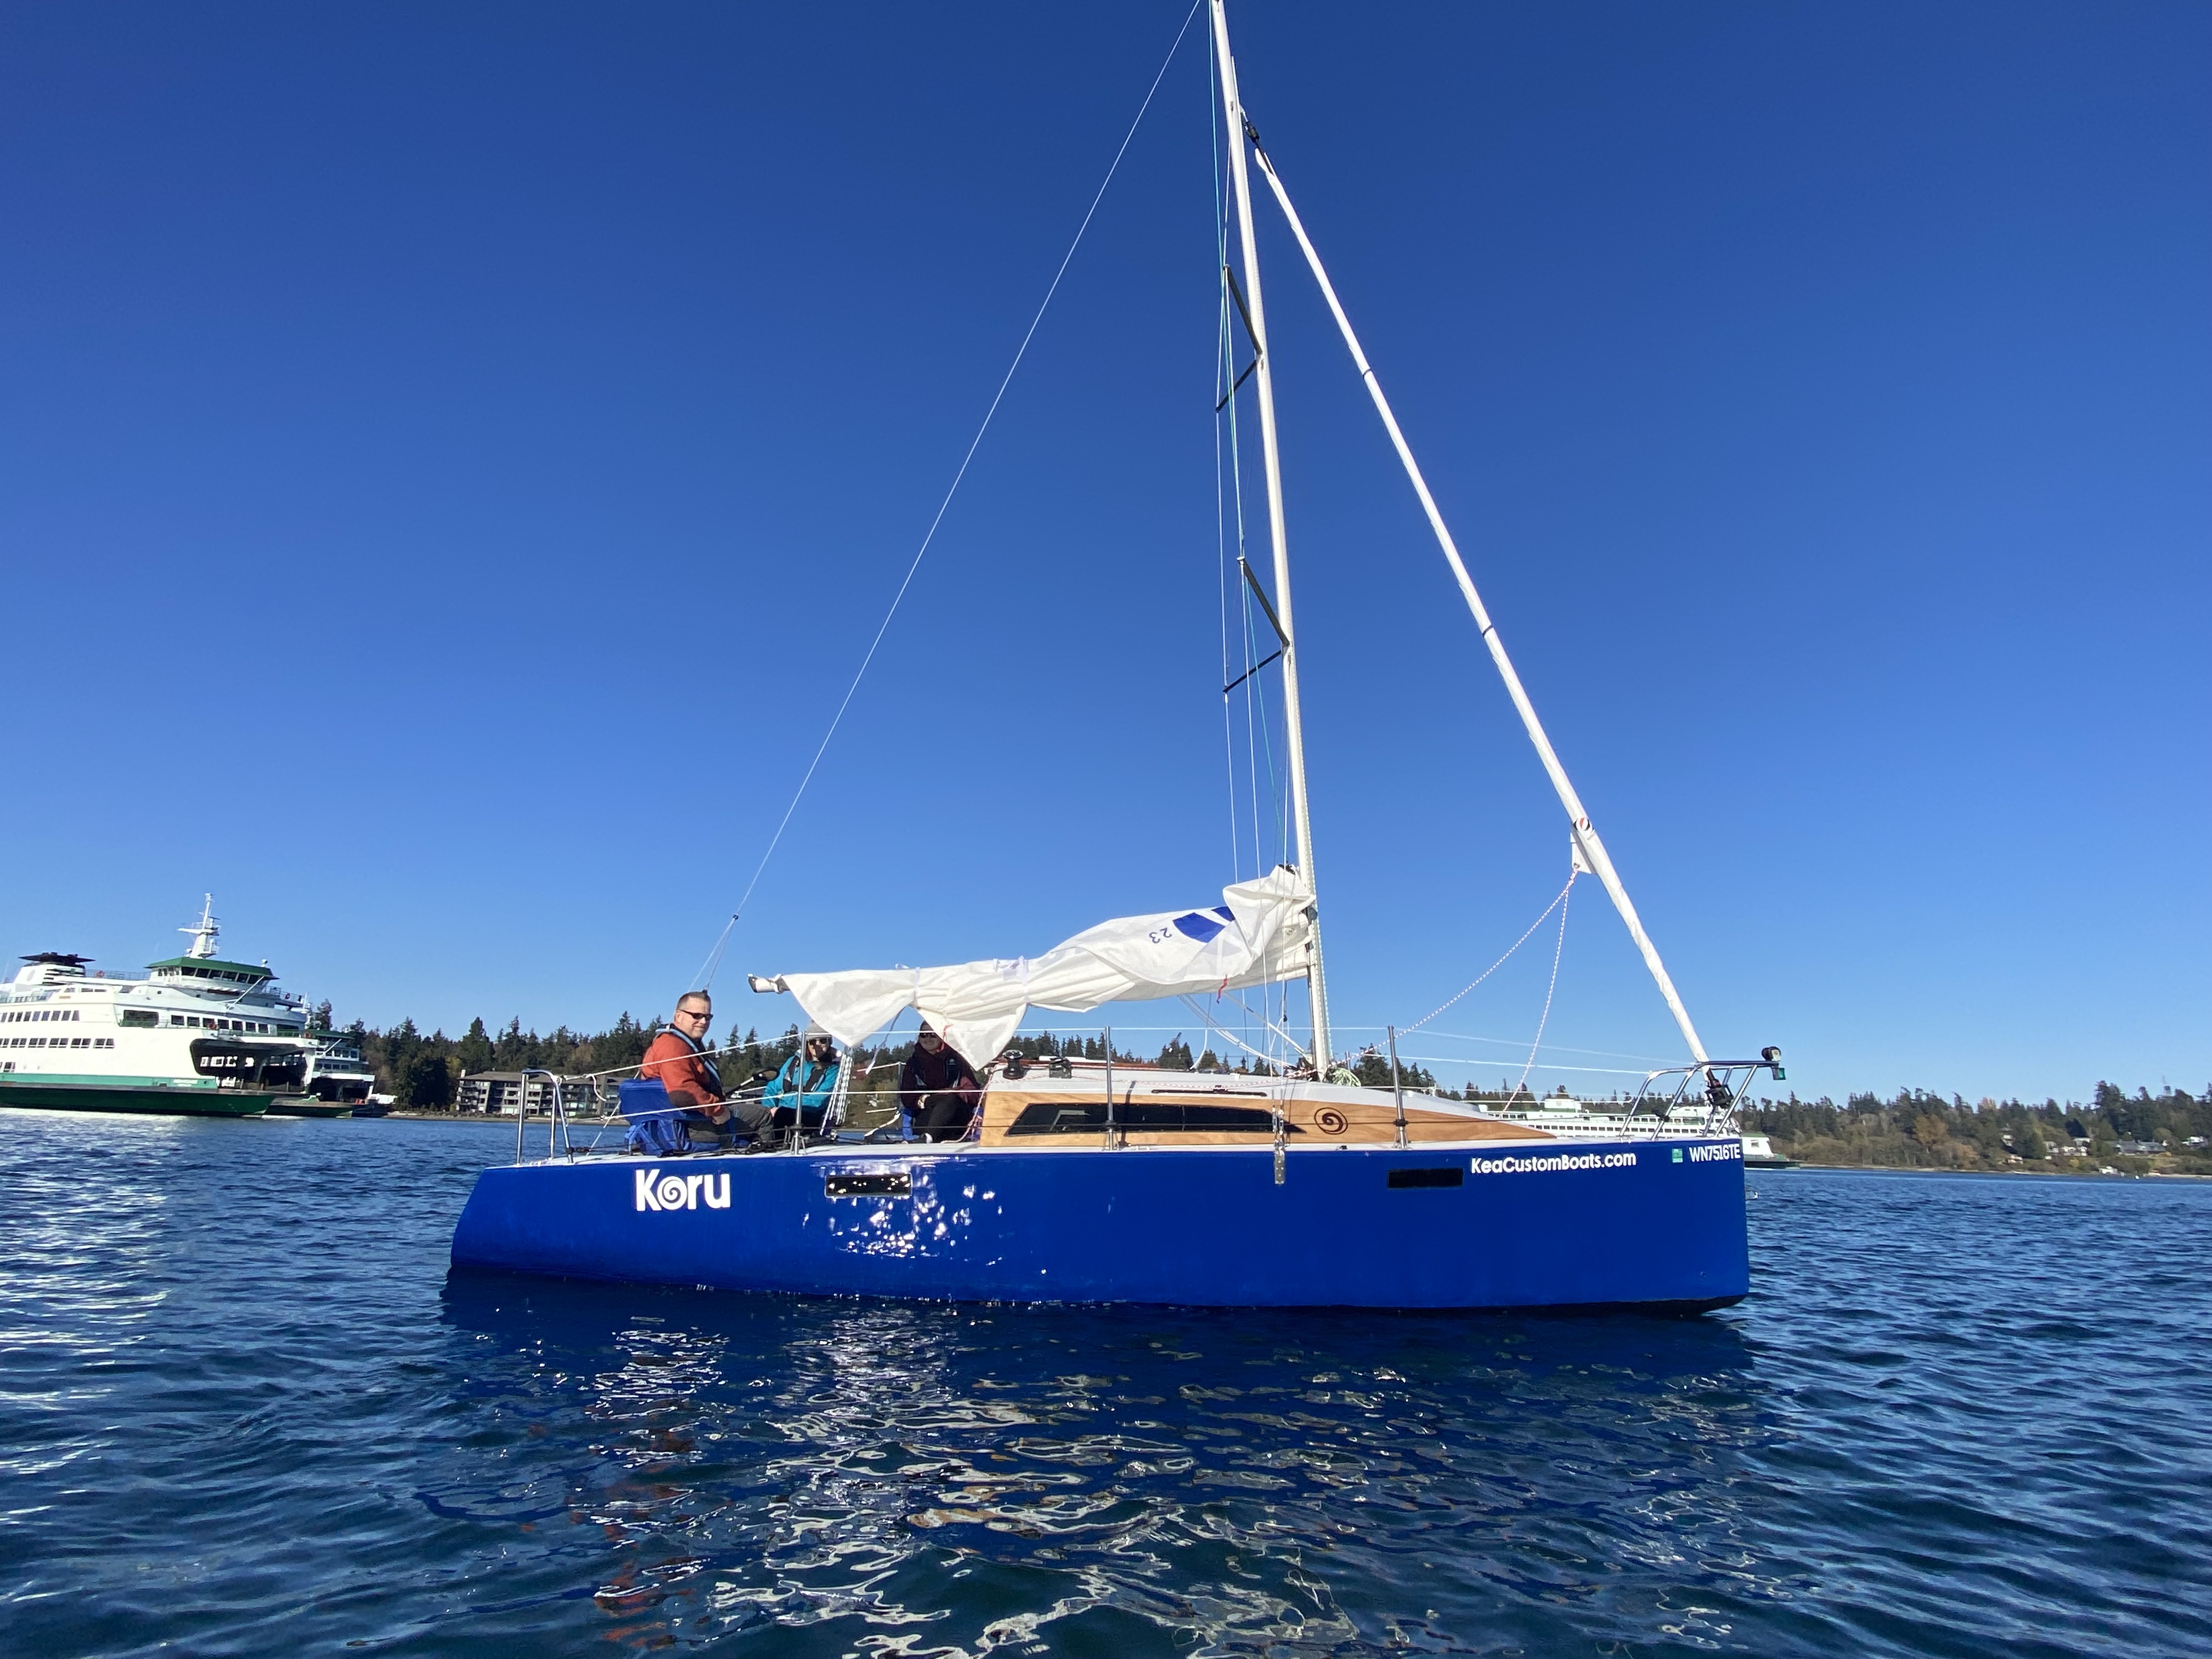
3/30/21 - Overall shot of the boat.
-

View from the stern.
-

Galley cabinet doors are test fit.
-

4/7/21 - Cabin sole supports are temporarily fit.
-

Cockpit sole supports are coated with epoxy.
-

4/9/21 - Interior of galley cabinet is painted.
-

Interior of chart table cabinet is painted.
-

4/12/21 - The fuse/switch panel is set up.
-

4/14/21 - The chart cabinent door is test hung.
-

Door into the head is test hung.
-

Swings open nicely.
-

4/21/21 - The mast support post is epoxied together.
-

4/22/21 - Cross section of the mast support post.
-

Mast support is test fit.
-

First coat of paint is applied to the forward cabin.
-

4/23/21 - Mast post is fiberglassed.
-

4/25/21 - Forward storage cover is fitted.
-

Mast support post is epoxied in place.
-

4/26/21 - Splines are hot glued in place to determine the shape of cabin sole.
-

4/27/21 - Galley counter top is test fit.
-

Backing plate for chainplates is epoxied in place.
-

4/28/21 - The first piece of cabin sole is cut out.
-

4/29/21 - The forward cabin sole pieces are cut and test fit.
-

The sole for the head compartment is test fit.
-

4/30/21 - The rest of the cabin sole is fit.
-

Overall shot of the cabin.
-

5/6/21 - Cockpit sole supports are epoxied in place.
-

Galley countertop is epoxied in place.
-

5/7/21 - The aft area is painted with Interprotect primer since it will be used for wet storage.
-

5/10/21 - The area under the cockpit gets its first coat of paint.
-

5/11/21 - Second coat for under the cockpit.
-

4 coats for forward cabin.
-

Port side.
-

5/12/21 - Third and fourth coat.
-

Forward cabin is done.
-

Galley area gets its first coat.
-

5/13/21 - The first round of interior painting is done.
-

5/15/21 - The electrical panel is mounted.
-

Cabin speakers are mounted.
-

5/16/21 - Power has been run to the panel.
-

5/17/21 - View behind the panel.
-

5/18/21 - Battery charger and fuse.
-

Wire run to the stern.
-

5/19/21 - The cockpit sole is cut and fit.
-

6/1/21 - The cockpit walls are test fit.
-

6/2/21 - The teak and holly cabin sole looks good with a coat of epoxy on it.
-

6/4/21 - The traveler beam is laminated from several pieces of plywood.
-

The #1 cabin top pieces are epoxied to full length.
-

The companionway ladder in it's rough form.
-

6/6/21 - The traveler beam is sanded smooth. The part sticking out is the chartplotter mount.
-

The cockpit walls are filletted.
-

Traveler beam and several other parts are sealed with epoxy.
-

6/7/21 - The inside corners of the cockpit are reinforced with fiberlgass tape.
-

Stringers are epoxied to the upper edges of the cockpit walls.
-

6/8/21 - The forward deck is test fit.
-

6/9/21 - The companionway ladder is test fit.
-

The forward deck is epoxied in place.
-

6/10/21 - Fiberglass cloth is laid on the cockpit sole.
-

The first section is saturated.
-

The entire cockpit sole is fiberglassed.
-

The anchor locker opening is traced onto the bow.
-

The starboard deck is trimmed flush with the sheer clamp.
-

6/13/21 - Windows are cut in the starboard #2 cabin panel.
-

The ladder is sealed with epoxy.
-

The traveler support beam is epoxied in place.
-

Starboard cabin panels #1 and #2 are test fit.
-

6/14/21 - Cabin windows are cut out from pieces of acrylic.
-

Track saw was used for straight lines.
-

A recess is routed out for the windows.
-

Window fits nicely.
-

6/15/21 - With a little trimming the cabin top pieces will fit nicely.
-

6/16/21 - The deck pieces are fit around the cockpit.
-

6/17/21 - View of the cabin top from the interior.
-

6/20/21 - Footbraces are epoxied onto the cockpit sole.
-

The cabin top seams are filled with epoxy.
-

6/20/21 - Plywood caps are installed at the shear joint.
-

6/27/21 - The caps are rough cut in line with the deck and hull.
-

A block plane was used to shape the caps.
-

The inside of the cabin top seams are filled with epoxy and fiberglass tape.
-

6/28/21 - The underside of the cabin top is sealed with epoxy.
-

6/30/21 - Backing plates are epoxied in place.
-

Custom forward bunk is test fit on the trailer.
-

7/1/21 - Underside of the cabin top is sanded.
-

7/2/21 - The bases of the aft trailer bunks are fiberglassed.
-

Forward trailer bunk is epoxied together.
-

7/6/21 - The bunks are test fit on the trailer.
-

Inside of aft bunks are filleted.
-

Cabintop/ deck joint is filleted with epoxy.
-

7/7/21 - View into the cabin from the cockpit.
-

The opening for the lifting keel is cut.
-

7/8/21 - Fiberglass cloth is laid on the cockpit seats.
-

The fiberglass is saturated with epoxy.
-

Extra glass is trimmed.
-

7/9/21 - Storage hatches are cut out in the aft part of the cockpit.
-

Hatch lips are cut out.
-

7/11/21 - The bottoms of the aft bunks are filled with thickened epoxy.
-

7/12/21 - Sapele pieces are are sealed with epoxy.
-

Companionway hatch slides are test fit.
-

Hardwood transom reinforcement is epoxied in place.
-

7/13/21 - Cockpit storage doors are sealed with epoxy.
-

Companionway hatch pieces are temporarily screwed in place.
-

7/14/21 - Locking hatch handles are installed.
-

Mast step and connectors for wires are temporarily mounted.
-

7/15/21 - Walnut Koru inlay is cut into the side of the cabin.
-

Paua shell is added to the koru.
-

7/17/21 - Fiberglass cloth is laid on the cabin and deck.
-

The cloth is saturated with epoxy.
-

The inlay under the glass.
-

Trailer bunks are fiberglassed.
-

7/25/21 - Forward hatch is test fit.
-

View of hatch from outside.
-

View into the cabin.
-

7/26/21 - The anchor well hatch is cut out.
-

Hatch lips are epoxied in place.
-

7/27/21 - Trailer bunks are given several fill coats of epoxy.
-

Cockpit sole is given several fill coats of epoxy.
-

Companionway hatch trim is epoxied in place.
-

Remainder of hatch lips are epoxied in place.
-

Acrylic is cut and fit for hull windows.
-

Holes are cut for vents.
-

Mushroom vent from inside the cabin.
-

Solar vent from inside the head.
-

Custom mounts for navigation lights are test fit.
-

7/28/21 - Holes for cleats are drilled in the deck.
-

8/12/21 - The deck and cabintop are given several fill coats of epoxy.
-

The boat is partially sanded.
-

8/15/21 - The anchor locker hatch is test fit.
-

8/17/21 - The deck and cabin top are sanded in preparation for paint.
-

8/19/21 - The window recesses are painted.
-

8/20/21 - #1 cabin panel is taped off.
-

8/22/21 - Deck is primed.
-

Cabin top is primed.
-

Trailer bunks are primed.
-

8/24/21 - Trailer bunks are given first coat of paint.
-

8/28/21 - Second coat of paint.
-

8/29/21 - The bunks are placed on the trailer.
-

8/30/21 - The primer and hull paint are sanded for final painting.
-

Sheer joint is taped off.
-

Cockpit area giving first coat of paint. Interlux Perfection Platinum.
-

Cabintop given first coat of paint.
-

8/31/21 - Second coat of paint is applied.
-

Second coat on the sugar scoop.
-

9/1/21 - Deck is taped off for non-skid.
-

Paint and non-skid particles are applied.
-

Non skid on the bow.
-

9/3/21 - The companionway hatch sliders are sanded and ready for epoxy.
-

Deck is taped off for final hull paint and varnish on #1 panel.
-

Hatch sliders are epoxied and screwed in place.
-

First coat of hull paint.
-

The trailer is finished and ready for the boat.
-

9/8/21 - The companionway hatch parts are test fit.
-

9/12/21 - Several coats of varnish have been added to the cockpit sole.
-

Several coats of varnish added to cabin top sides.
-

9/13/21 - Hull windows are installed.
-

Cabin windows are installed.
-

Companionway hatch pieces are primed.
-

9/15/21 - Speakers, chartplotter, manual bilge pump, and motor controls are mounted.
-

Vents, main hatch, mast step, and keel lift fittings are mounted.
-

9/16/21 - Aft navigation lights and bilge pump thru hulls are mounted.
-

Forestay chainplate and navigation lights are mounted.
-

9/19/21 - The cockpit will look good at night!
-

9/27/21 - The companionway hatch from the inside.
-

9/29/21 - The boat is on the way out.
-

She's coming out slowly.
-

Almost on the trailer.
-

Sitting on the temporary trailer bunk.
-

Last time it will be in this workshop.
-

She's out at last!
-

Ready for phase 2.