-
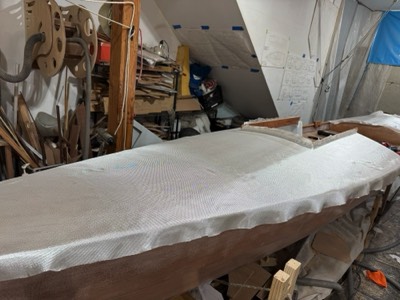
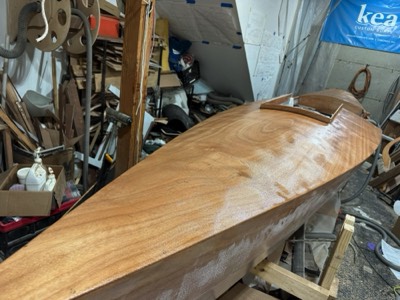
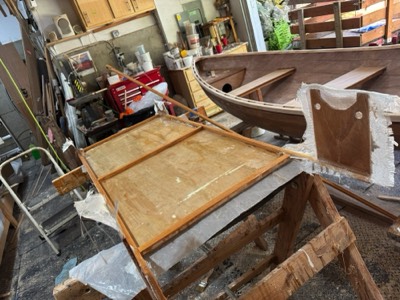
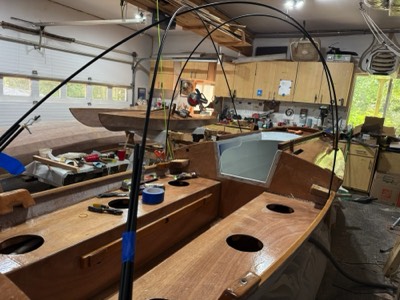
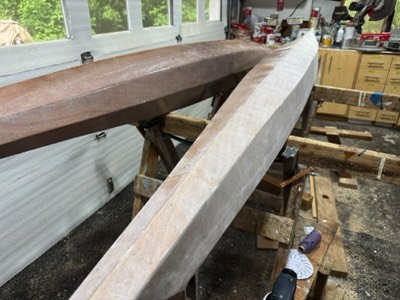
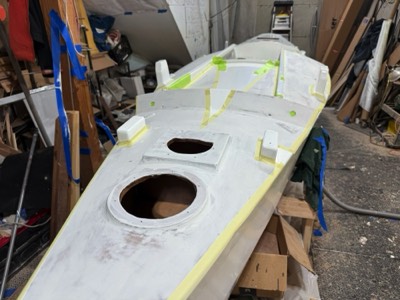
3/22/25 - The deck is ready for fiberglass.
-
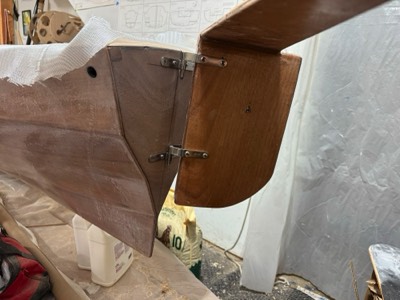
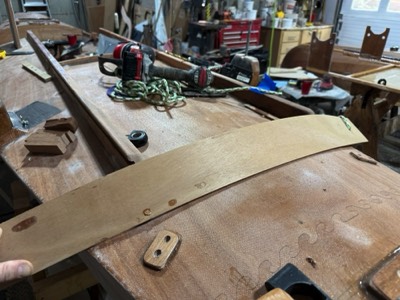
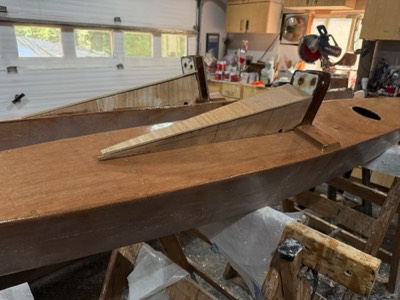
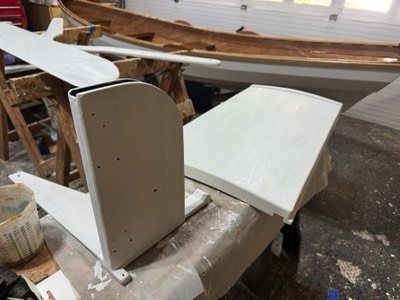
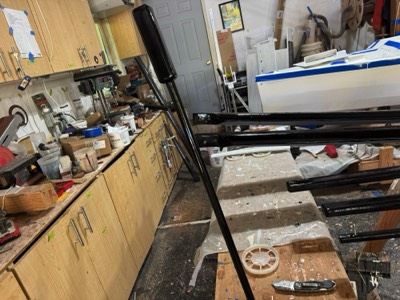
Rudder is temporarily mounted.
-
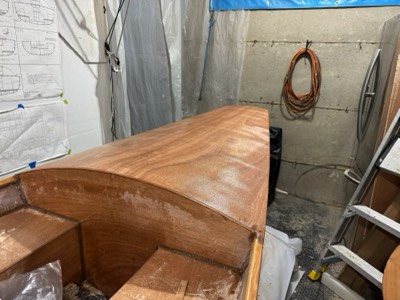
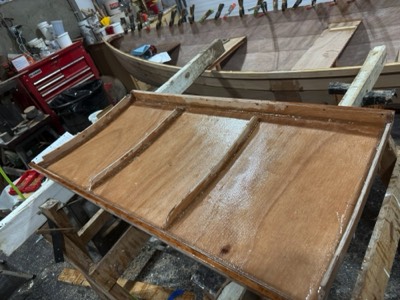
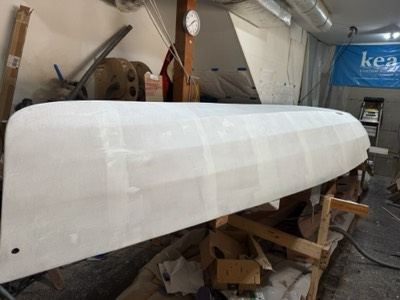
Aft deck is fiberglassed.
-
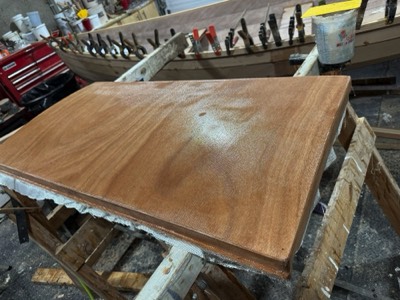
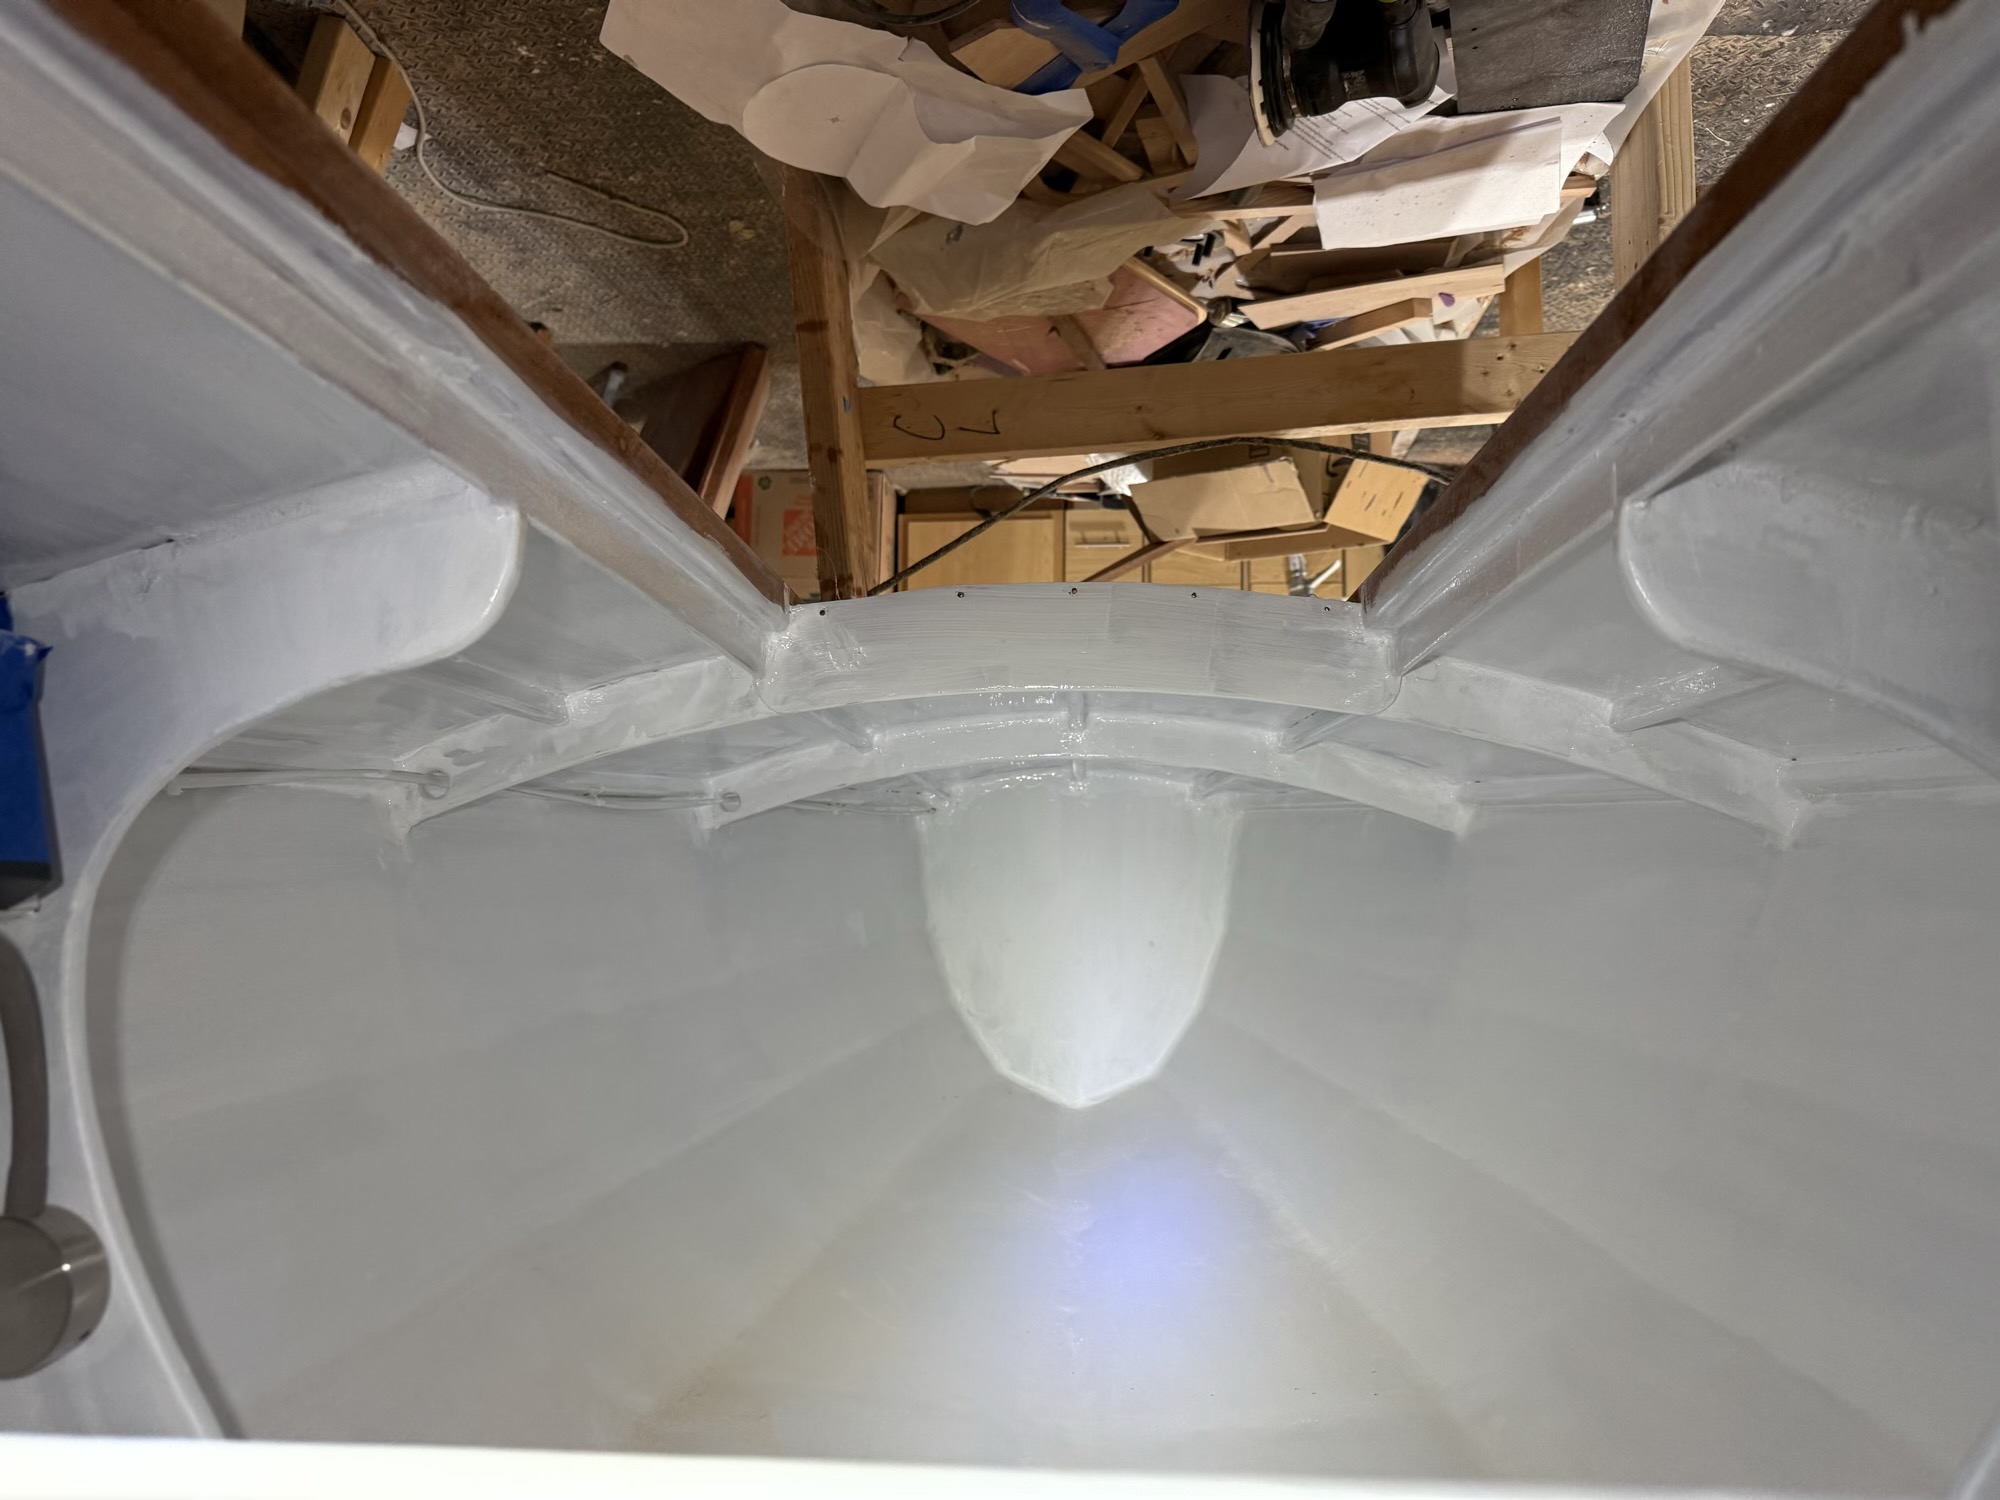
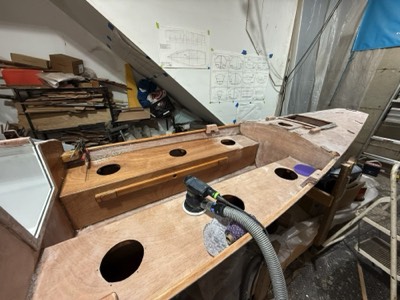
Forward deck is fiberglassed.
-
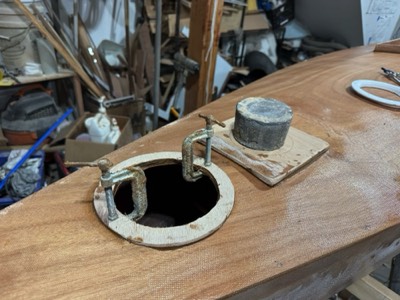
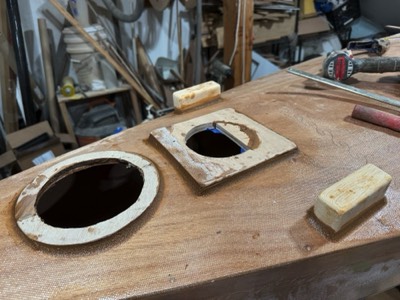
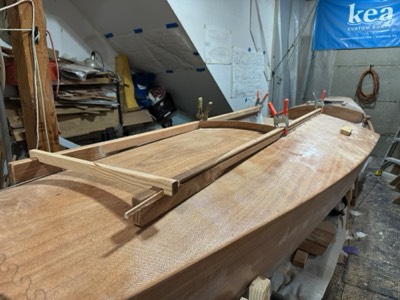
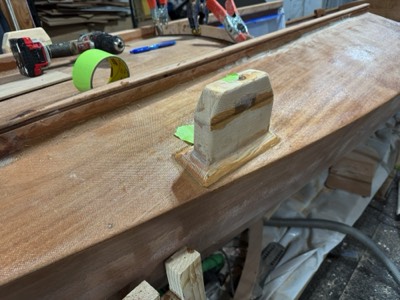
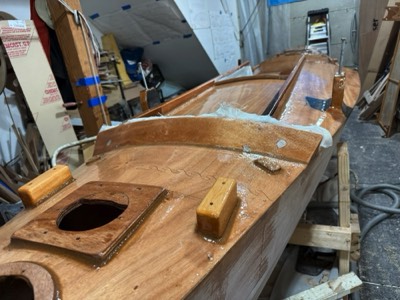
3/23/25 - Hatch stiffener and mast partner plate are epoxied in place.
-
Aft mast plate and hatch stiffener.
-
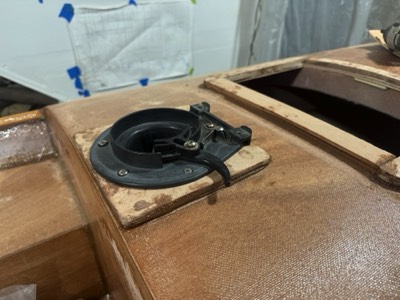
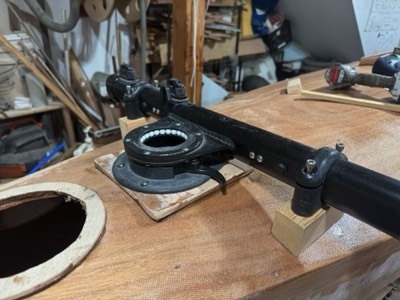
3/24/25 - Hobie mast socket is test fit.
-
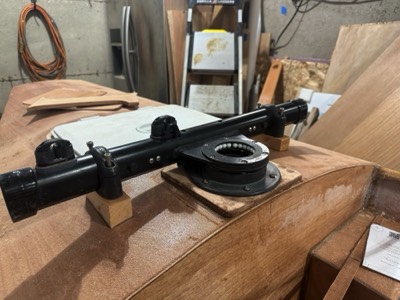
Upper bering assembly is test fit.
-
Forward bering assembly.
-
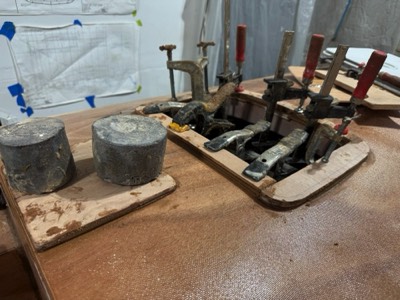
Epoxy fillets are applied.
-
Epoxy fillets are applied.
-

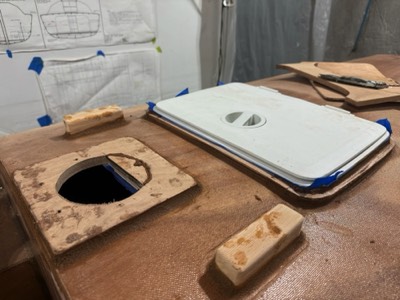
Main hatch is glued together.
-
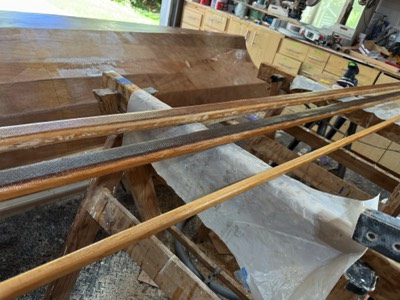
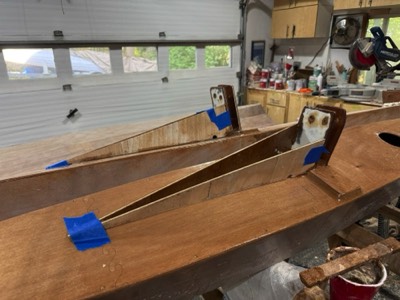
3/27/25 - Rails for custom sliding hatch are test fit
-

ails for custom sliding hatch are epoxied in place.
-
4/3/25 - Attachment points for forward aka are epoxied in place.
-
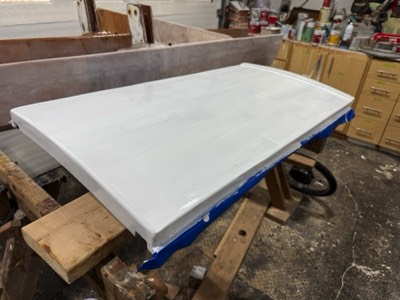
Main hatch is fiberglassed.
-
4/4/25 - Inside of hatch is glassed.
-
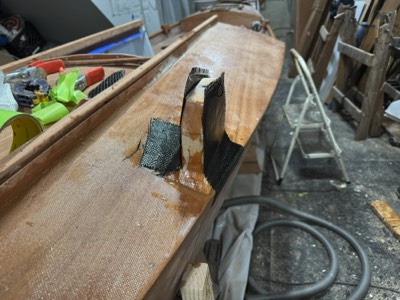
Carbon fiber reinforcements added.
-
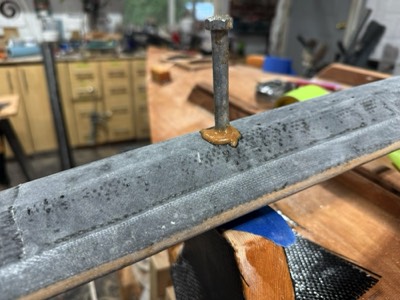
4/5/25 - The oversize bolt hole is filled with epoxy.
-
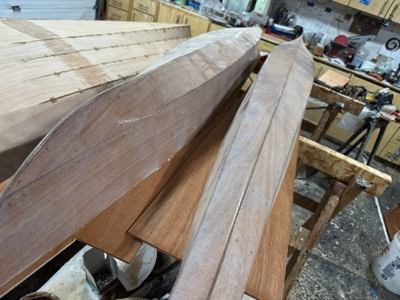
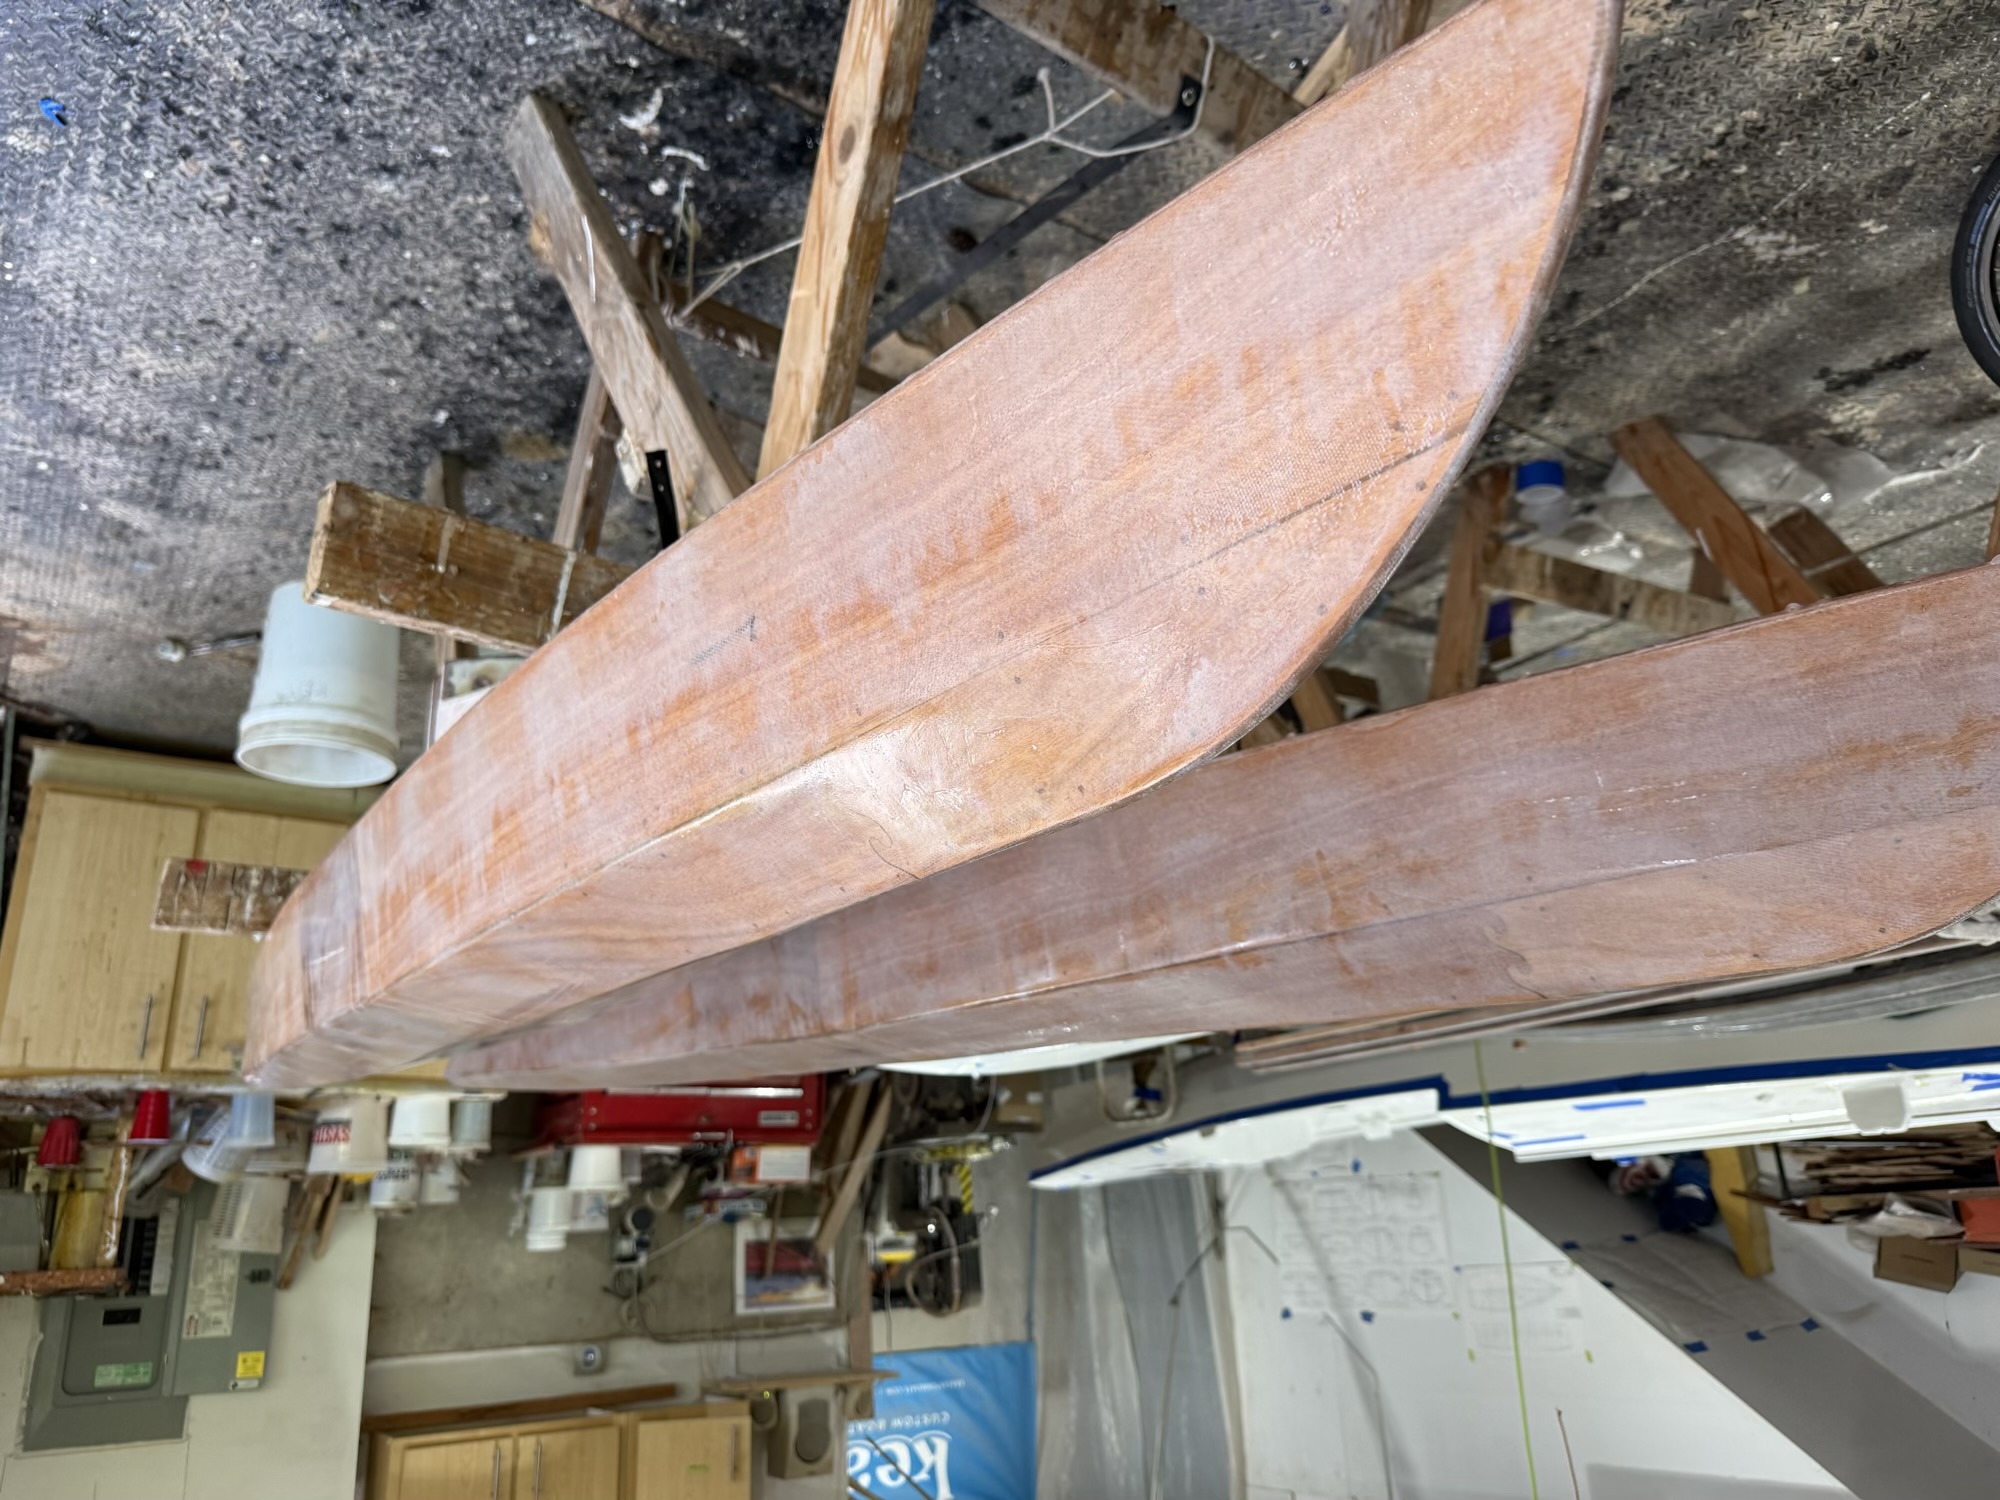
4/8/25 - Decks are epoxied on the amas.
-
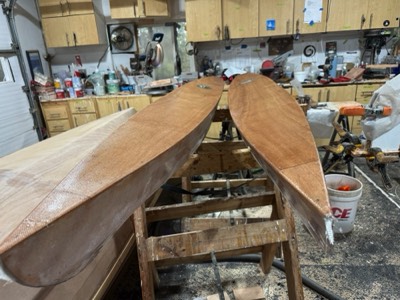
4/10/25 - The ama decks are fiberglassed.
-

4/14/25 - Aka attachment points are epoxied in place.
-
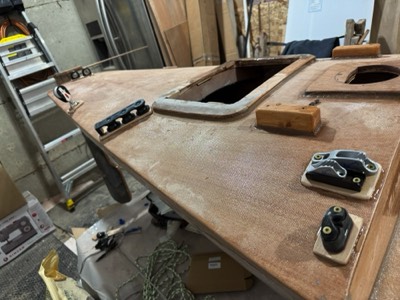
4/17/25 - Deck hardware is laid out.
-
4/18/25 - The custom booms are fiberglassed and the tiller is epoxy sealed.
-
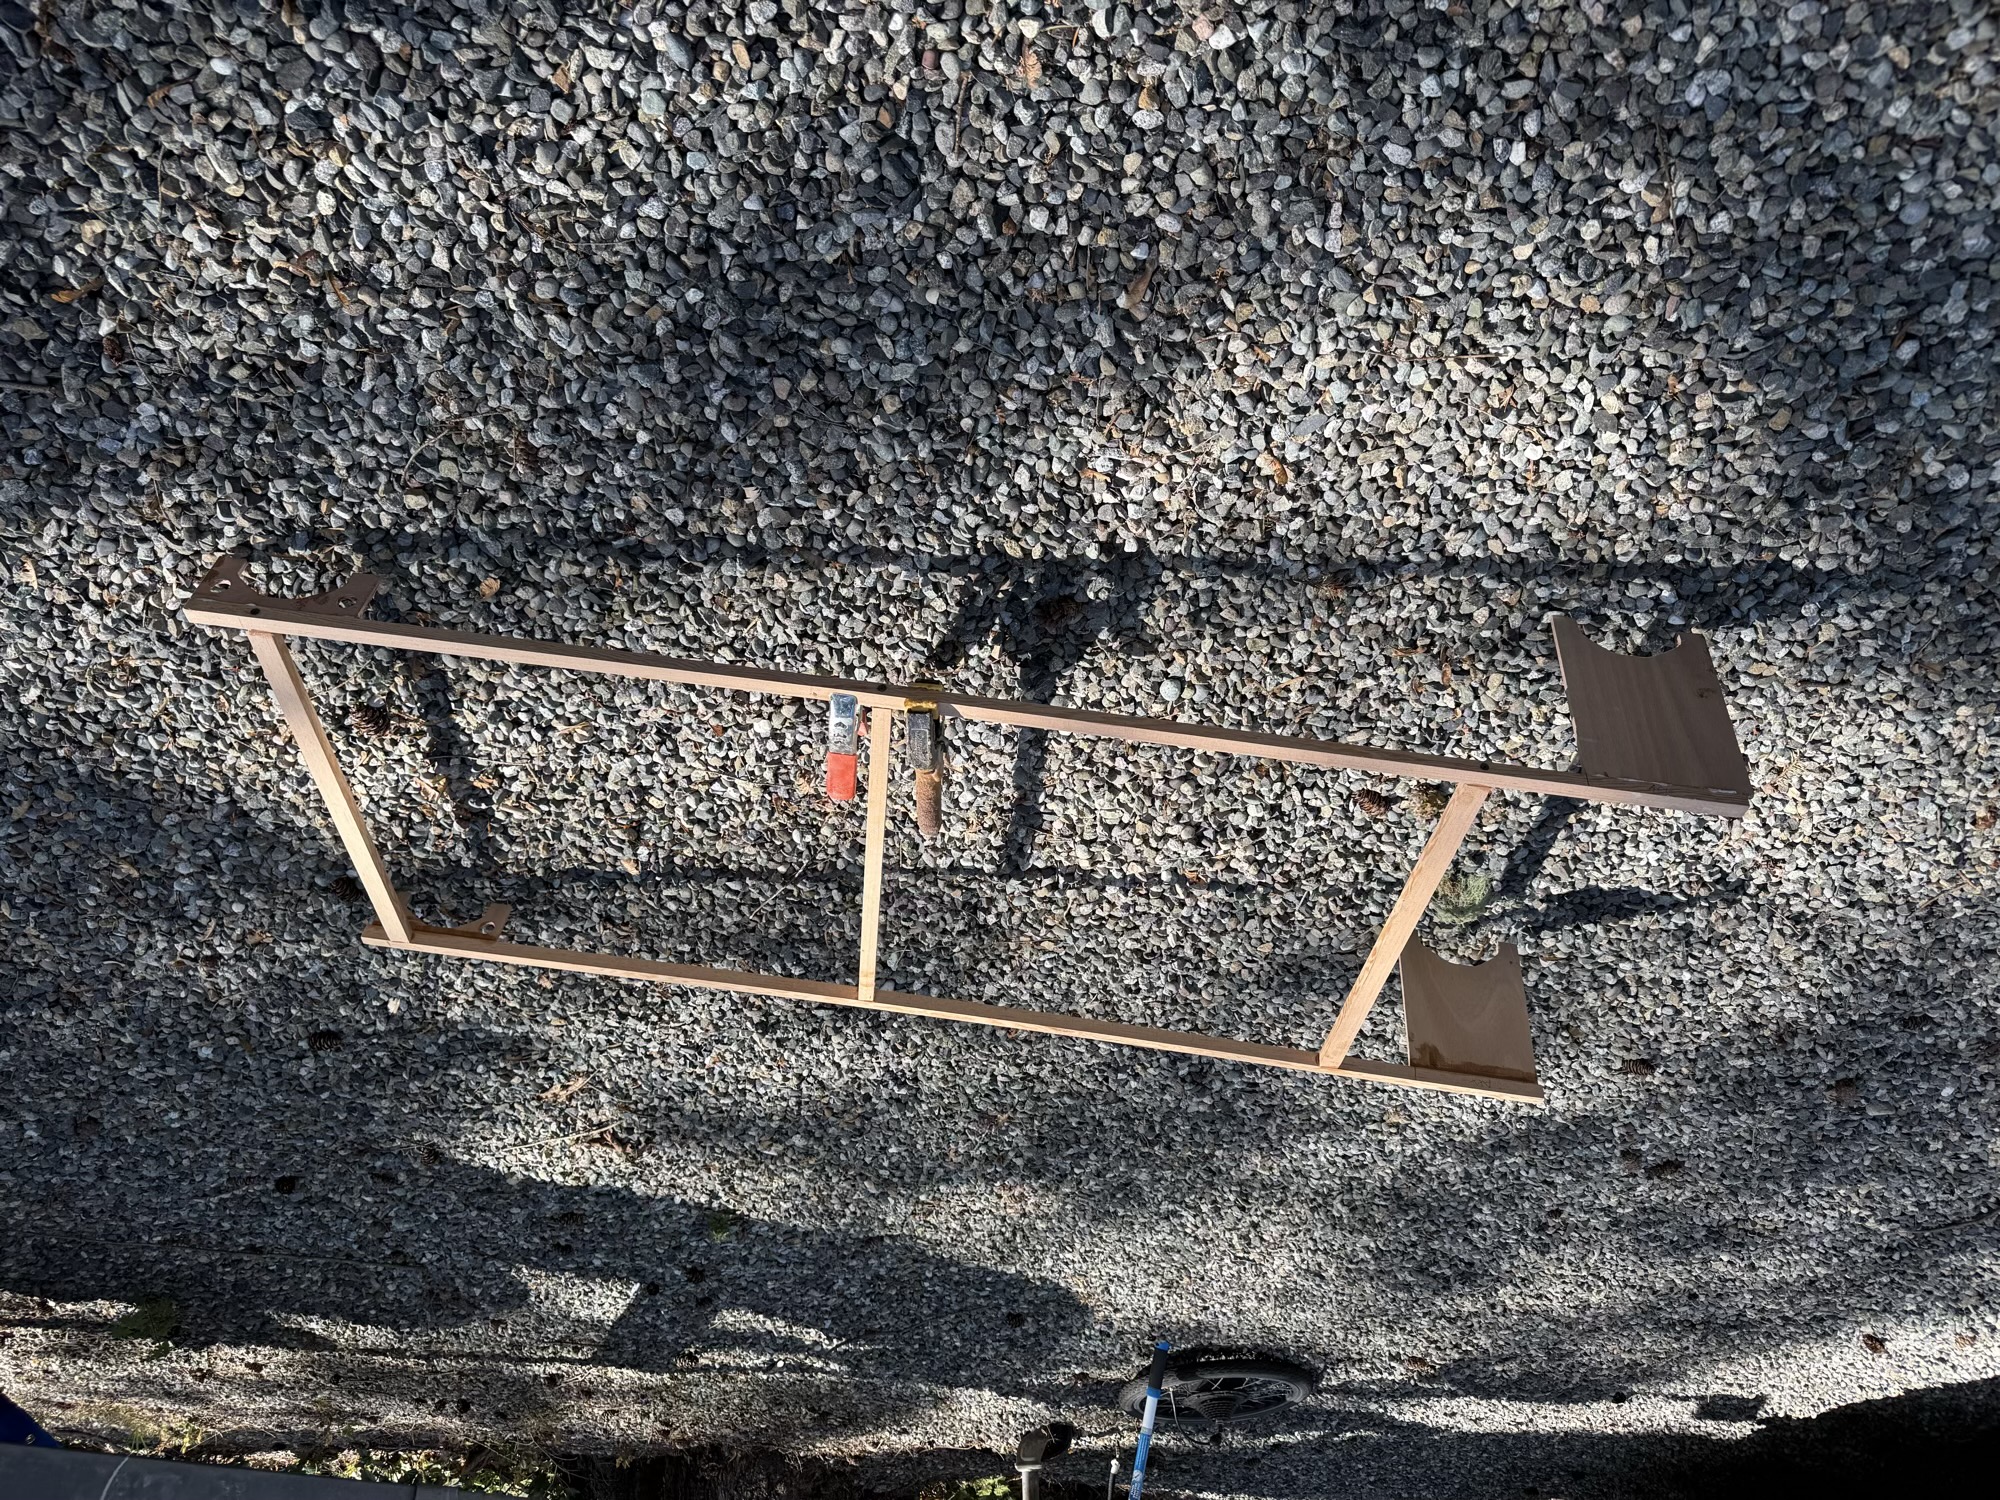
4/22/25 - A frame for solar panel is built.
-
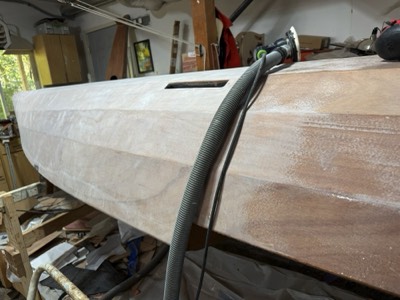
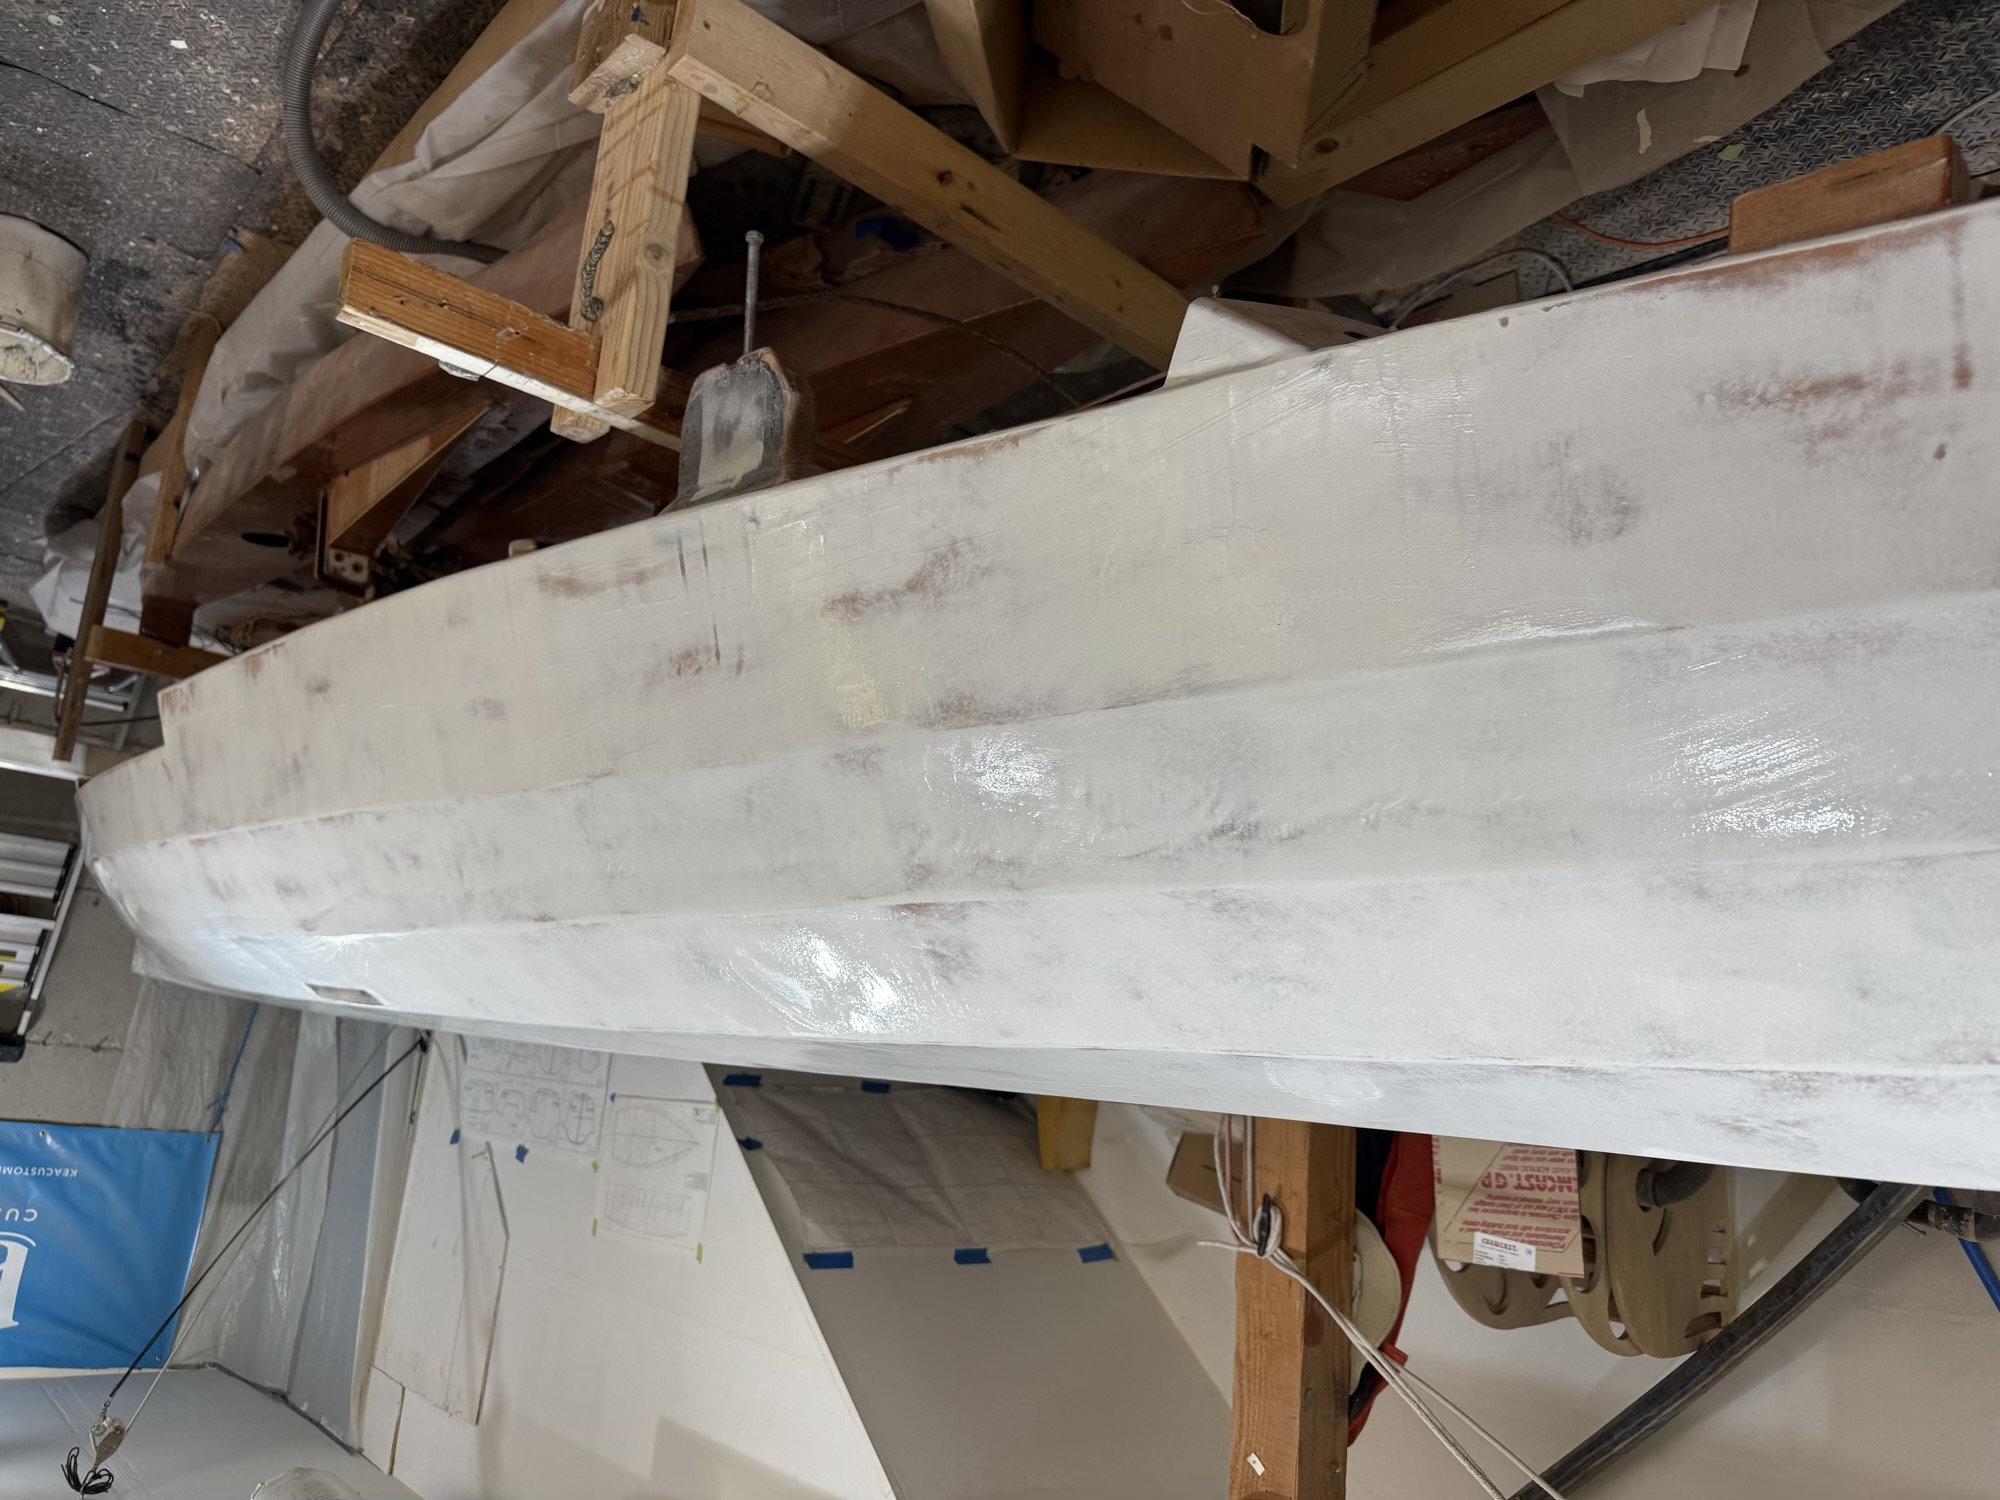
4/23/25 - The hull is partially sanded.
-
4/24/25 - The ceiling of the cabin is painted.
-

Ama decks are fill coated with epoxy.
-
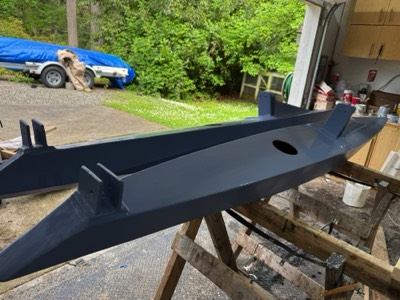
4/25/25 - Solar panel mount is epoxy coated and fiberglassed.
-
4/28/25 - Mizzen outhaul line is routed.
-
Mizzen furling line is routed.
-
Splash guard is test fit.
-

4/29/25 - Solar panel is test fit on holder.
-
4/30/25 - Splash guard is fiberglassed in place.
-
Water diversion pieces are epoxied in place on the amas.
-
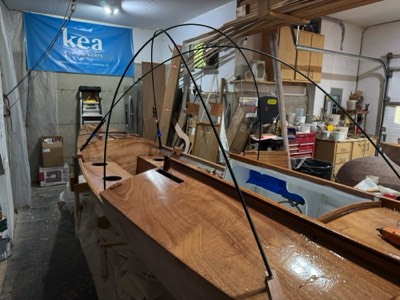
5/1/25 - Poles for a cockpit tent are temporaily put in place.
-
Alternate view of the tent poles.
-
Tops for the water diversion pieces are in place.
-
5/5/25 - The decks and part of the cockpit are sanded.
-

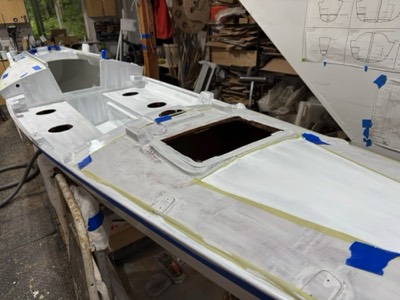
5/7/25 - Primer is applied to various parts.
-

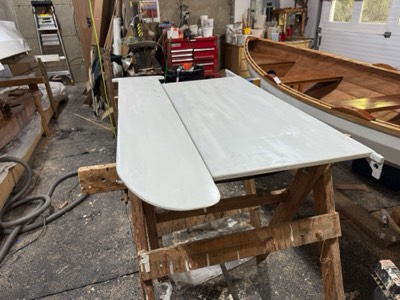
Primer is applied to the undersides of the main hatch and solar panel mount.
-
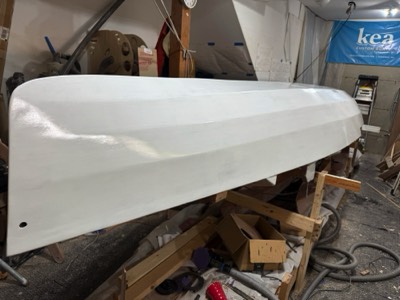
Primer is applied to the hull.
-
5/9/25 - The primer is sanded.
-
Fist coat of paint is applied.
-
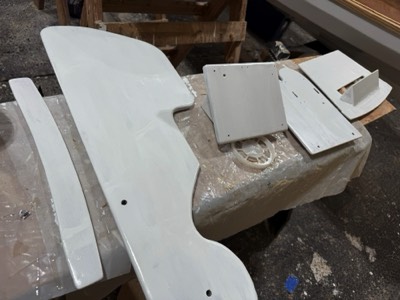
Various parts are primed on the other side.
-
Daggerboard and solar panel rack are primed.
-

5/10/25 -Rudder trunk and top of main hatch are primed.
-
Daggerboard and rigger are primed.
-

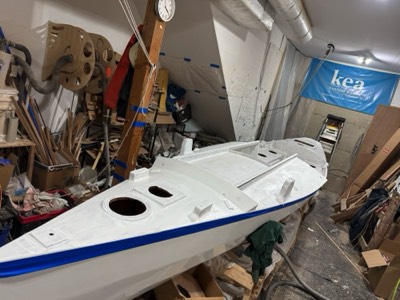
5/11/25 - First coat of paint.
-
-

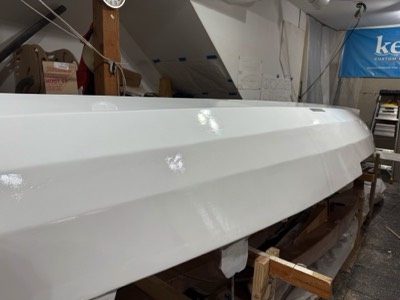
5/12/25 - Several coats of paint have been applied.
-
5/13/25 - The deck and cockpit are primed.
-
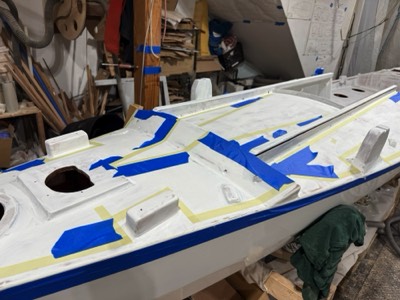
5/15/25 - The paint pattern on the deck is taped out.
-
One of the amas is sanded.
-
5/16/25 - Main hatch is painted.
-
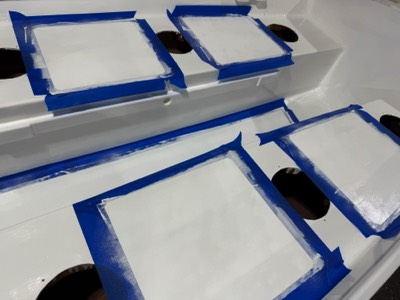
Areas of white are painted.
-
White sections on forward deck.
-
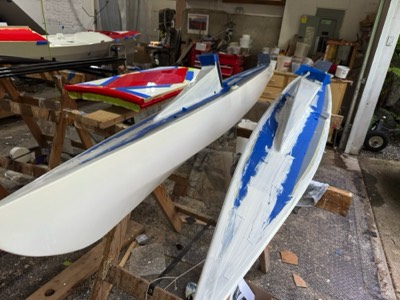
5/19/25 - The amas are sanded and ready for paint.
-
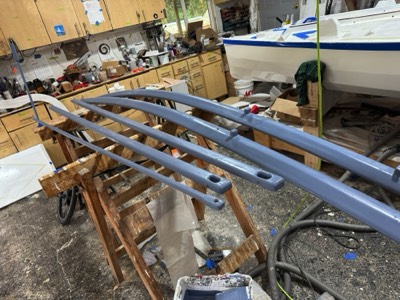
The akas, spars, and tiller extension are primed.
-
The amas are primed.
-
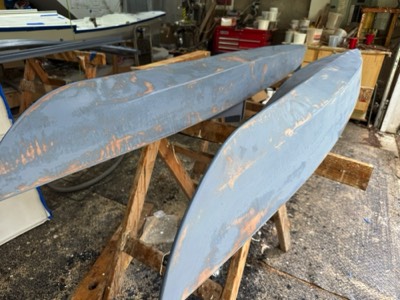
5/20/25 - The amas are sanded.
-

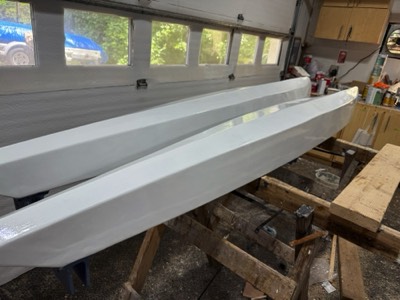
First coat of white paint.
-
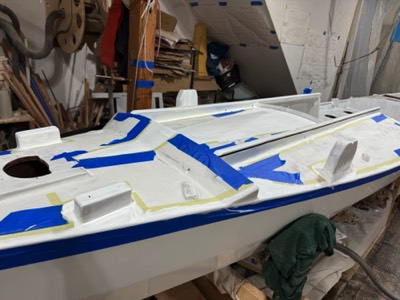
5/21/25 - Cockpit is taped off for nonskid.
-
Two more coats of white.
-
The rigger is painted on one side.
-
Amas, booms, and tiller extension are painted on one side.
-
Tiller handle is painted.
-
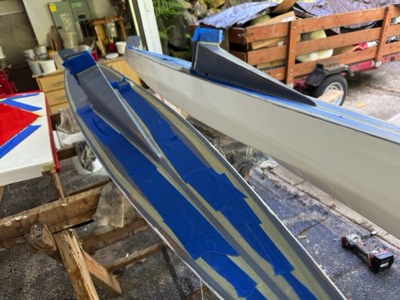
5/23/25 - The deck is taped off for red paint.
-
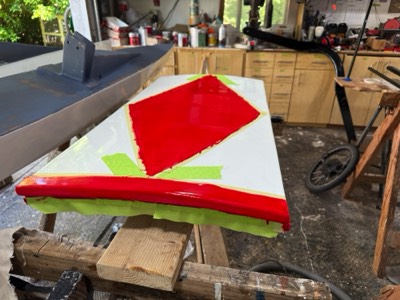
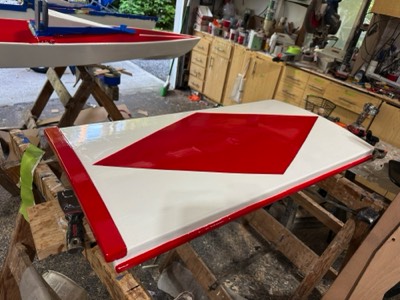
Red accents are applied to main hatch.
-
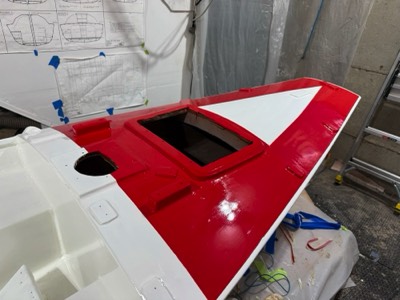
Aft deck gets red paint.
-

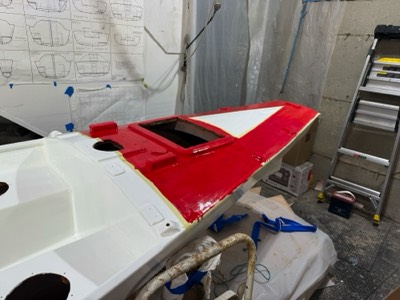
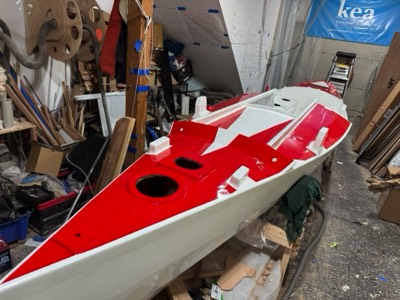
Forward deck red.
-
5/23/25 - The ama decks are taped off for white paint.
-

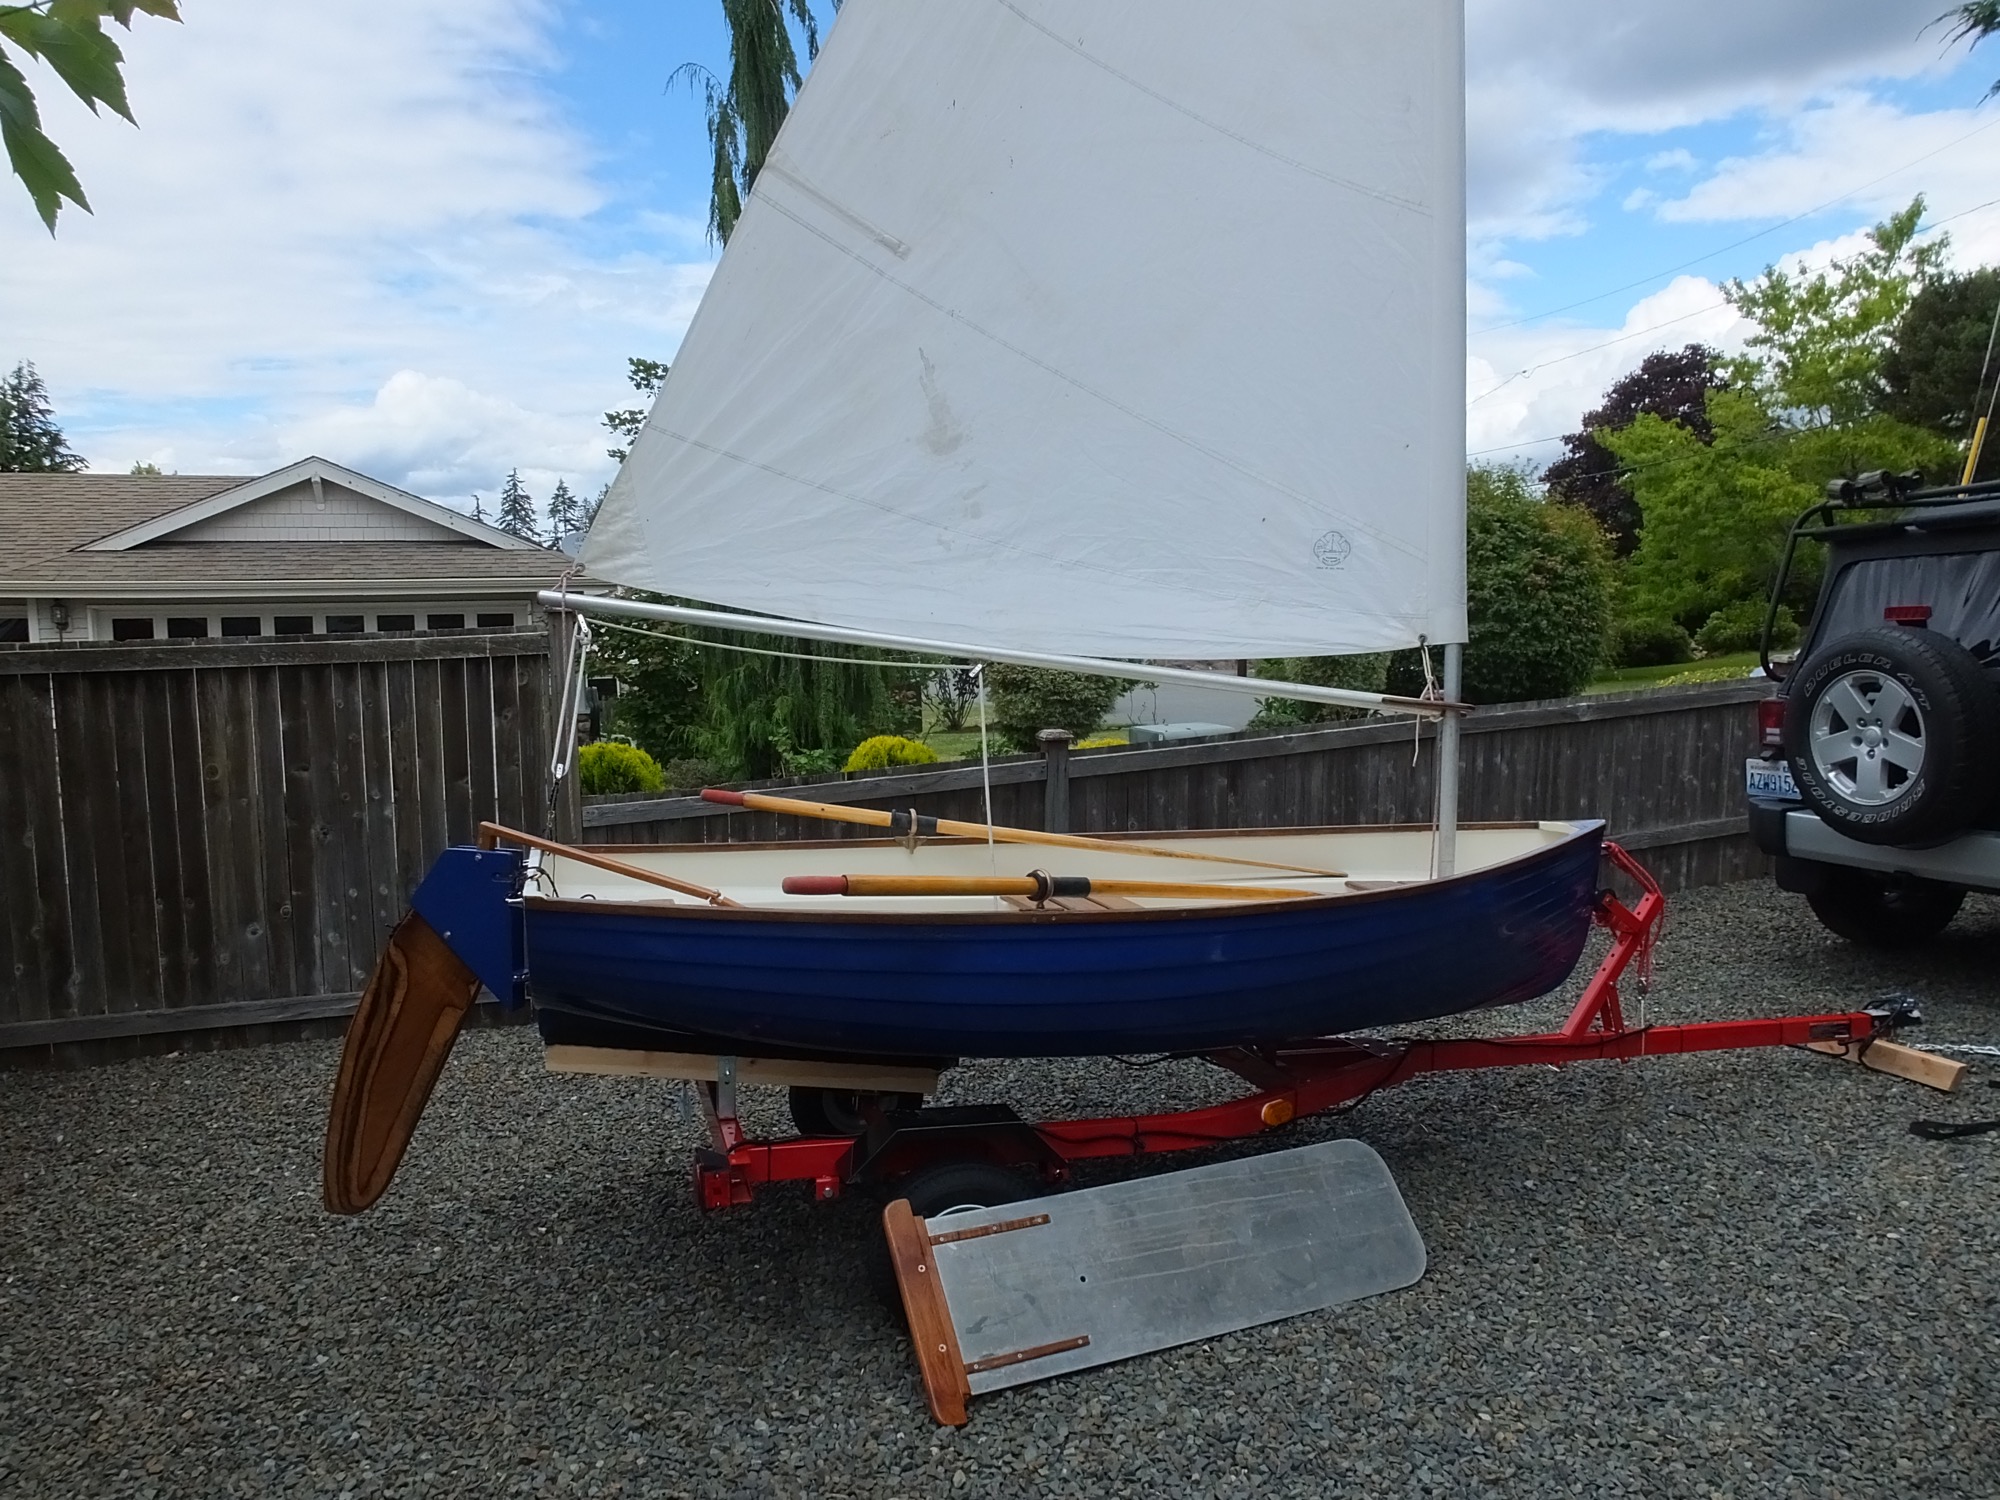
The trailer is assembled.
-
White is added to the ama decks.
-

5/24/25 - Daggerboard and solar panel mount are painted on one side.
-
The rudder is painted on one side.
-
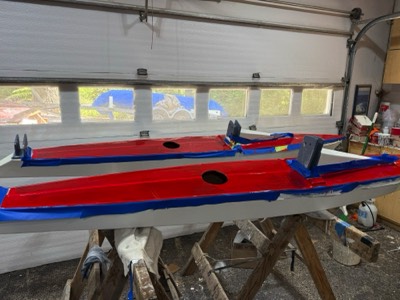
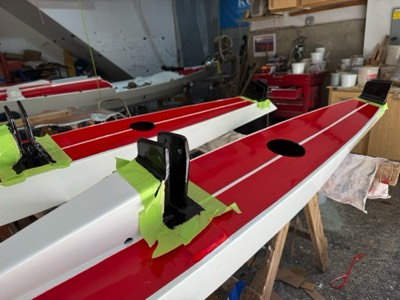
5/27/25 - Red paint is applied to the amas.
-

Several coats of red have been applied.
-
5/28/25 - The tape is removed.
-
Main hatch is finished.
-
Aft deck.
-
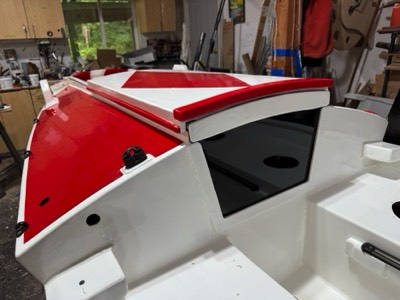
5/29/25 - Main hatch closed with acrylic hatch board.
-

5/30/25 - Custom trailer bunks are fiberglassed.
-
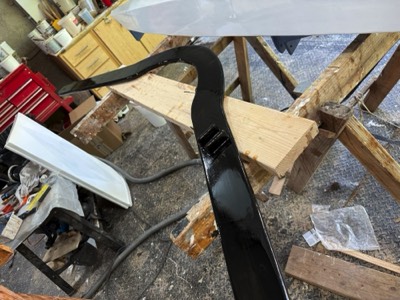
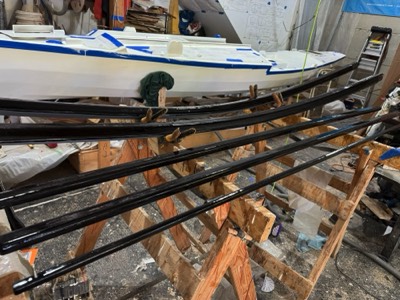
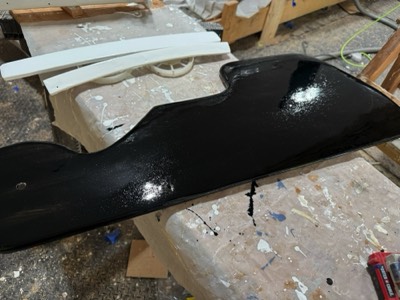
Black paint is added to the amas.
-

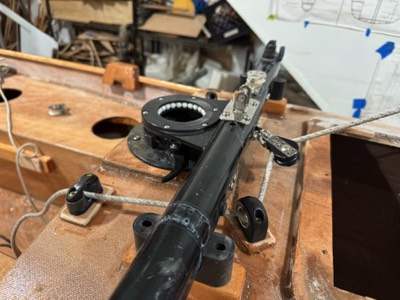
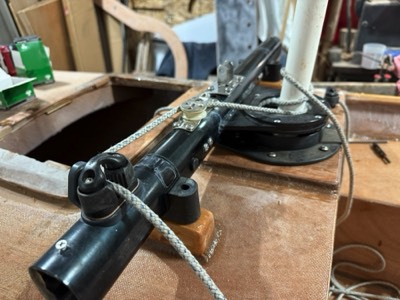
The rudder retract and lower system is installed.
-
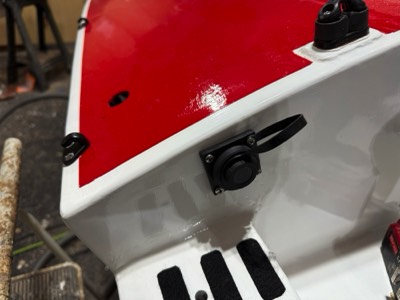
Autopilot plug, camcleat, and cockpit tent hooks are installed.