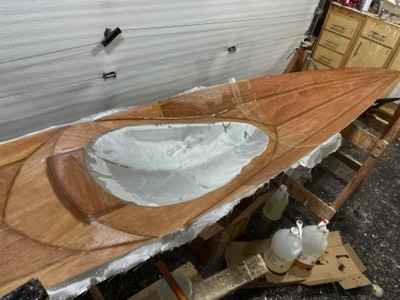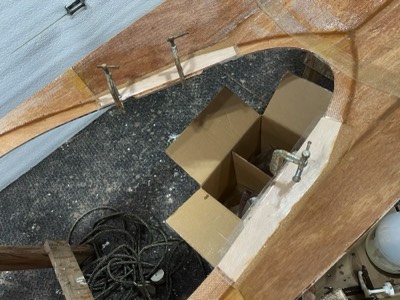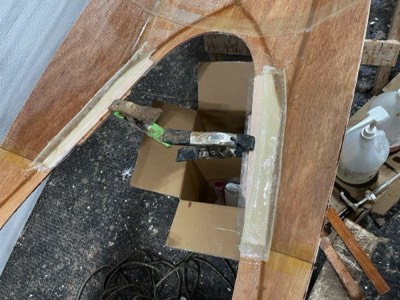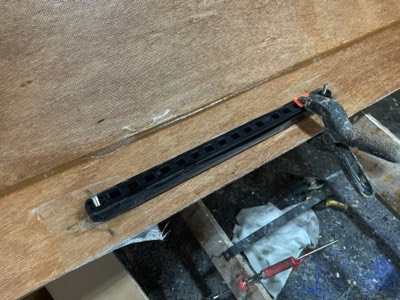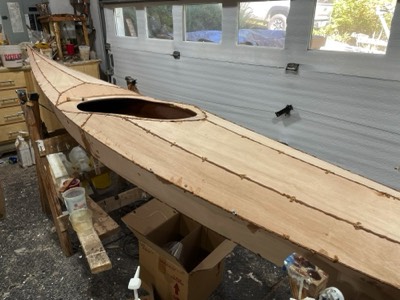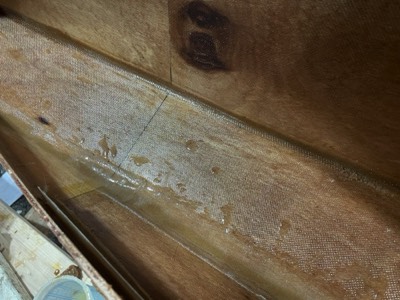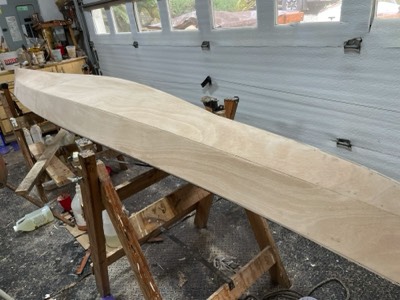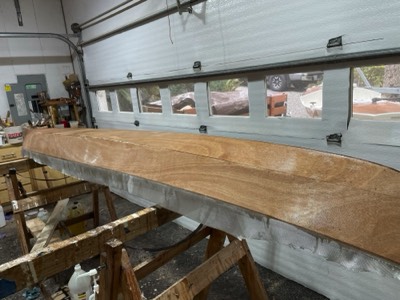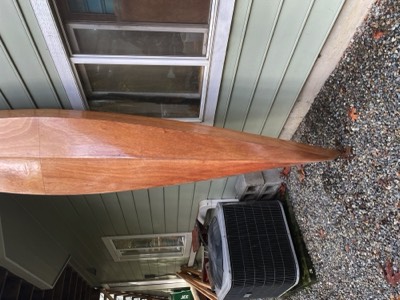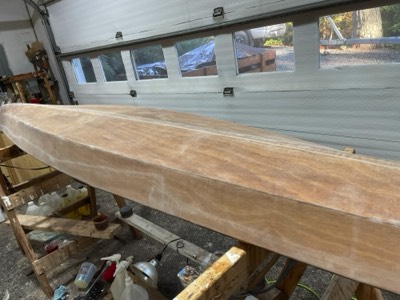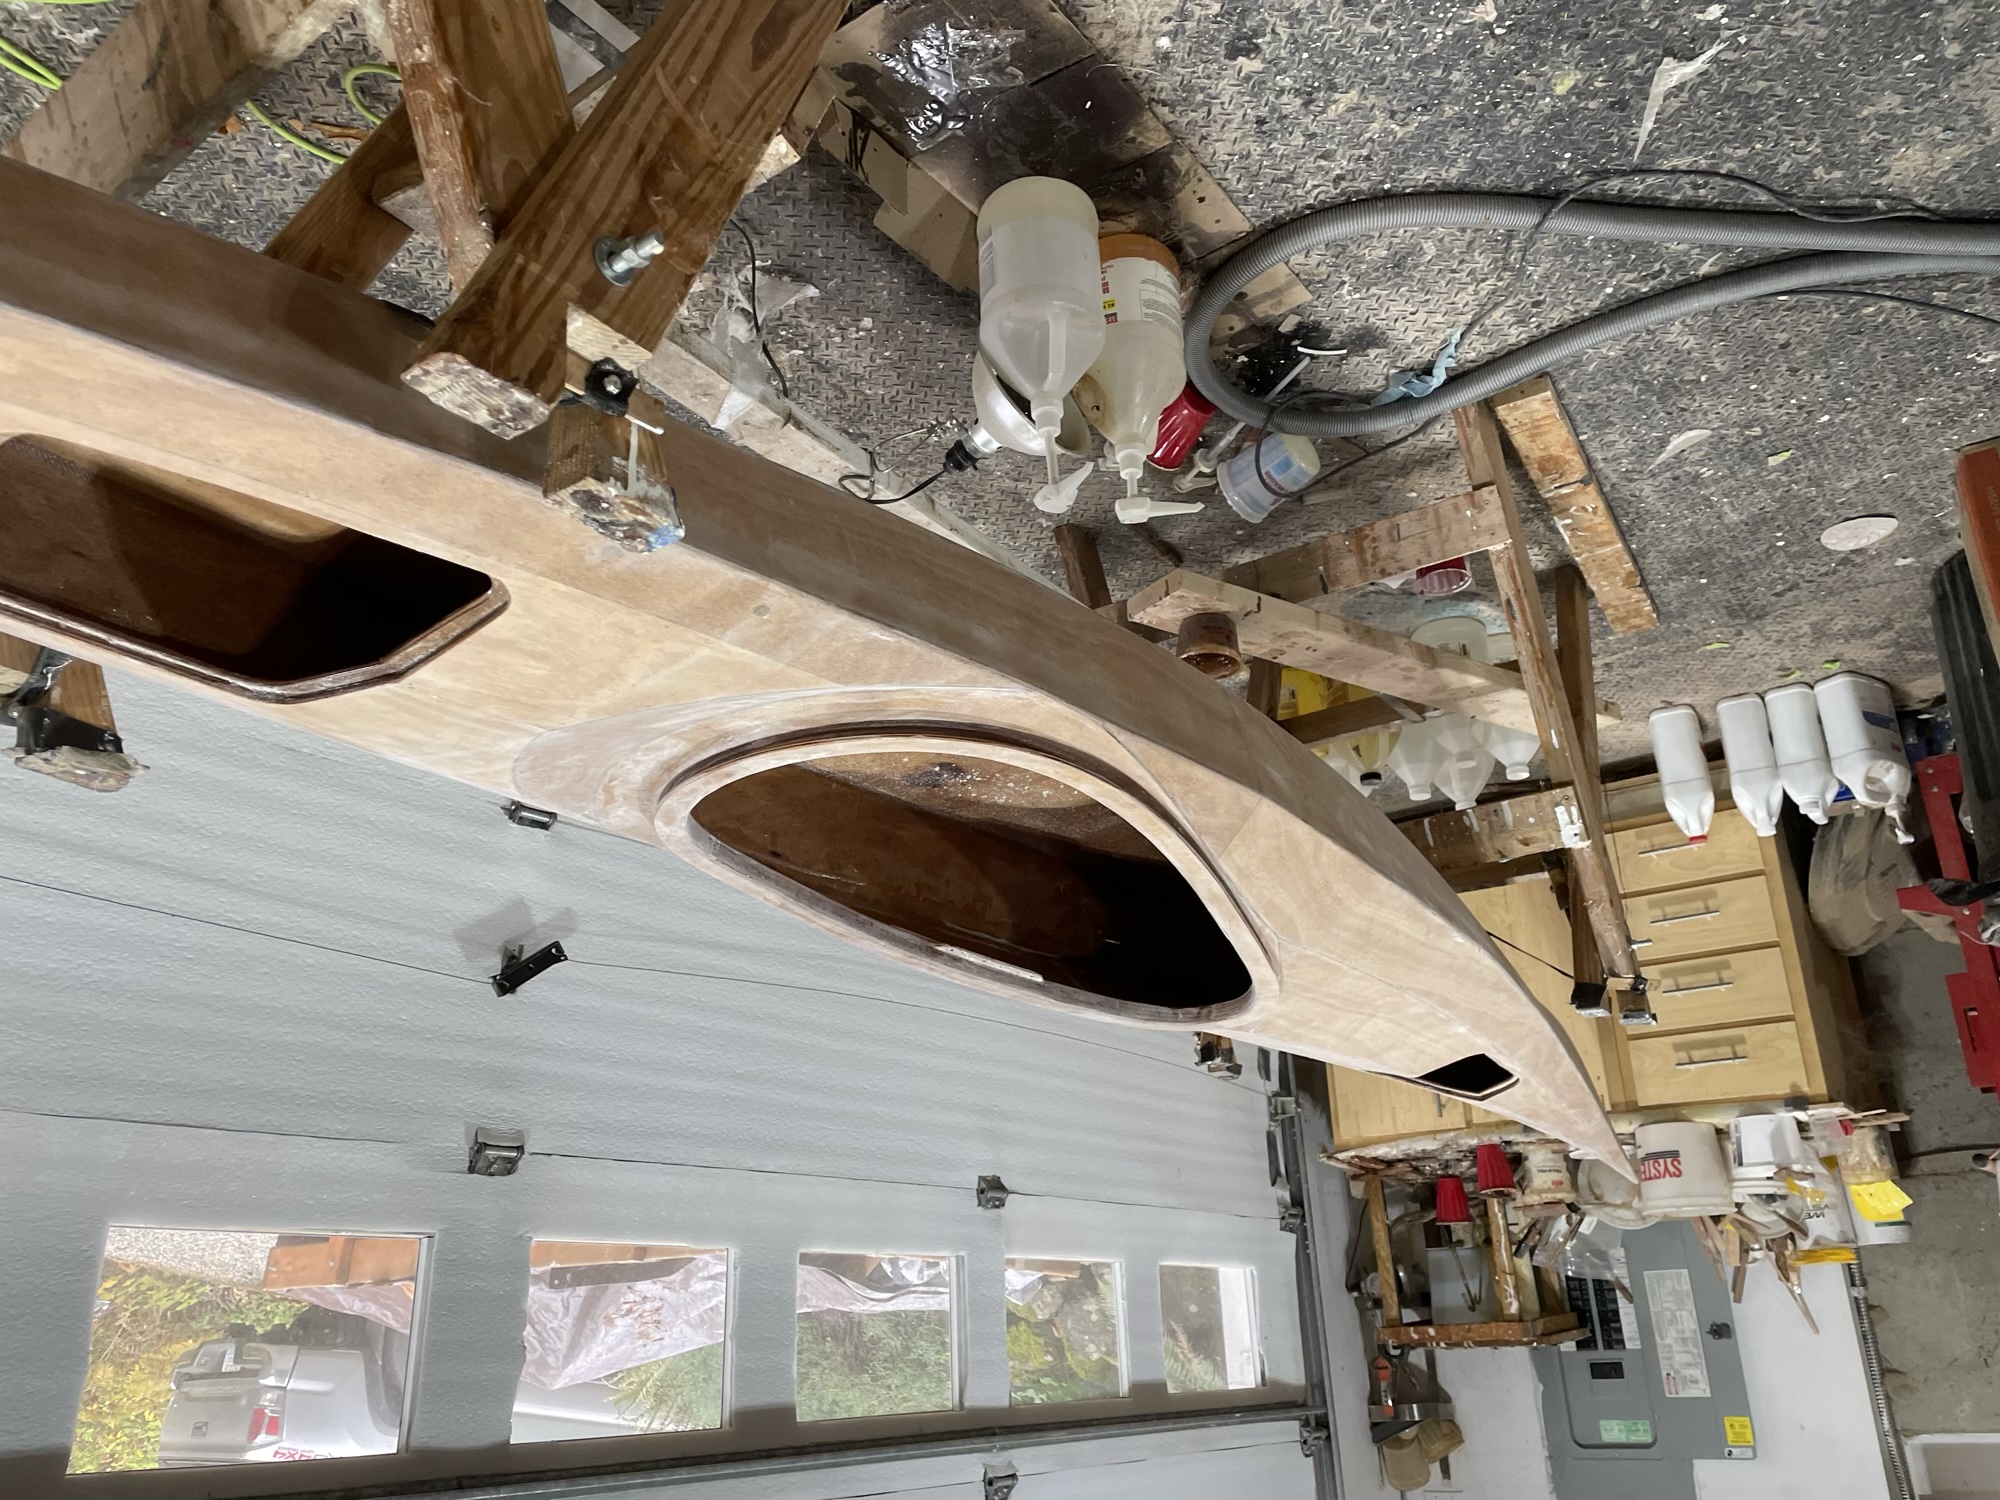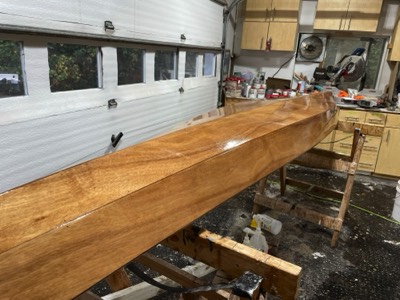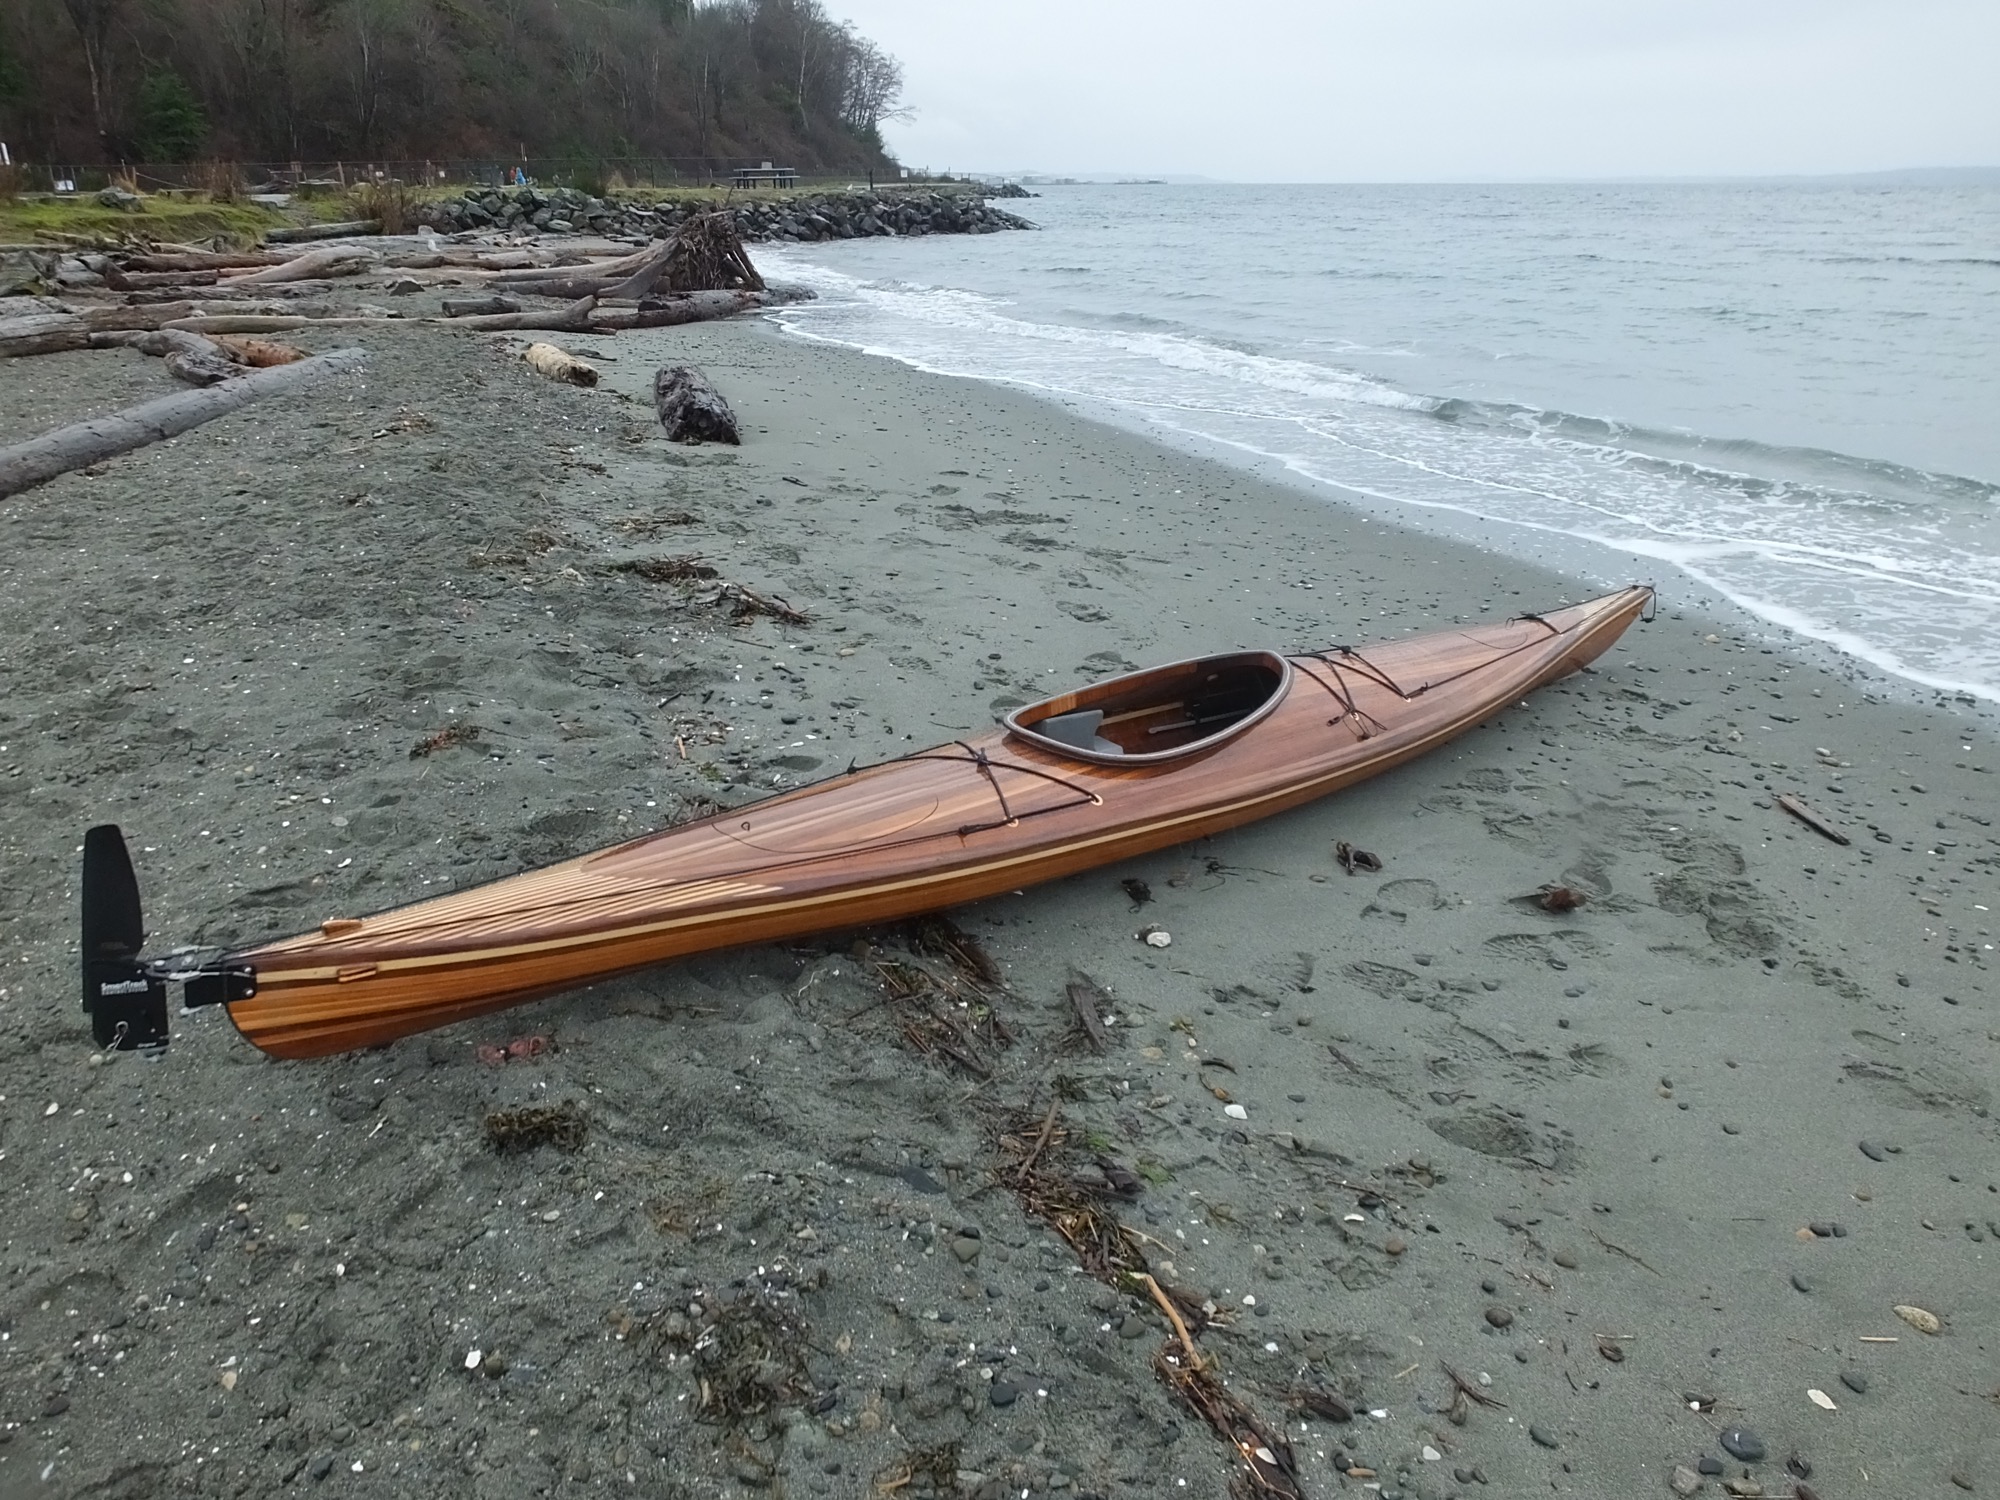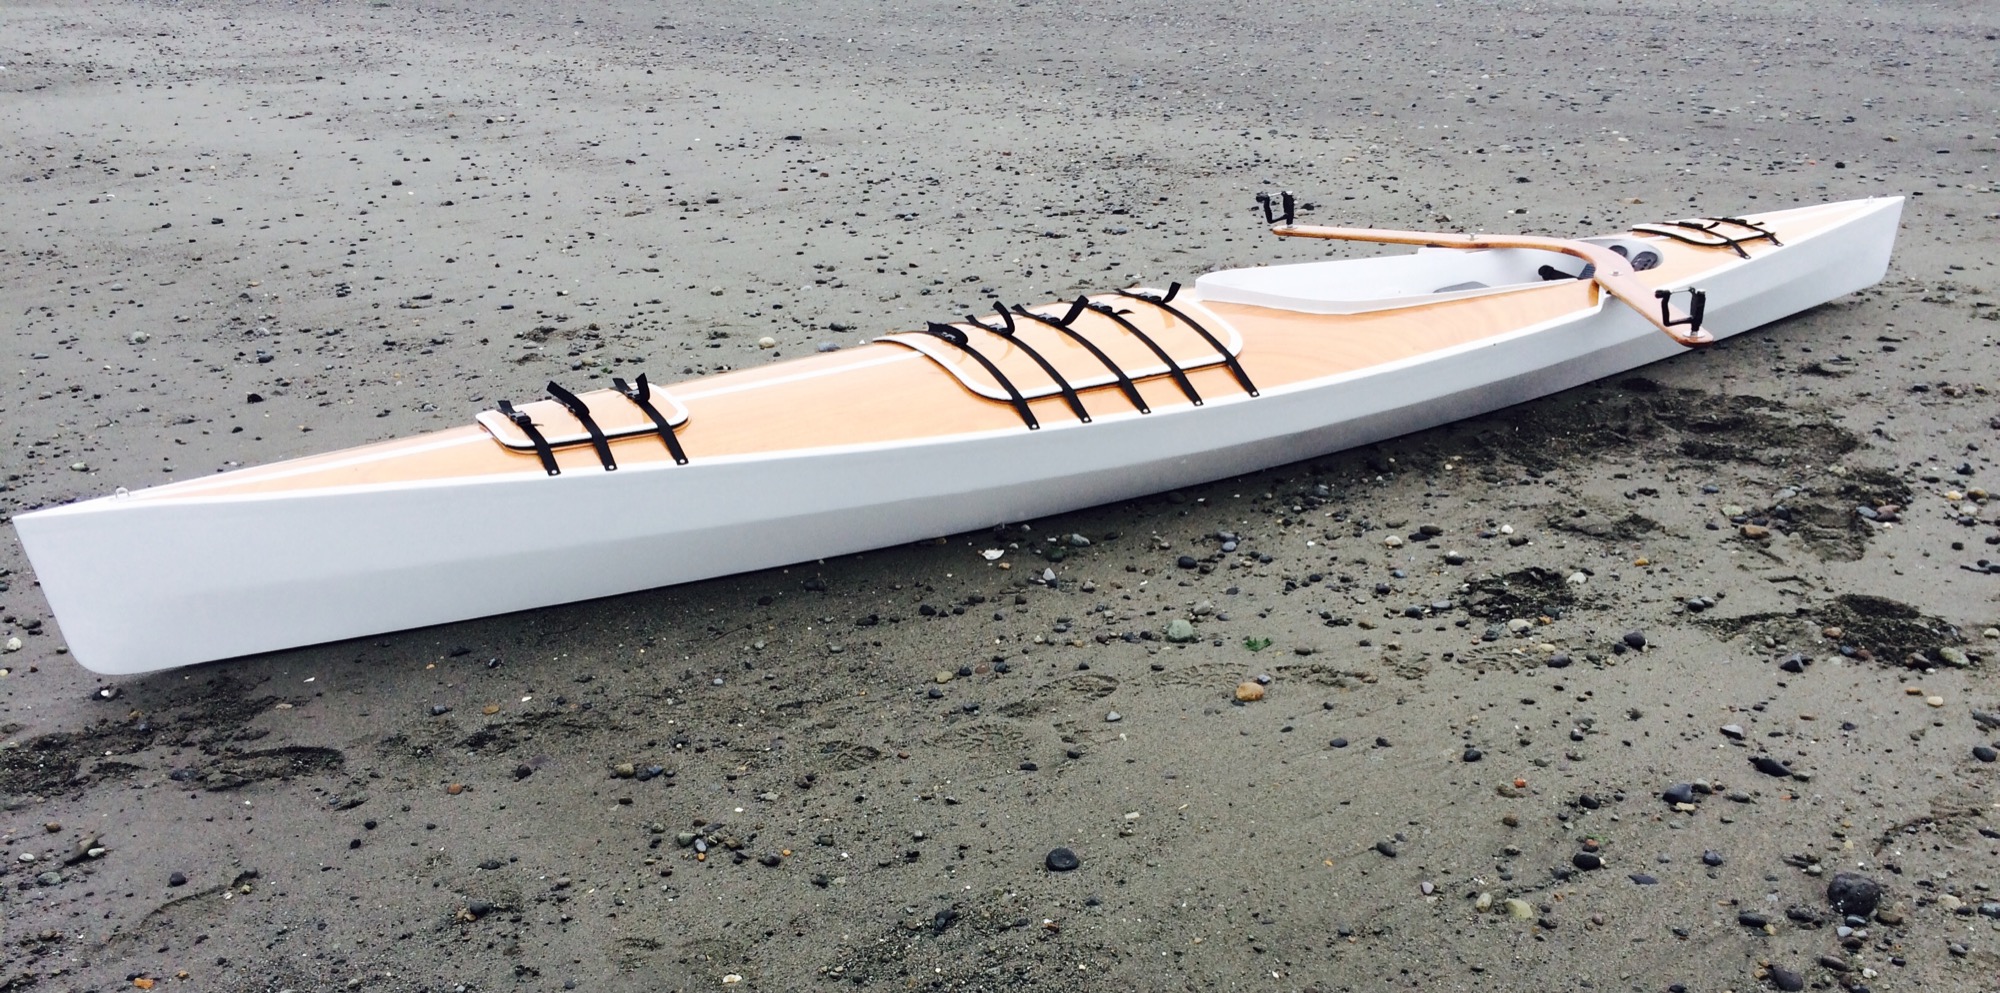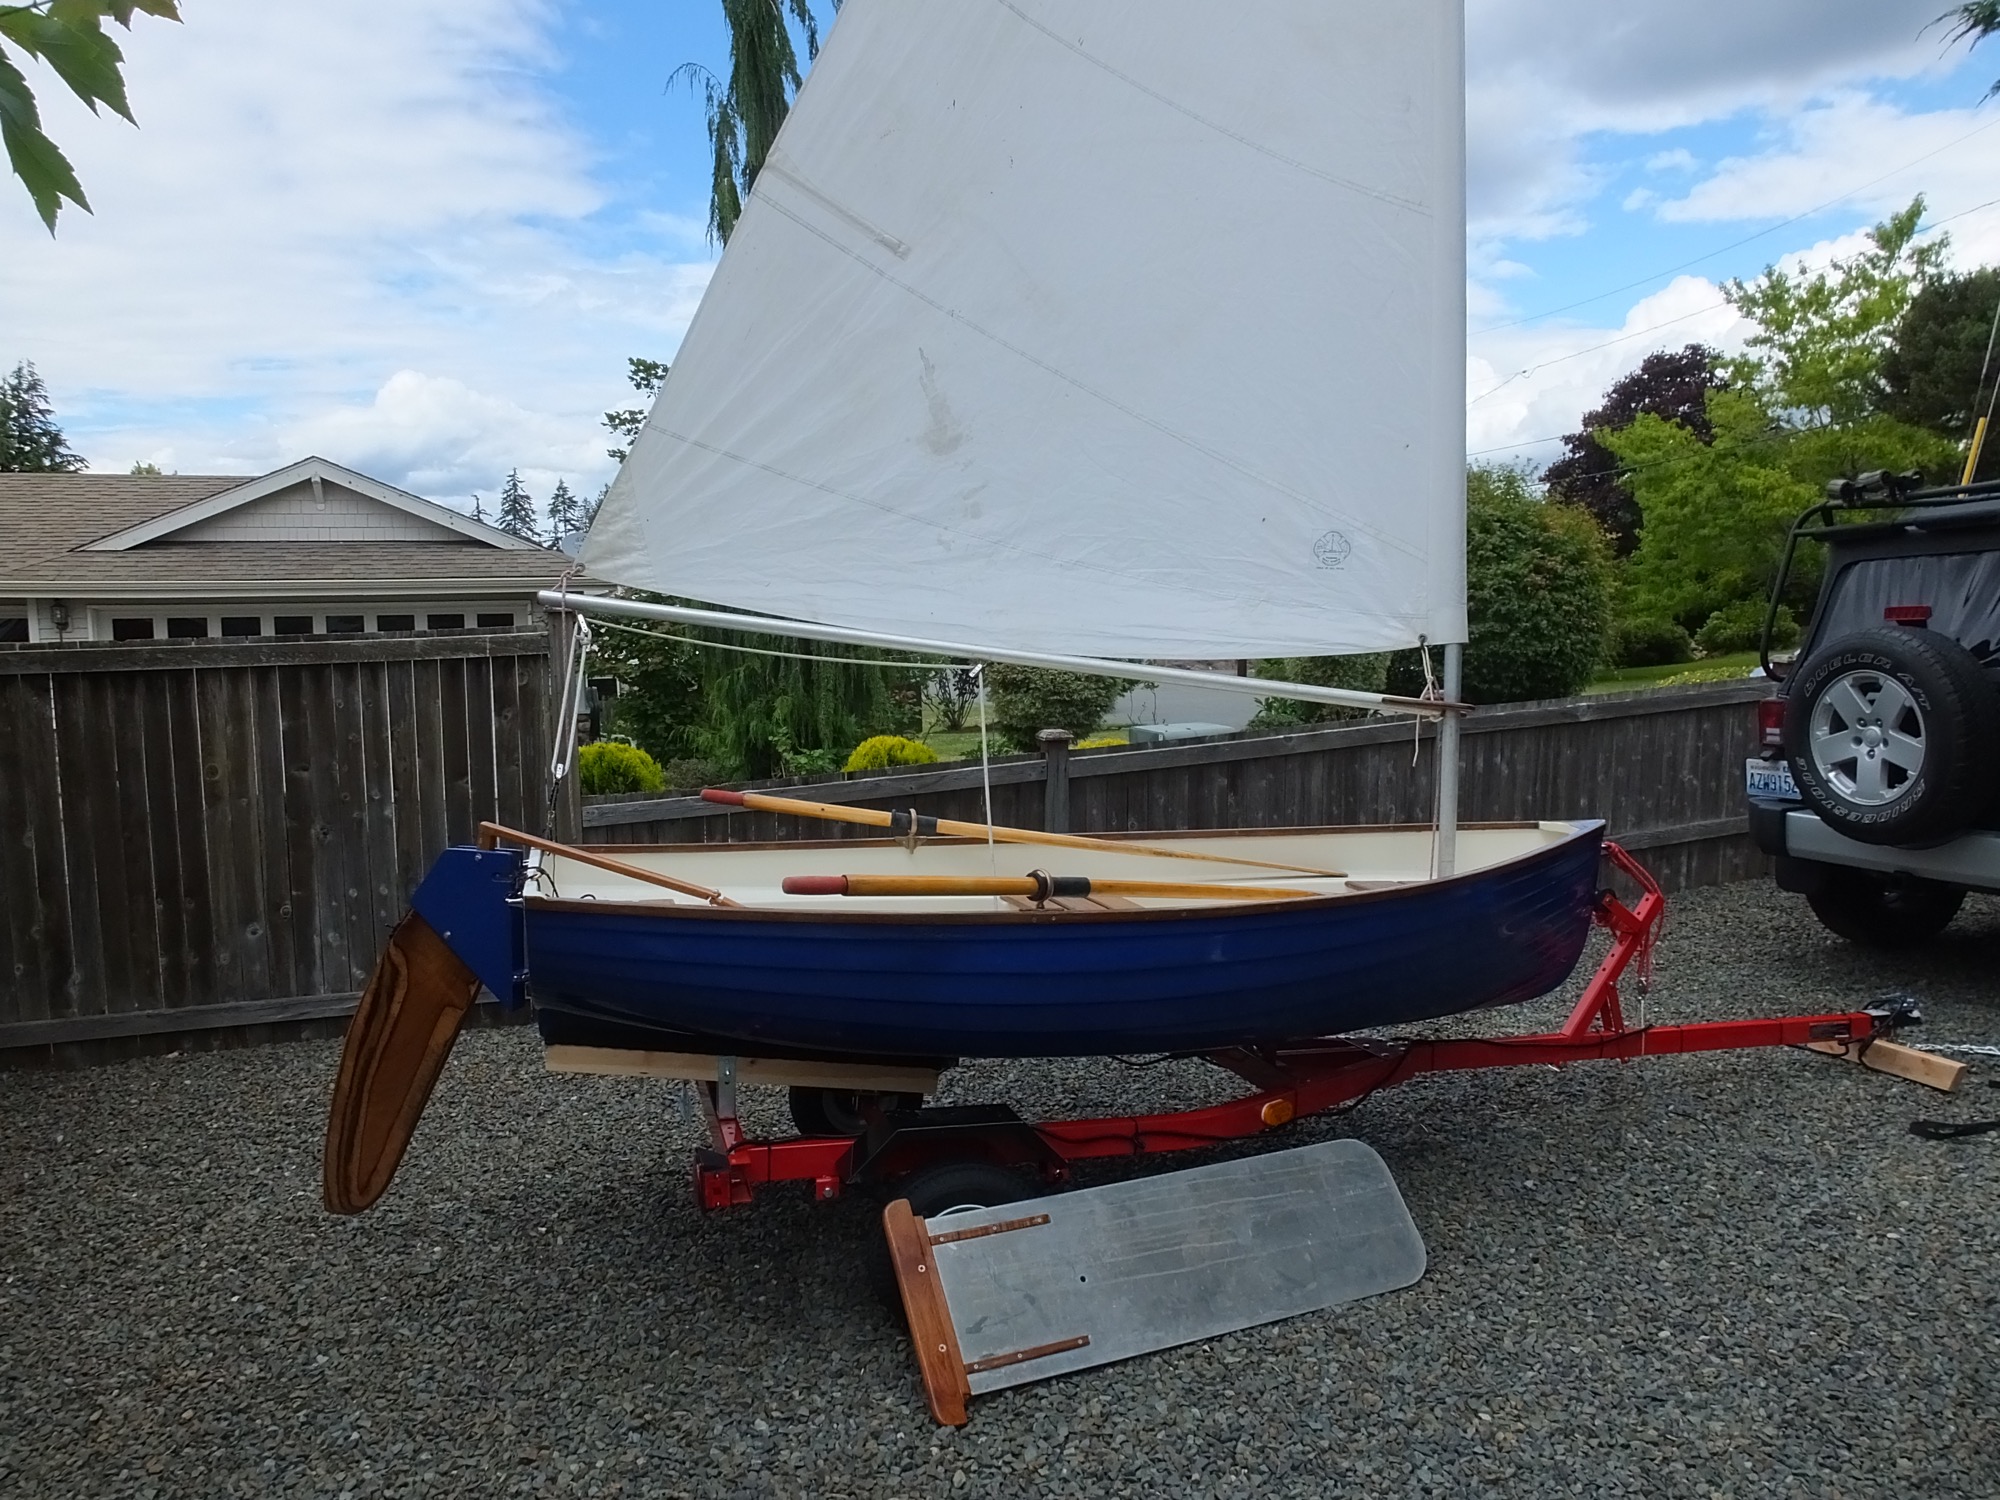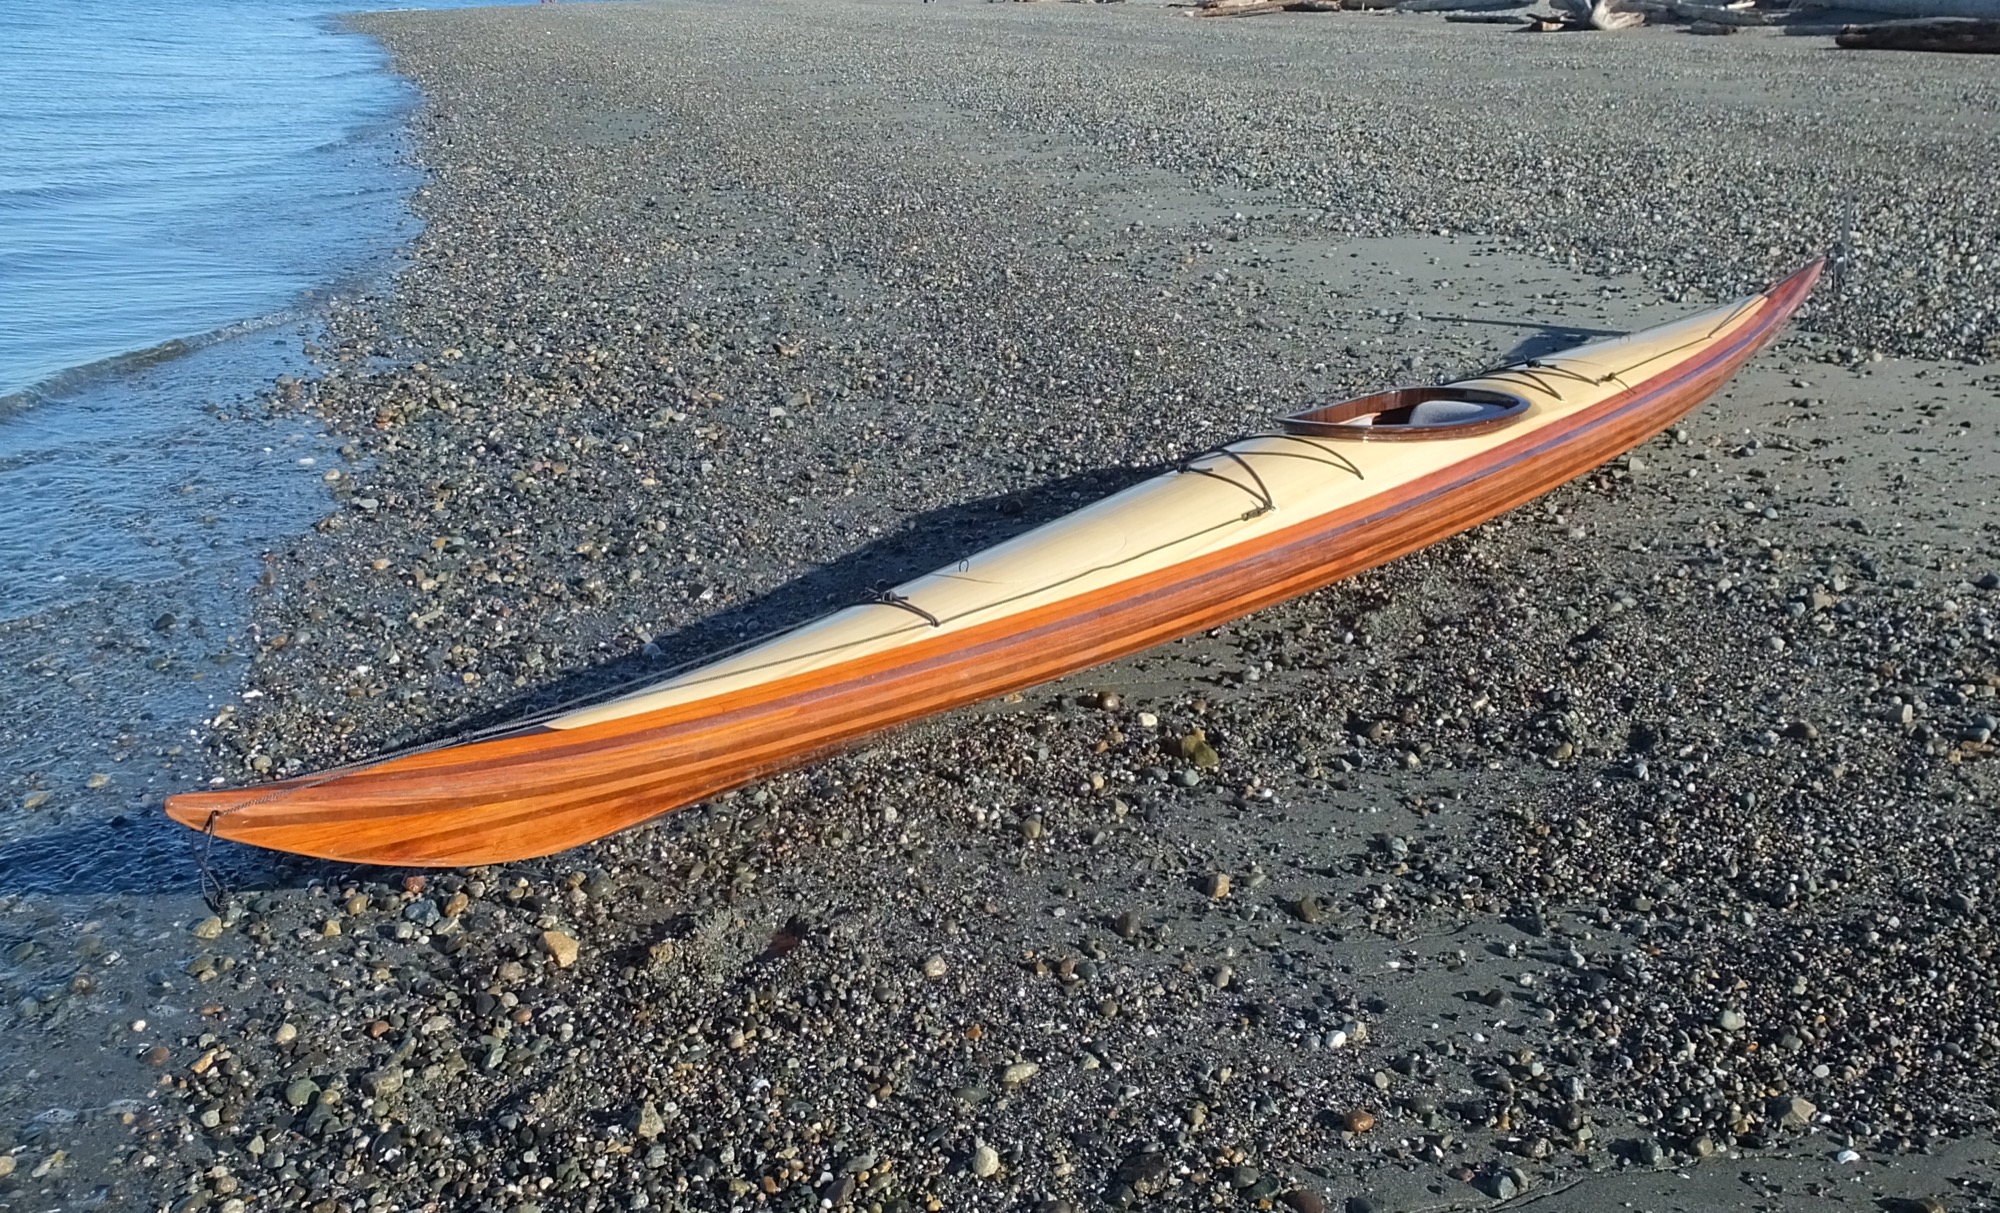
Photos of the construction process.
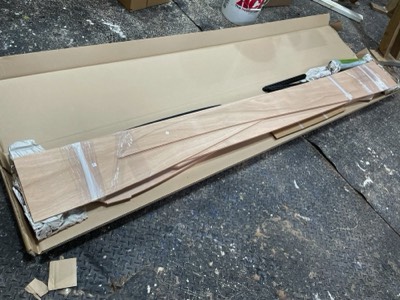
  •  9/10/24 - The kit is opened.

    9/10/24 - The kit is opened.

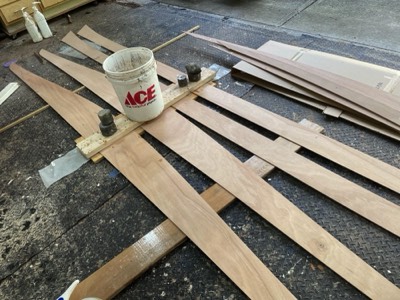
  •  Hull panels are epoxied together.

    Hull panels are epoxied together.

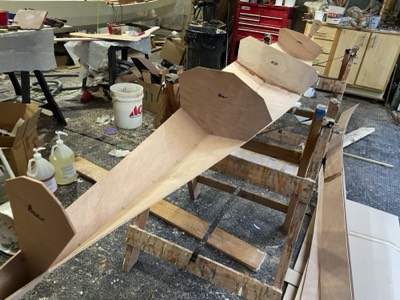
  •  9/23/24 - The bottom panels of the hull are wired together.

    9/23/24 - The bottom panels of the hull are wired together.

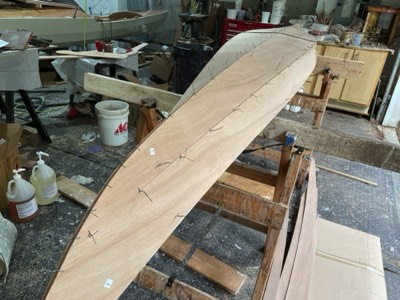
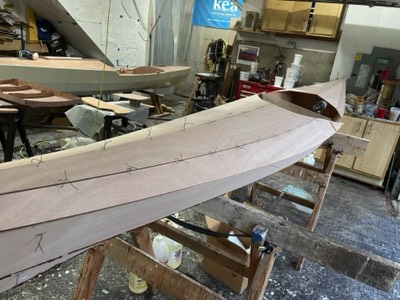
  •  9/24/24 - The hull is wired.

    9/24/24 - The hull is wired.

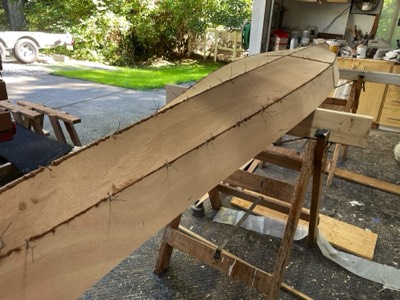
  •  Joints between the panels are epoxied.

    Joints between the panels are epoxied.

  •  9/7/24 - The center deck is epoxied together.

    9/7/24 - The center deck is epoxied together.

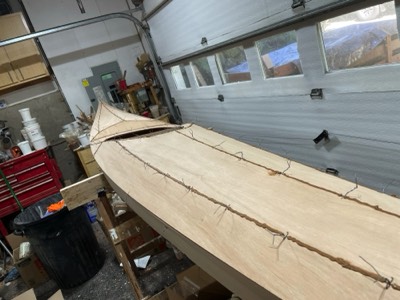
  •  Deci is partially wired together.

    Deci is partially wired together.

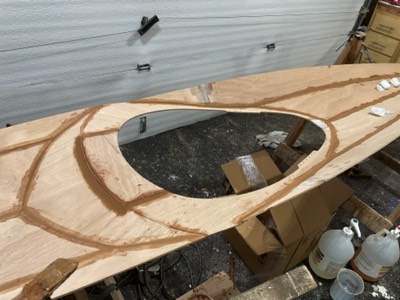
  •  10/1/24 - Deck seams are filled with epoxy.

    10/1/24 - Deck seams are filled with epoxy.

  •  10/2/24 - Fiberglass is test fit in the hull.

    10/2/24 - Fiberglass is test fit in the hull.

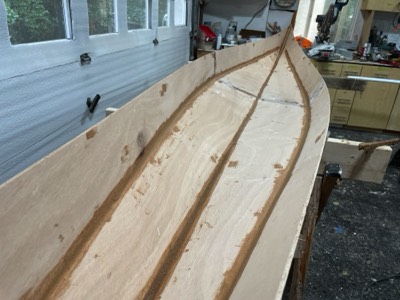
  •  Joints between panels are filleted with epoxy.

    Joints between panels are filleted with epoxy.

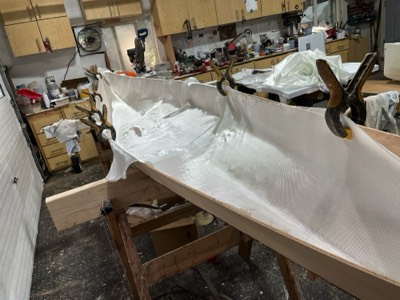
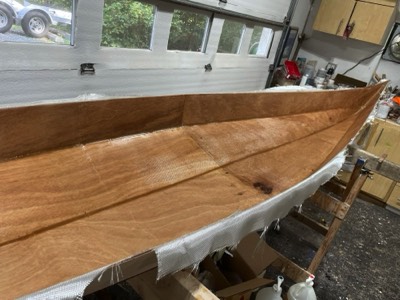
  •  The interior is fiberglassed.

    The interior is fiberglassed.

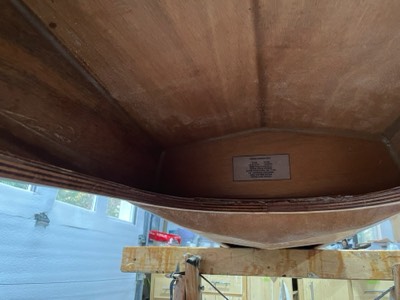
  •  10/3/24 - The underside of the deck is ready for fiberglass.

    10/3/24 - The underside of the deck is ready for fiberglass.

  •  The seams between panels are filleted.

    The seams between panels are filleted.

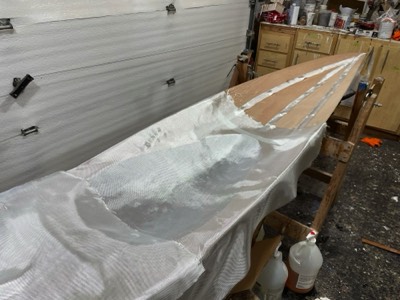
  •  The fiberglass is saturated with epoxy.

    The fiberglass is saturated with epoxy.

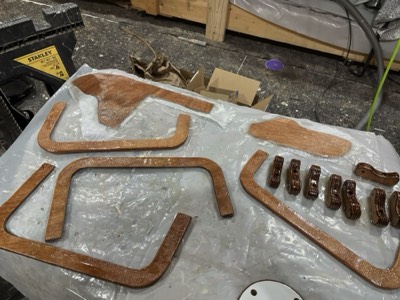
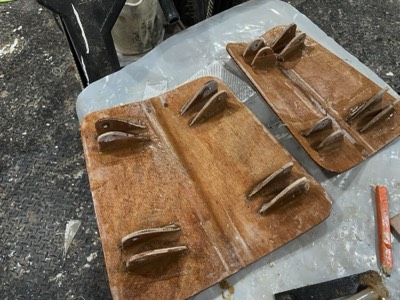
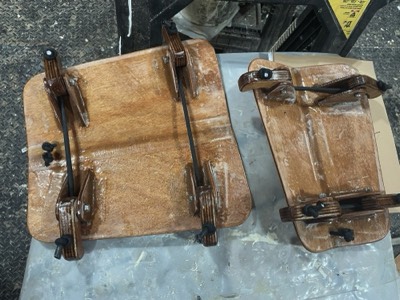
  •  10/4/24 - Brackets for adjustable knee braces are created.

    10/4/24 - Brackets for adjustable knee braces are created.

  •  Adjustable brace brackets.

    Adjustable brace brackets.

  •  10/6/24 - Footbrace studs are epoxied in place.

    10/6/24 - Footbrace studs are epoxied in place.

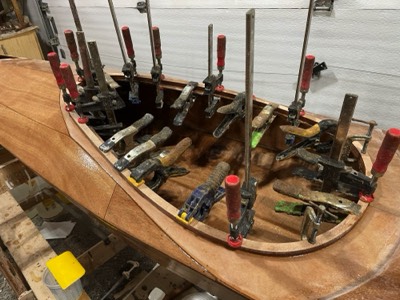
  •  10/7/24 - The deck is epoxied to the hull.

    10/7/24 - The deck is epoxied to the hull.

  •  10/8/24 - The starboard side hull/deck inside joint is filleted and taped.

    10/8/24 - The starboard side hull/deck inside joint is filleted and taped.

  •  10/14/24 - The hull is sanded smooth.

    10/14/24 - The hull is sanded smooth.

  •  10/15/24 - The hull is fiberglassed.

    10/15/24 - The hull is fiberglassed.

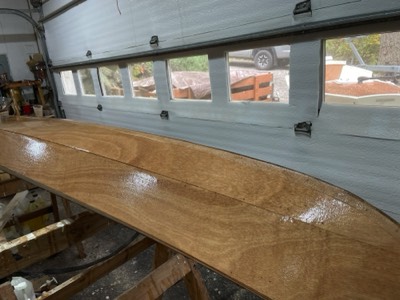
  •  10/16/24 -  Fill coats of epoxy are applied to the hull.

    10/16/24 - Fill coats of epoxy are applied to the hull.

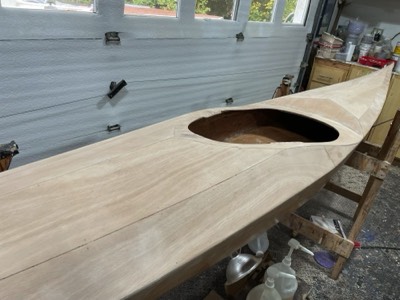
  •  10/21/24 - The deck is sanded smooth.

    10/21/24 - The deck is sanded smooth.

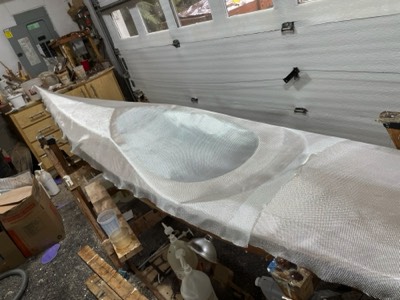
  •  Fiberglass cloth is laid on the deck.

    Fiberglass cloth is laid on the deck.

  •  The cloth is saturated with epoxy.

    The cloth is saturated with epoxy.

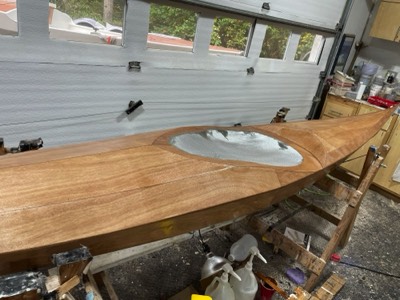
  •  10/22/24 - Epoxy fill coats are applied to the deck.

    10/22/24 - Epoxy fill coats are applied to the deck.

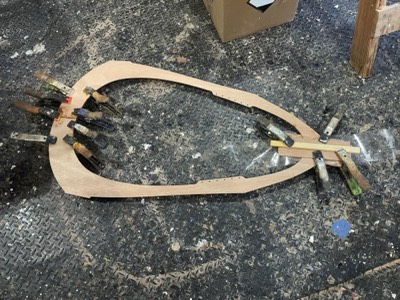
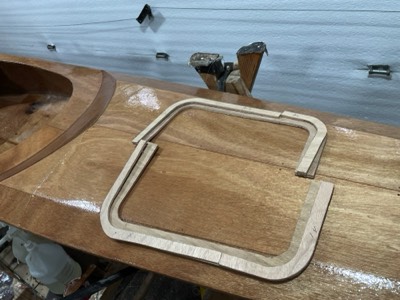
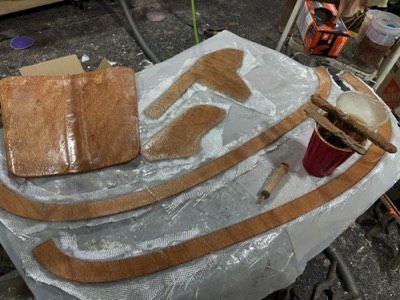
  •  10/24/24 - Hatch lips are fabricated from marine plywood.

    10/24/24 - Hatch lips are fabricated from marine plywood.

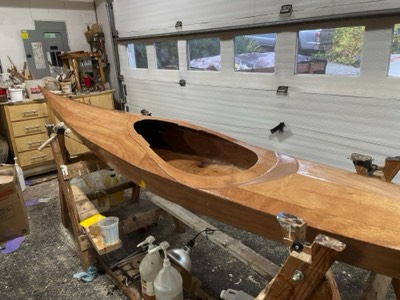
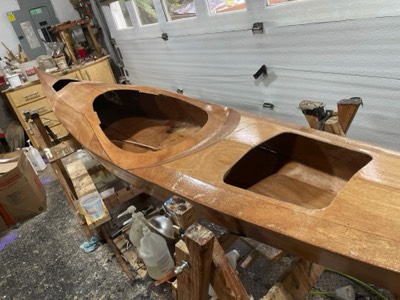
  •  10/29/24 - Hatches are cut out from the deck.

    10/29/24 - Hatches are cut out from the deck.

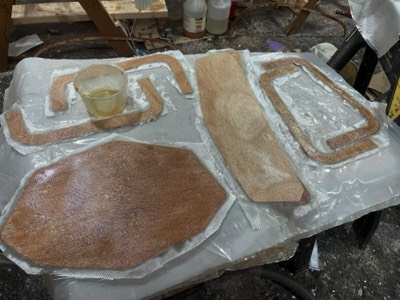
  •  Bulkheads and hatch lips are fiberglassed on one side.

    Bulkheads and hatch lips are fiberglassed on one side.

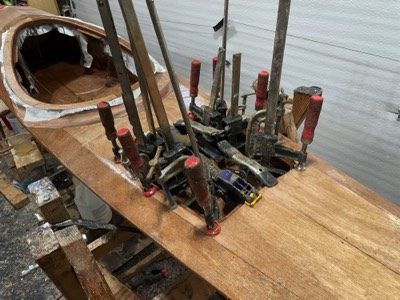
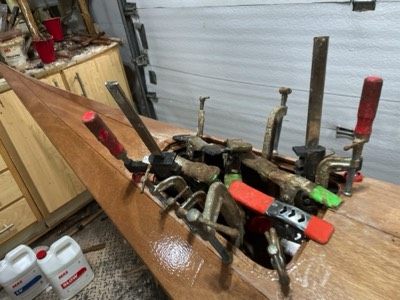
  •  10/30/24 - The coaming riser is epoxied in place.

    10/30/24 - The coaming riser is epoxied in place.

  •  10/31/24 - Coaming is fiberglassed.

    10/31/24 - Coaming is fiberglassed.

  •  Bulkheads are epoxied in place.

    Bulkheads are epoxied in place.

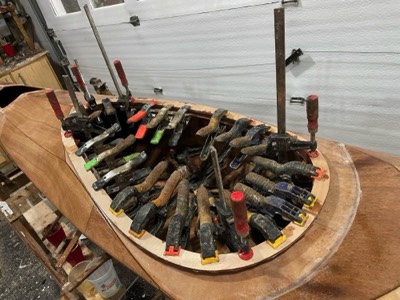
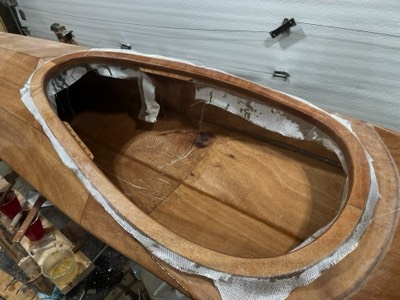
  •  11/1/24 - Coaming lip is epoxied in place.

    11/1/24 - Coaming lip is epoxied in place.

  •  Hatch lips are epoxy sealed.

    Hatch lips are epoxy sealed.

  •  11/4/24 - The coaming is fiberglassed.

    11/4/24 - The coaming is fiberglassed.

  •  Aft hatch lip is installed.

    Aft hatch lip is installed.

  •  Forward hatch lip is installed.

    Forward hatch lip is installed.

  •  11/5/24 - Epoxy endpours are completed.

    11/5/24 - Epoxy endpours are completed.

  •  11/7/24 - The hull is sanded.

    11/7/24 - The hull is sanded.

  •  11/8/24 - The deck is sanded.

    11/8/24 - The deck is sanded.

  •  11/11/24 - The first coat of varnish is applied on the hull.

    11/11/24 - The first coat of varnish is applied on the hull.

  •  11/12/24 - Mounts for strapless hatch hold downs are epoxied in place.

    11/12/24 - Mounts for strapless hatch hold downs are epoxied in place.

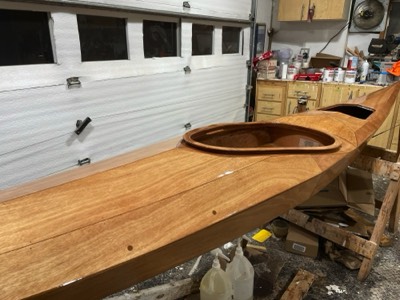
  •  11/16/24 - First coat of varnish on the deck.

    11/16/24 - First coat of varnish on the deck.

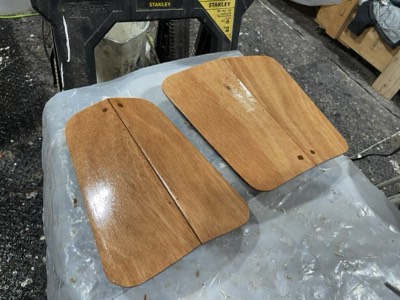
  •  Hatch covers are varnished.

    Hatch covers are varnished.

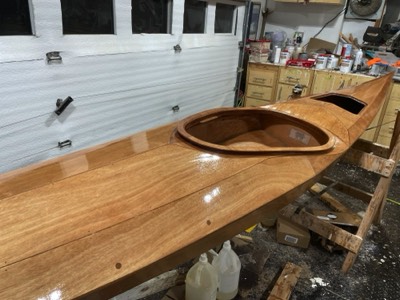
  •  11/18/24 -  The final coat of varnish is applied.

    11/18/24 - The final coat of varnish is applied.

  •  11/19/24 - Soft padeyes are installed.

    11/19/24 - Soft padeyes are installed.

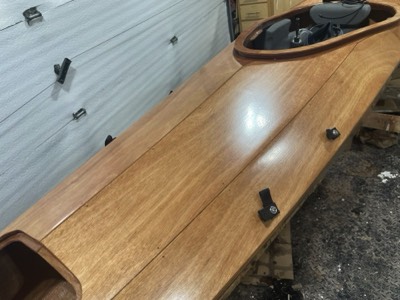
  •  Strapless hatch system is installed.

    Strapless hatch system is installed.

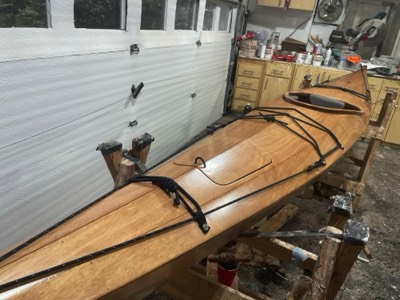
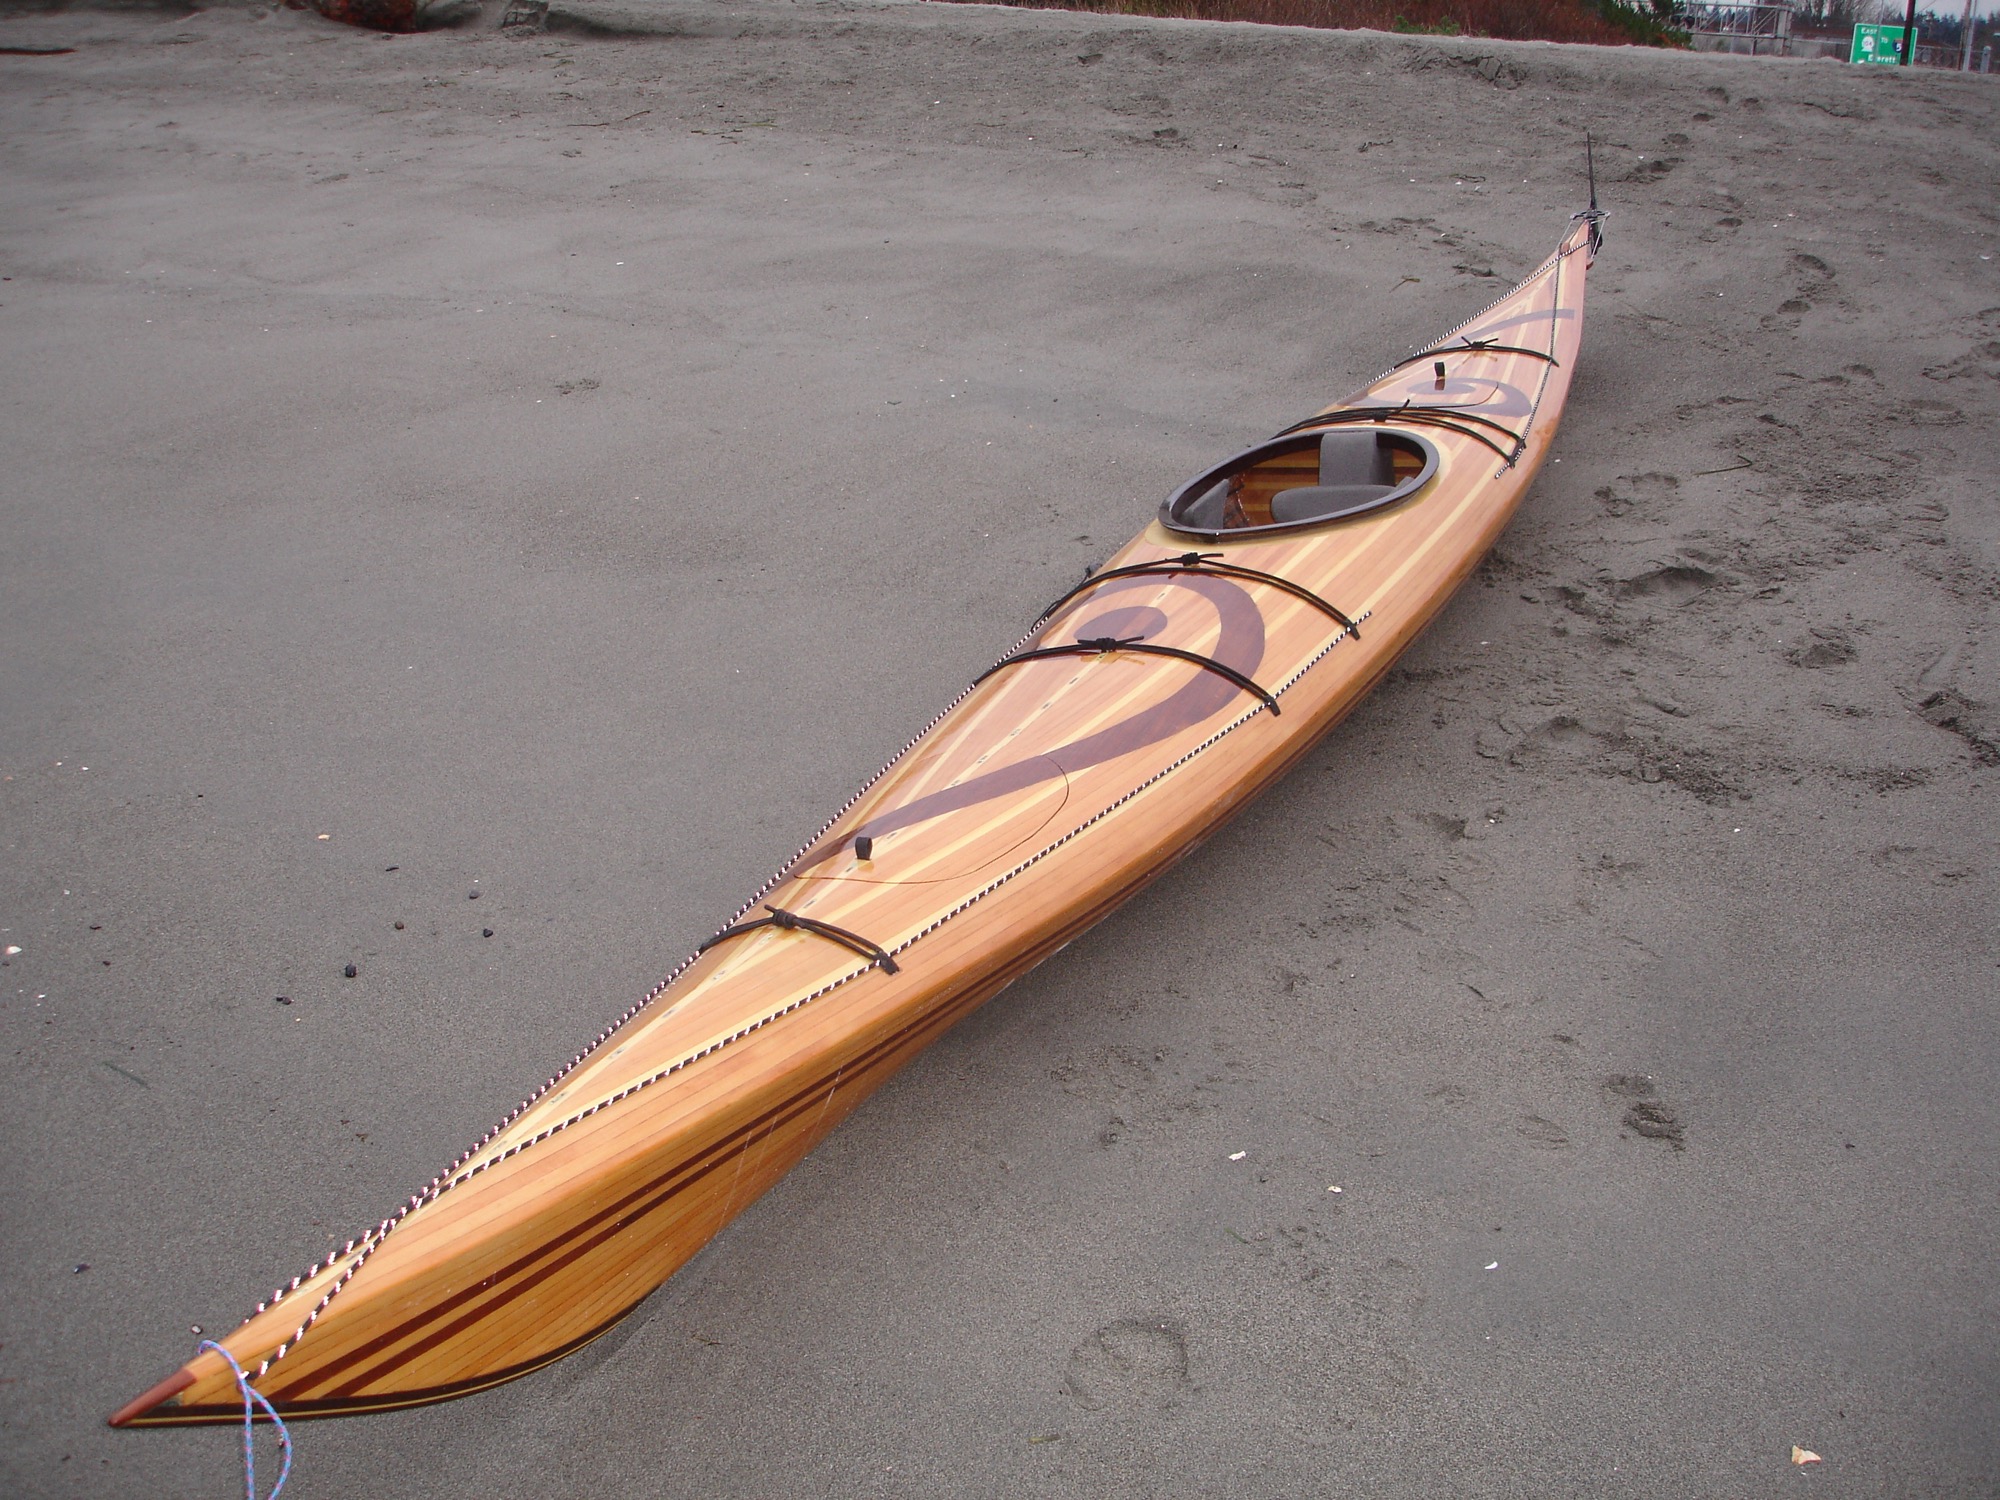
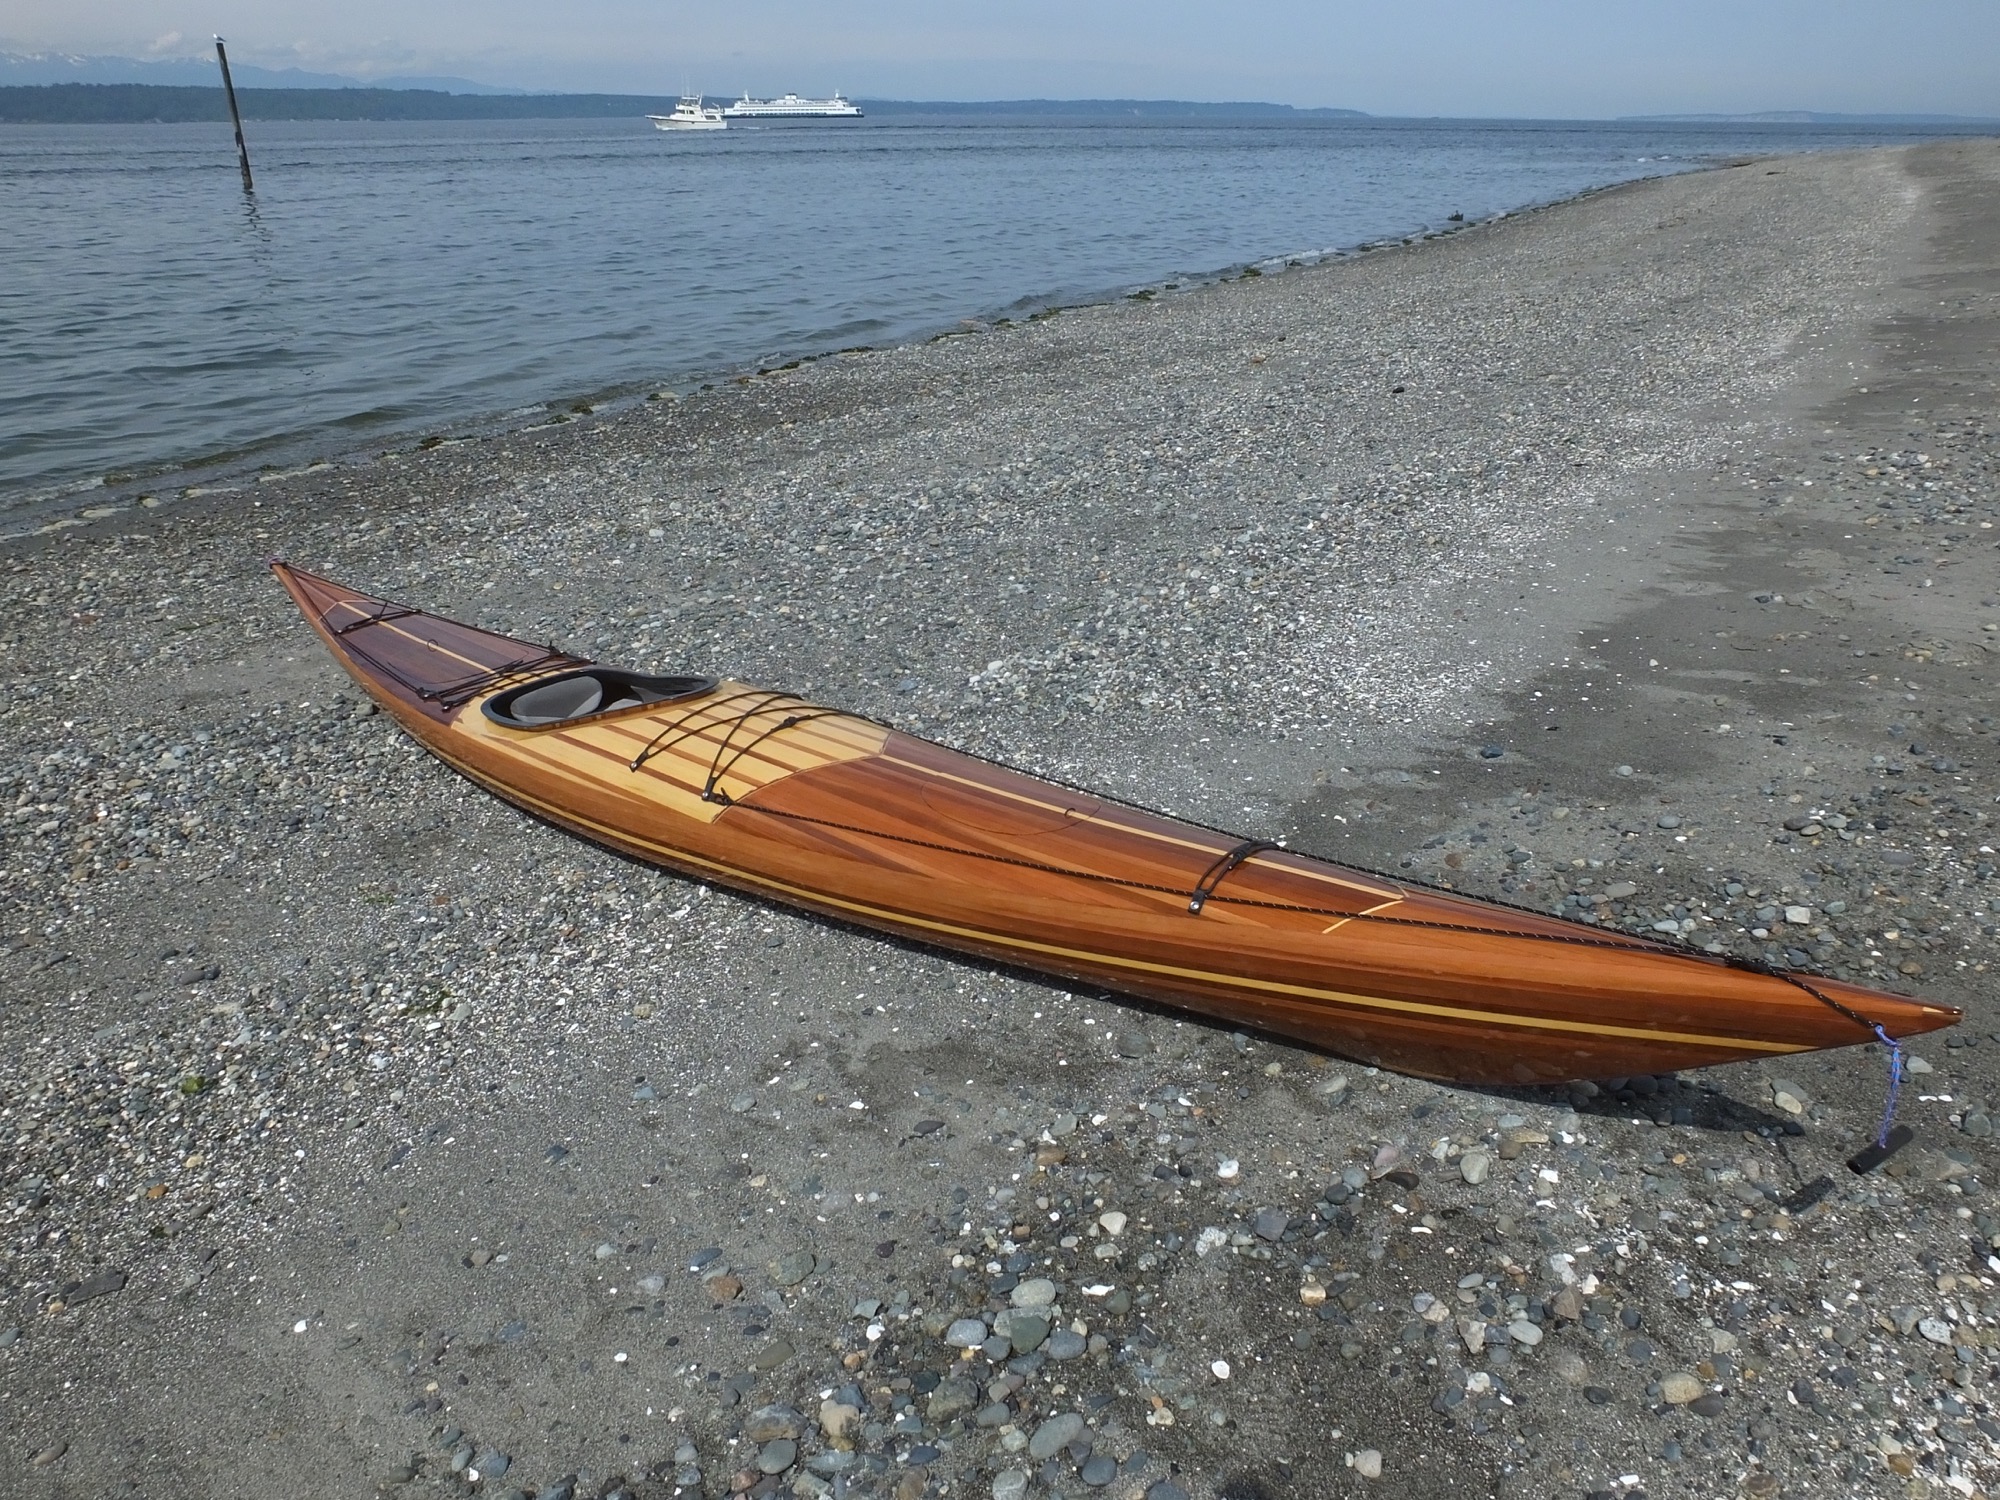
  •  With the installation of deck bungees and perimeter lines, the build is complete!

    With the installation of deck bungees and perimeter lines, the build is complete!