-
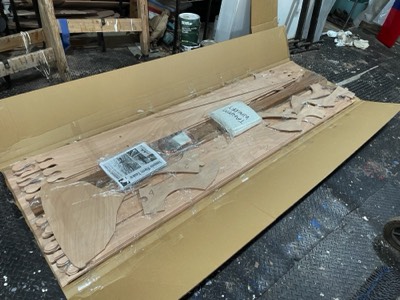
6/9/22 - The project begins.
-
The first few panels are epoxied together.
-
Bulkheads are epoxied together.
-
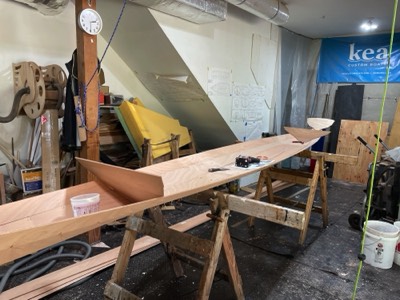
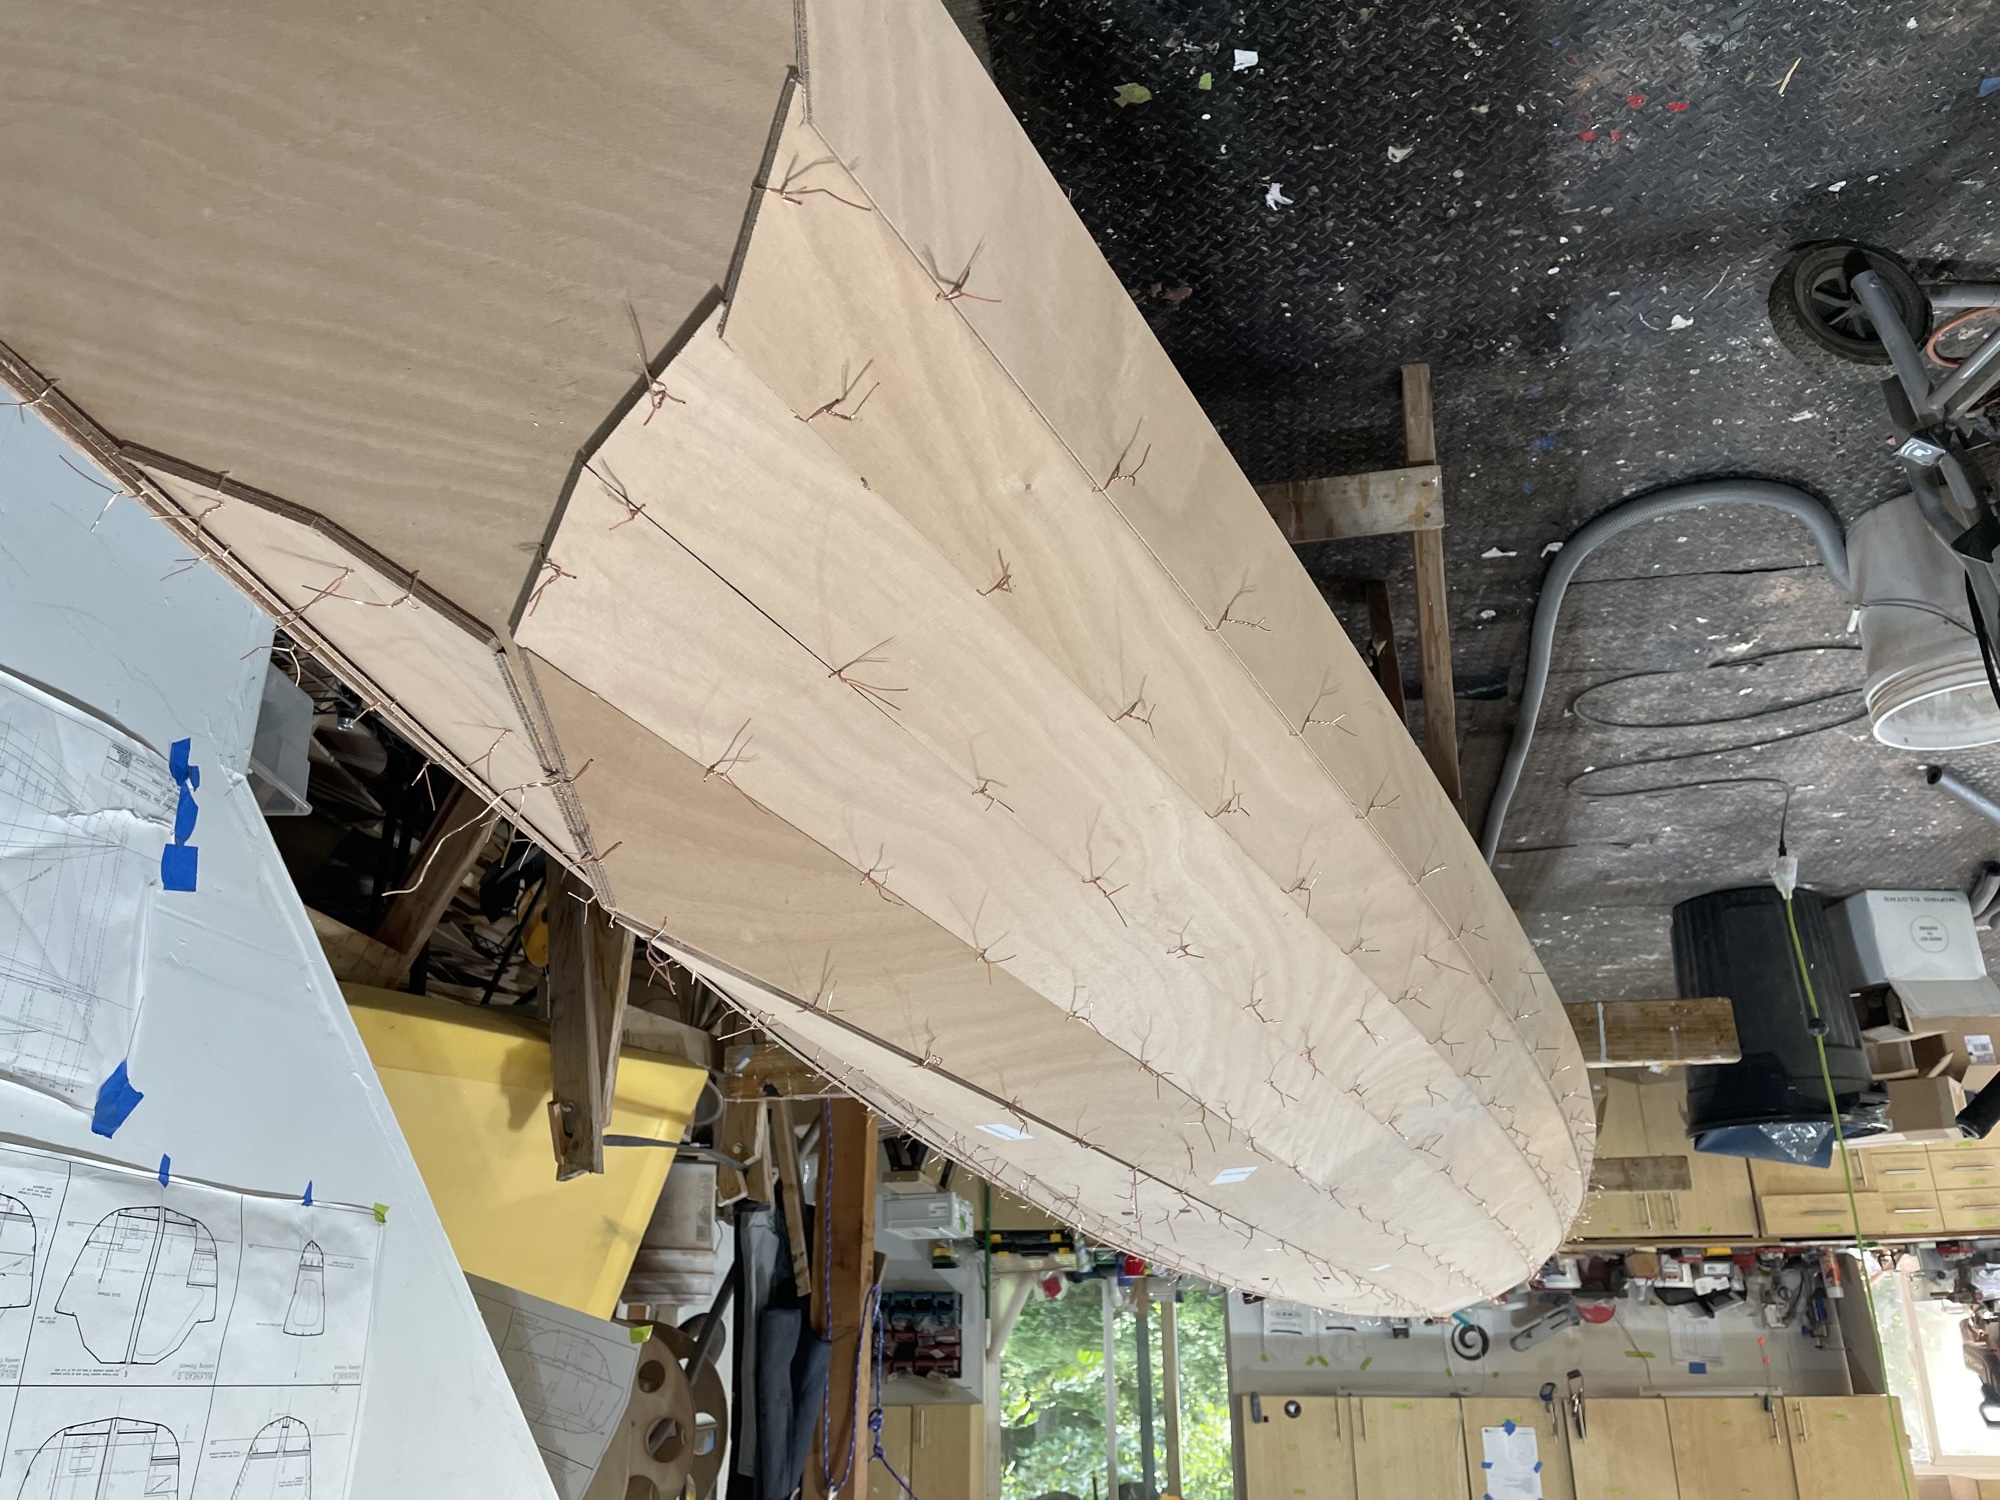
6/24/22 - The bottom and # 1 panels are wired together.
-
# 2 panels are wired on.
-
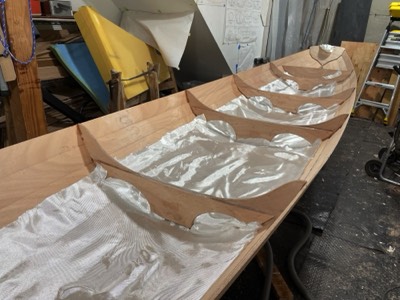
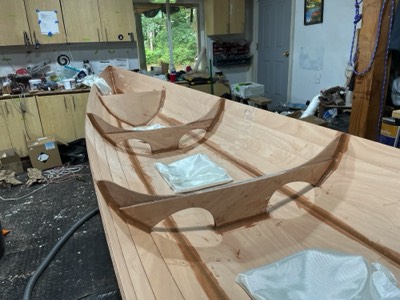
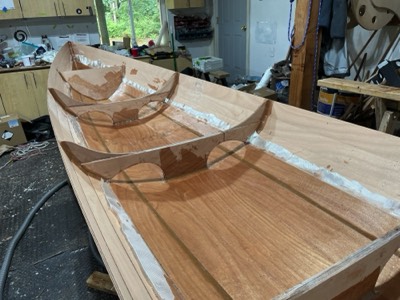
Bulkheads and transom are wired in place.
-
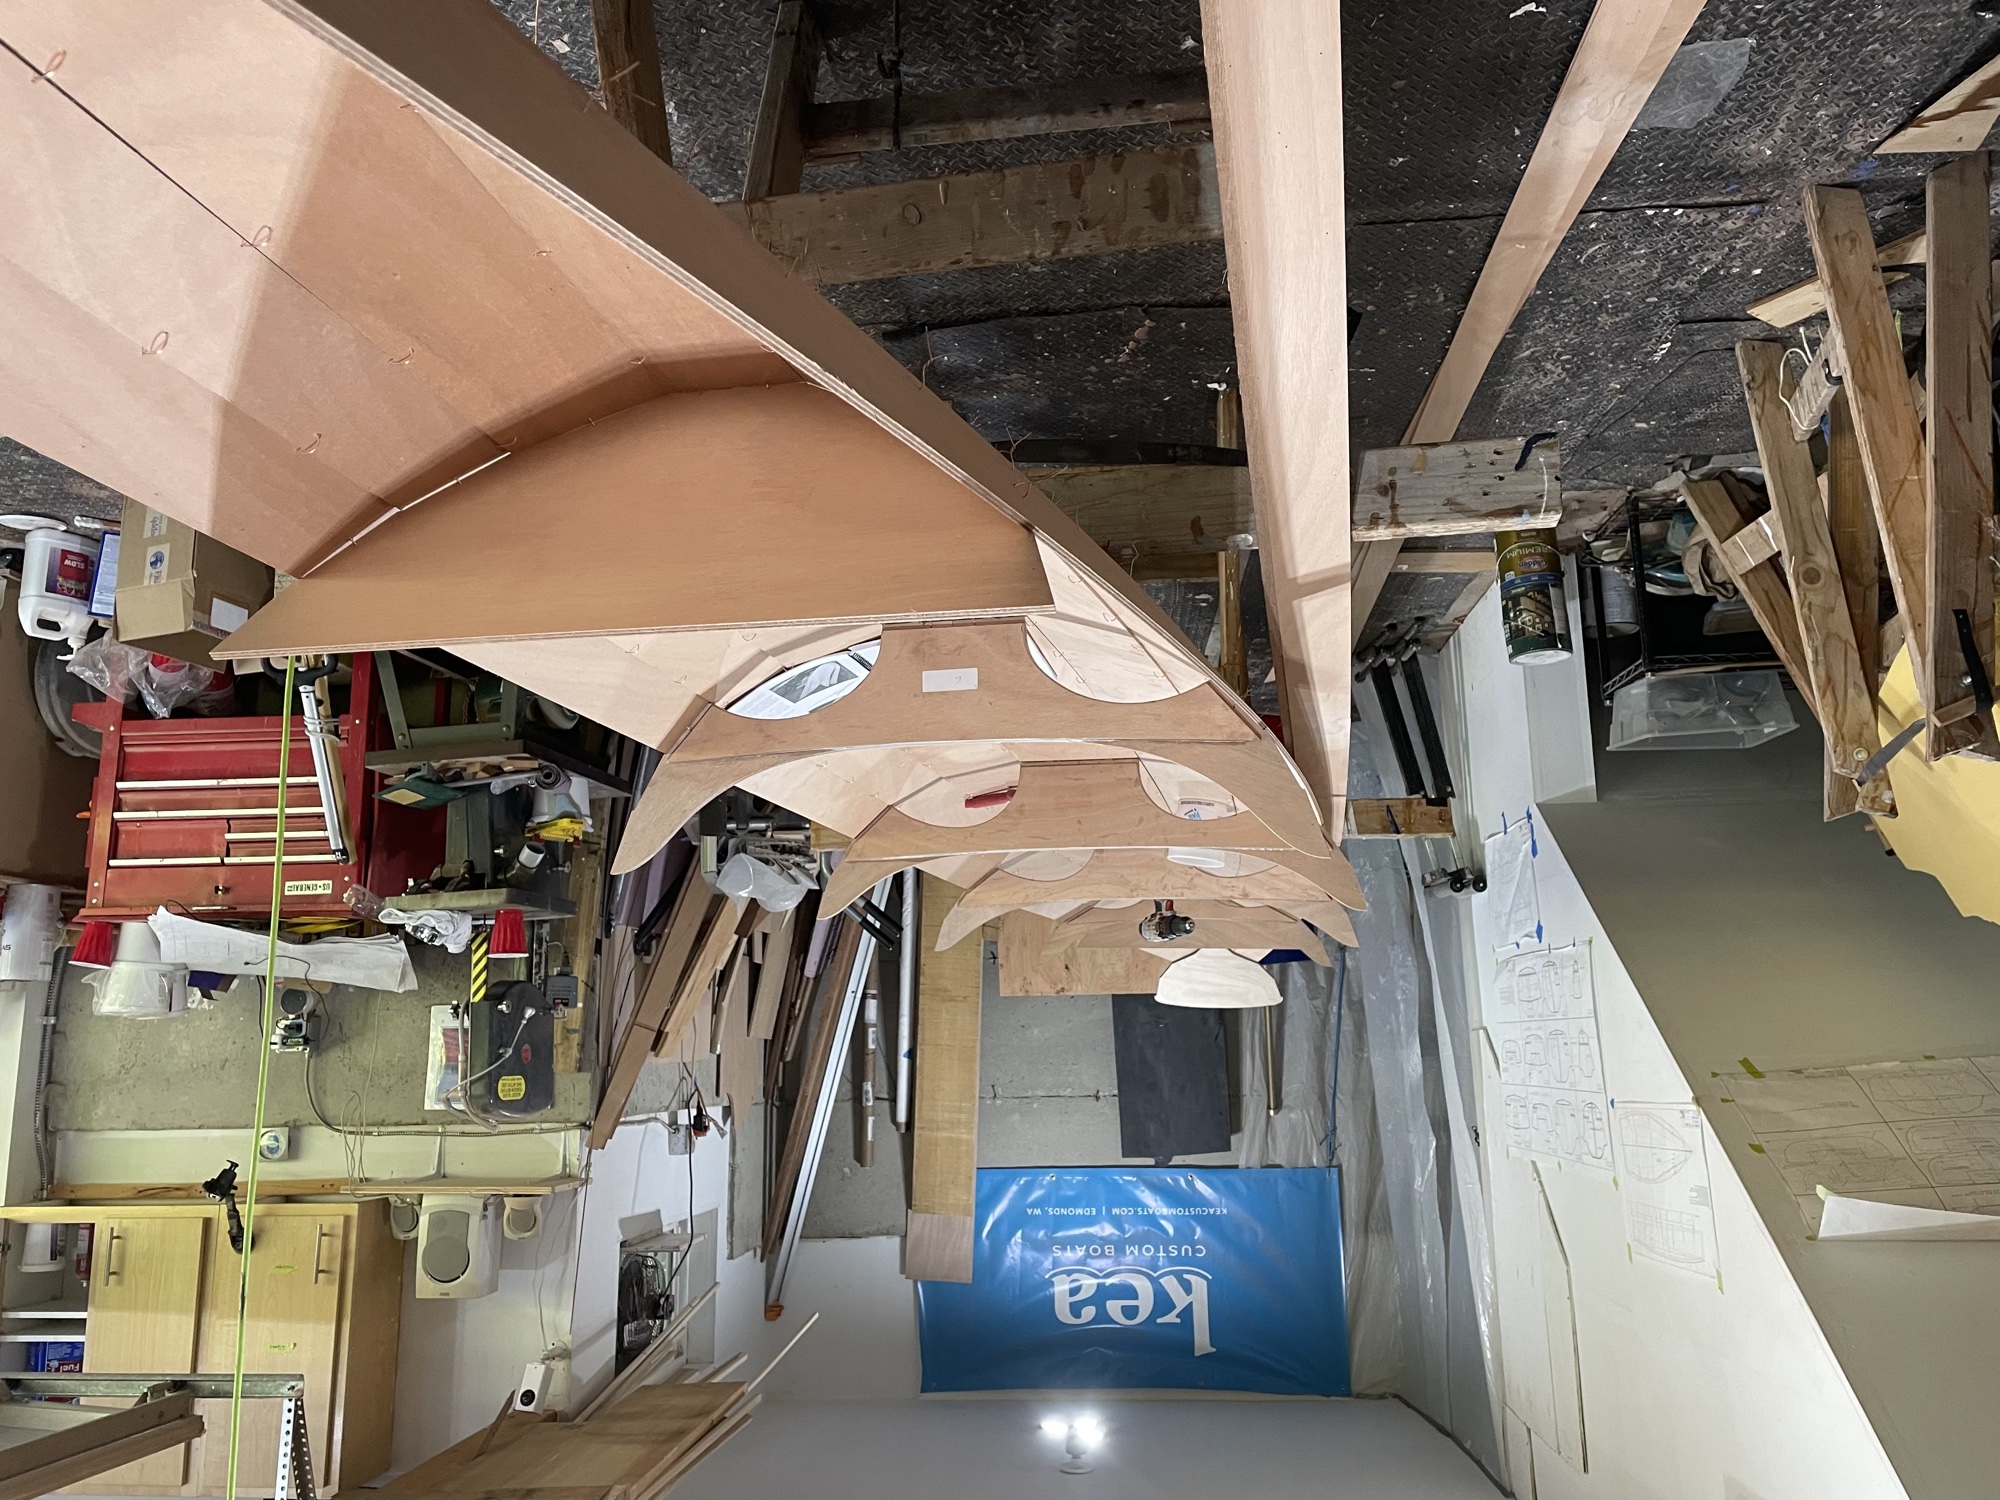
#3 panels and rest of bulkheads are wired in place.
-
#4 panels are wired in place.
-
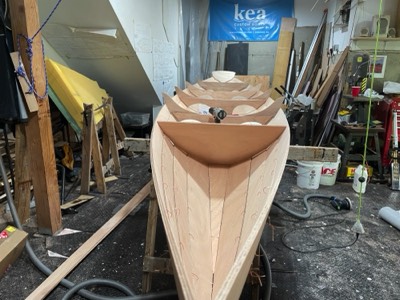
Final panels are in place.
-
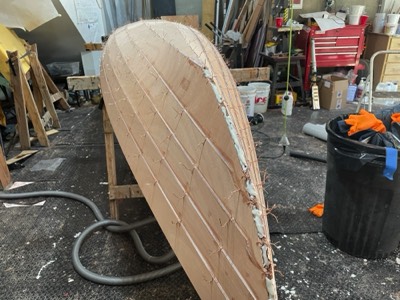
6/27/22 - The hull is flipped and the wires are tightened.
-
Seams between panels are partially filled with epoxy.
-
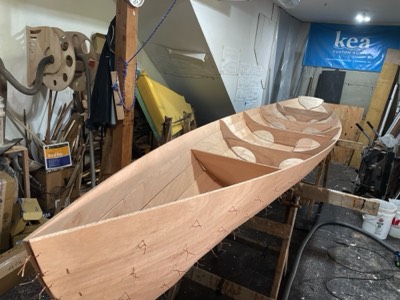
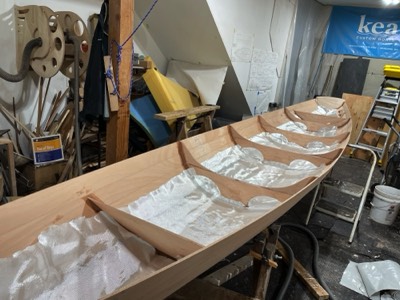
6/28/22 - Wires have been pulled and fiberglass is cut for the interior.
-
6/29/22 - Filletts are applied to the bulkheads and between #1 and #2 panels.
-
Fiberglass is unfolded and ready for epoxy.
-
Glass is epoxy saturated.
-
Excess cloth is trimmed off.
-
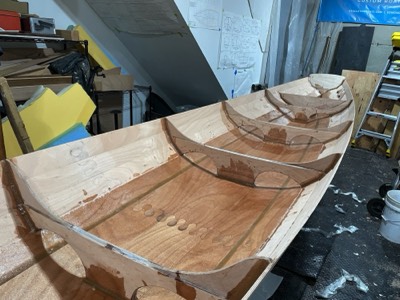
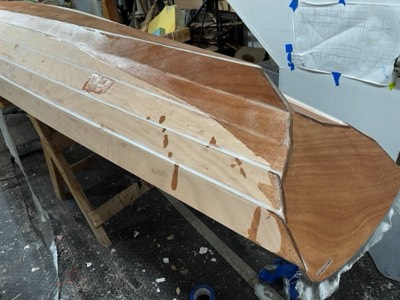
7/5/22 - The seams between panels are filled with epoxy.
-

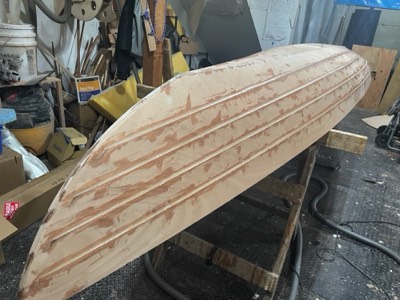
7/6/22 - The hul is sanded.
-
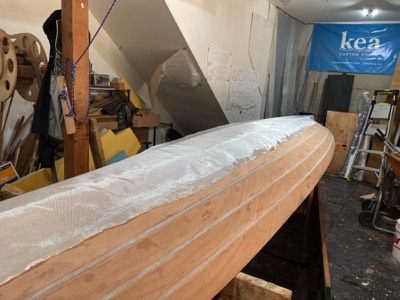
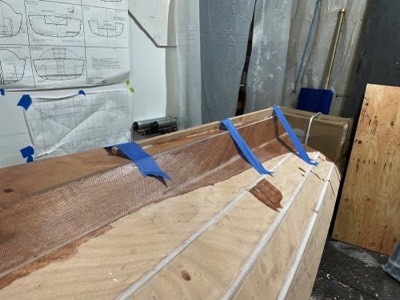
7/8/22 - Fiberglass cloth is laid on the outside.
-
The cloth is saturated with epoxy.
-
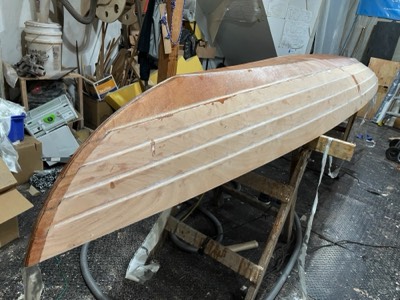
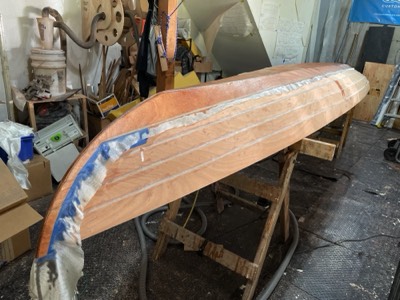
Excess cloth is trimmed.
-
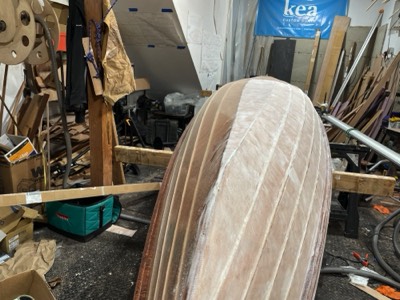
View of the stern.
-
7/10/22 - The skeg is epoxied in place.
-
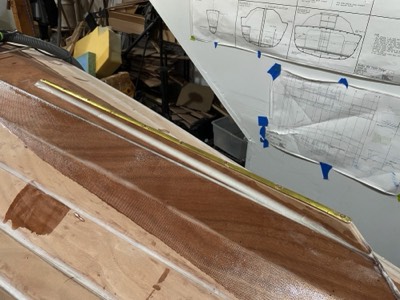
7/17/22 - Skeg is filletted and brass rub strip is temporarily mounted.
-
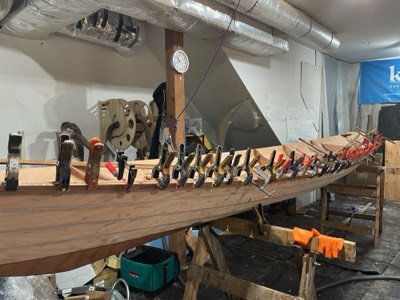
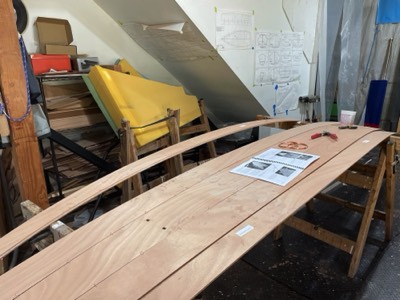
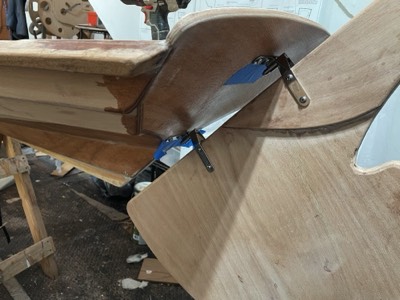
7/18/22 - Port side rails are epoxied in place.
-
7/19/22 - Starboard side rails are installed.
-
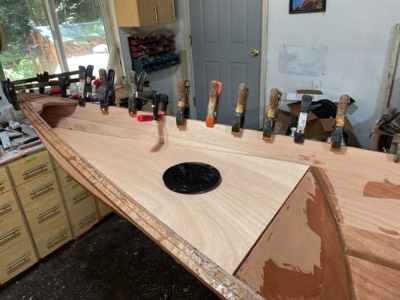
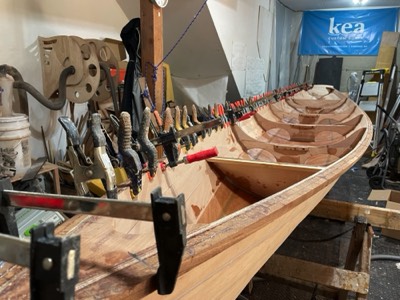
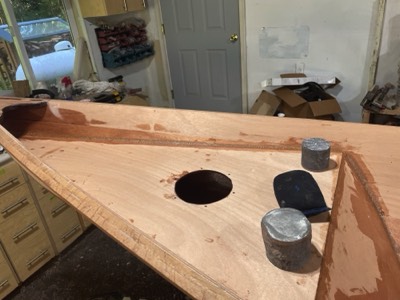
Forward tank top is test fit.
-
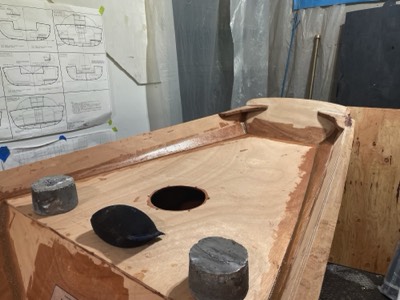
Aft tank top is test fit.
-
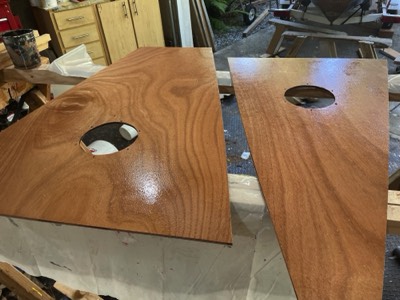
Underside of tank tops are epoxy sealed.
-
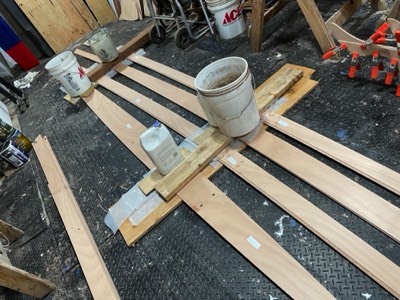
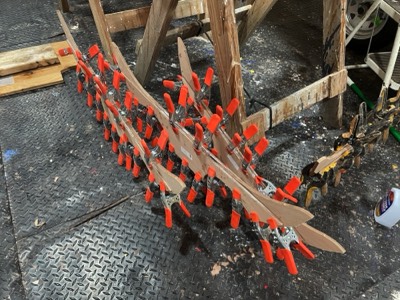
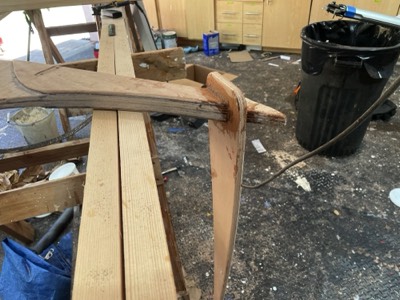
Rudder is laminated from two pieces of wood.
-
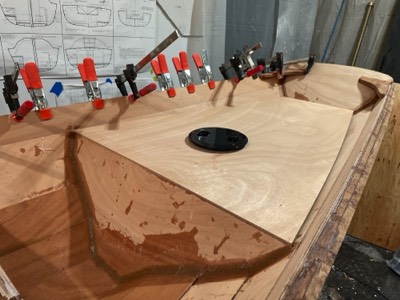
7/20/22 - Forward tank top epoxied in place.
-
Aft tank top epoxied in place.
-
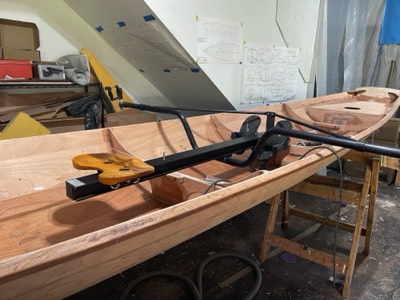
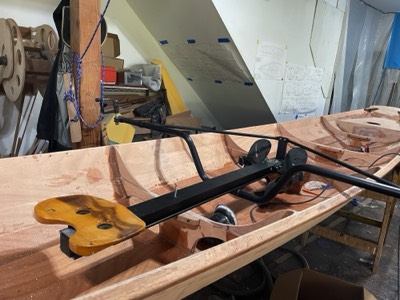
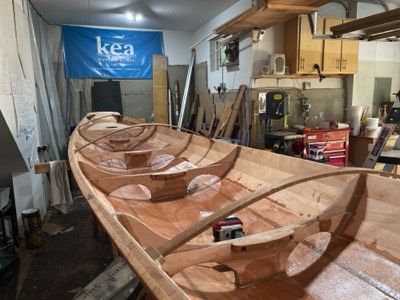
7/21/22 - The sliding seat is fit to the middle rowing position.
-
Fit to the forward postion.
-
7/23/22 - The rudder is mounted.
-
7/24/22 - Tiller arm is epoxied in place.
-
Wooden battens for a cover are cut to length.
-
7/25/22 - The interior is given first epoxy seal coat.
-
Rudder is given epoxy seal coat.
-

7/27/22 - Epoxy seal coats are applied to the hull.
-

7/31/22 - Parts for the queen seat are laminated together.
-
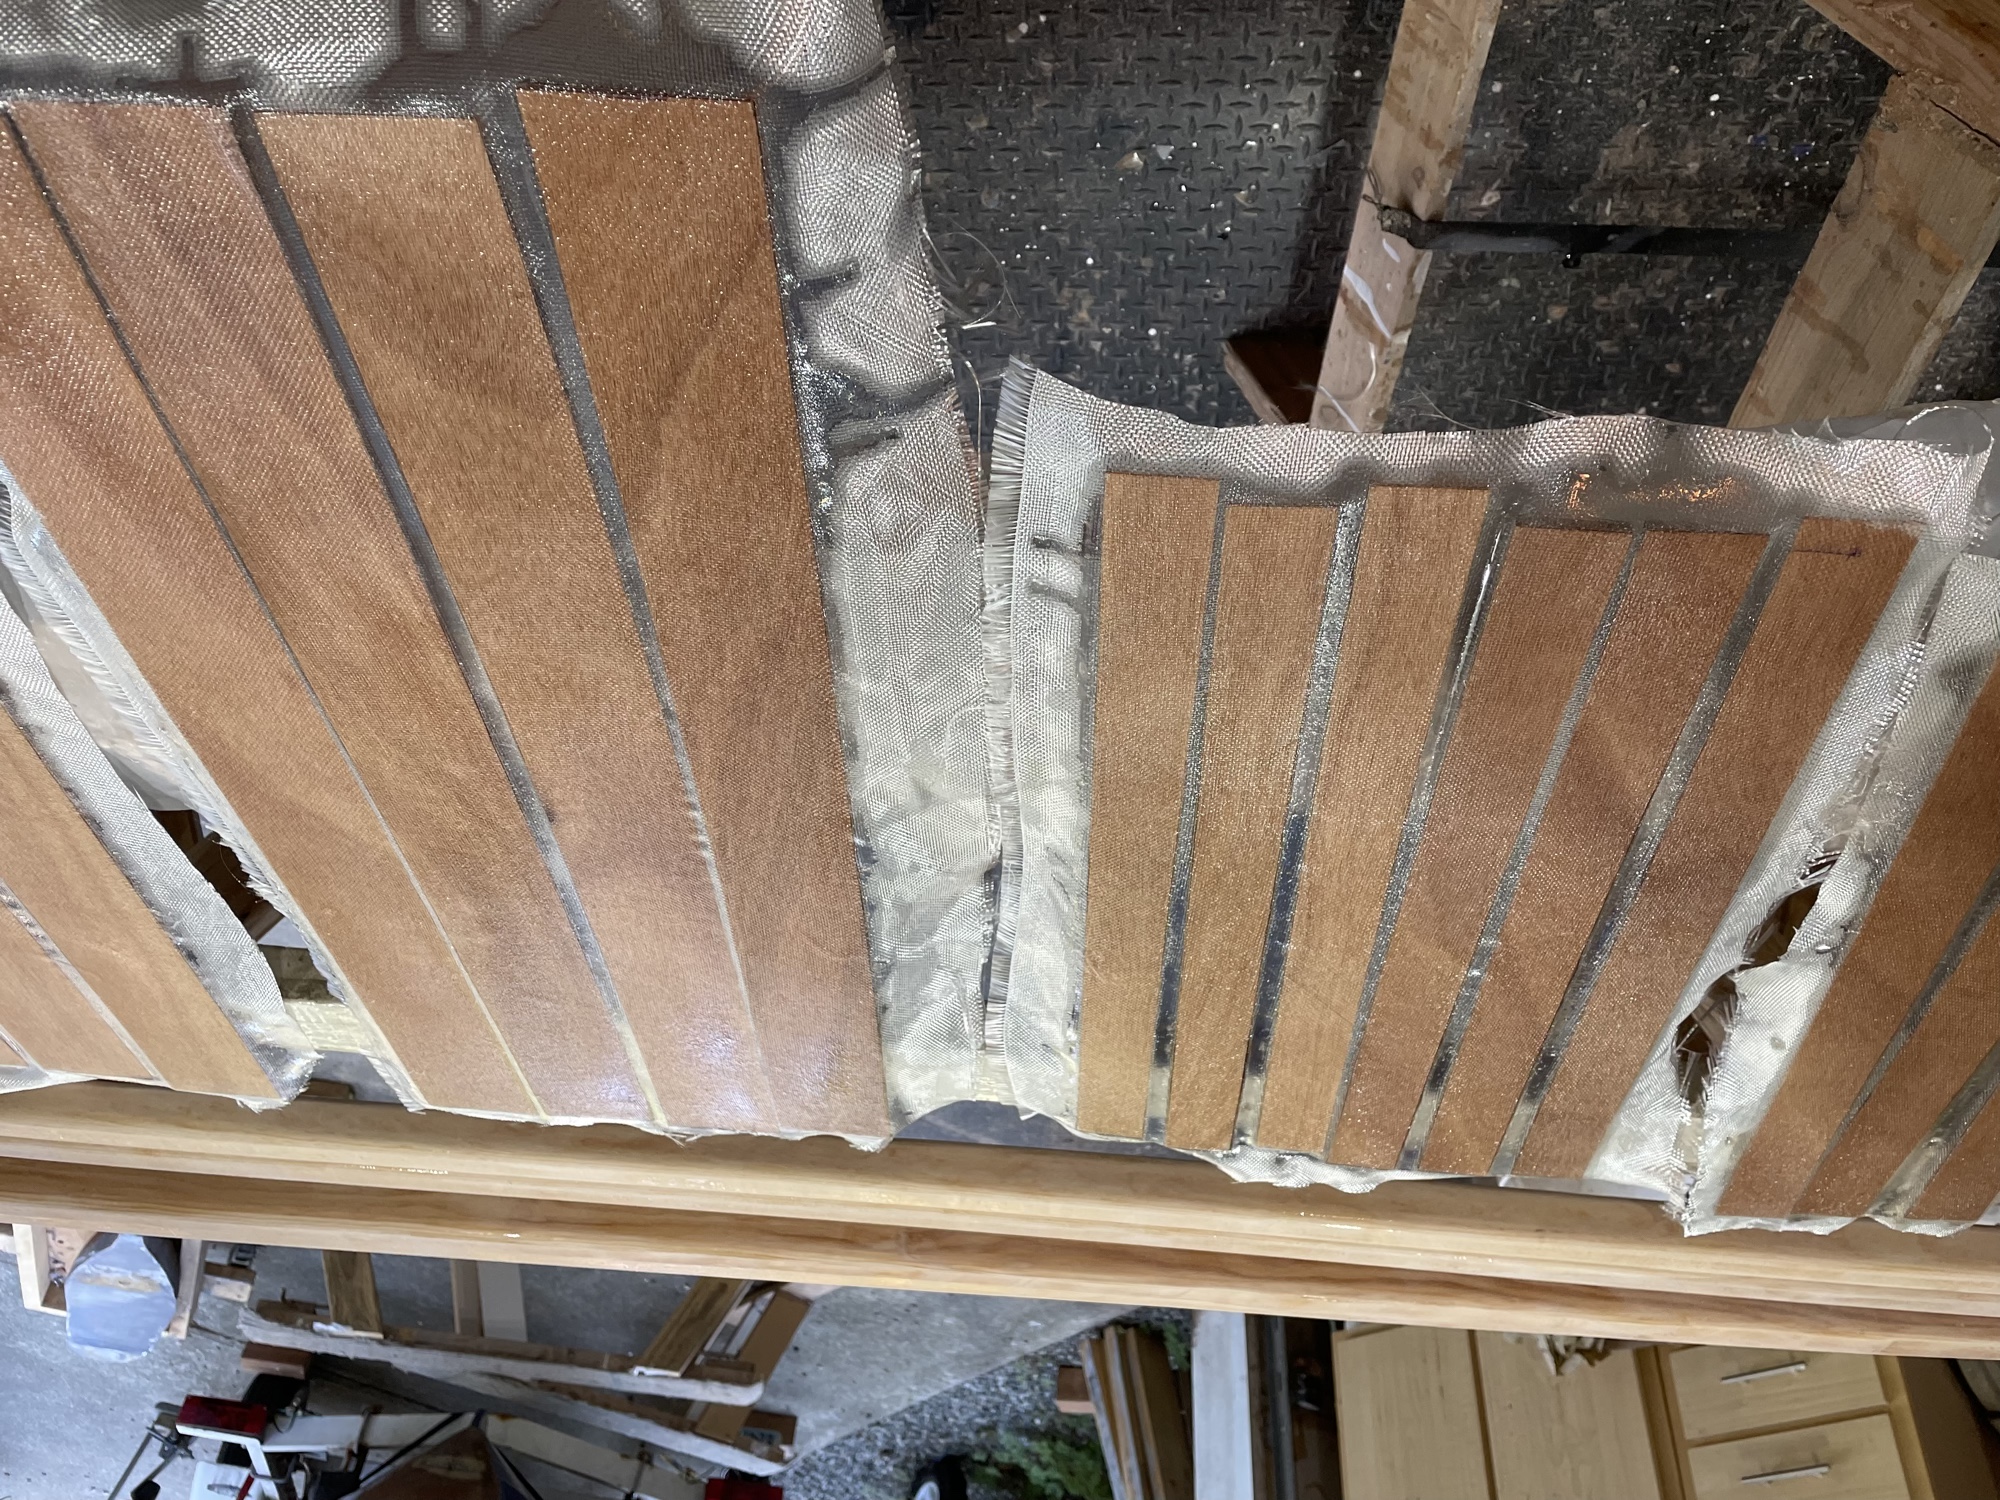
7/31/22 - Seat and back slats are fiberglassed.
-
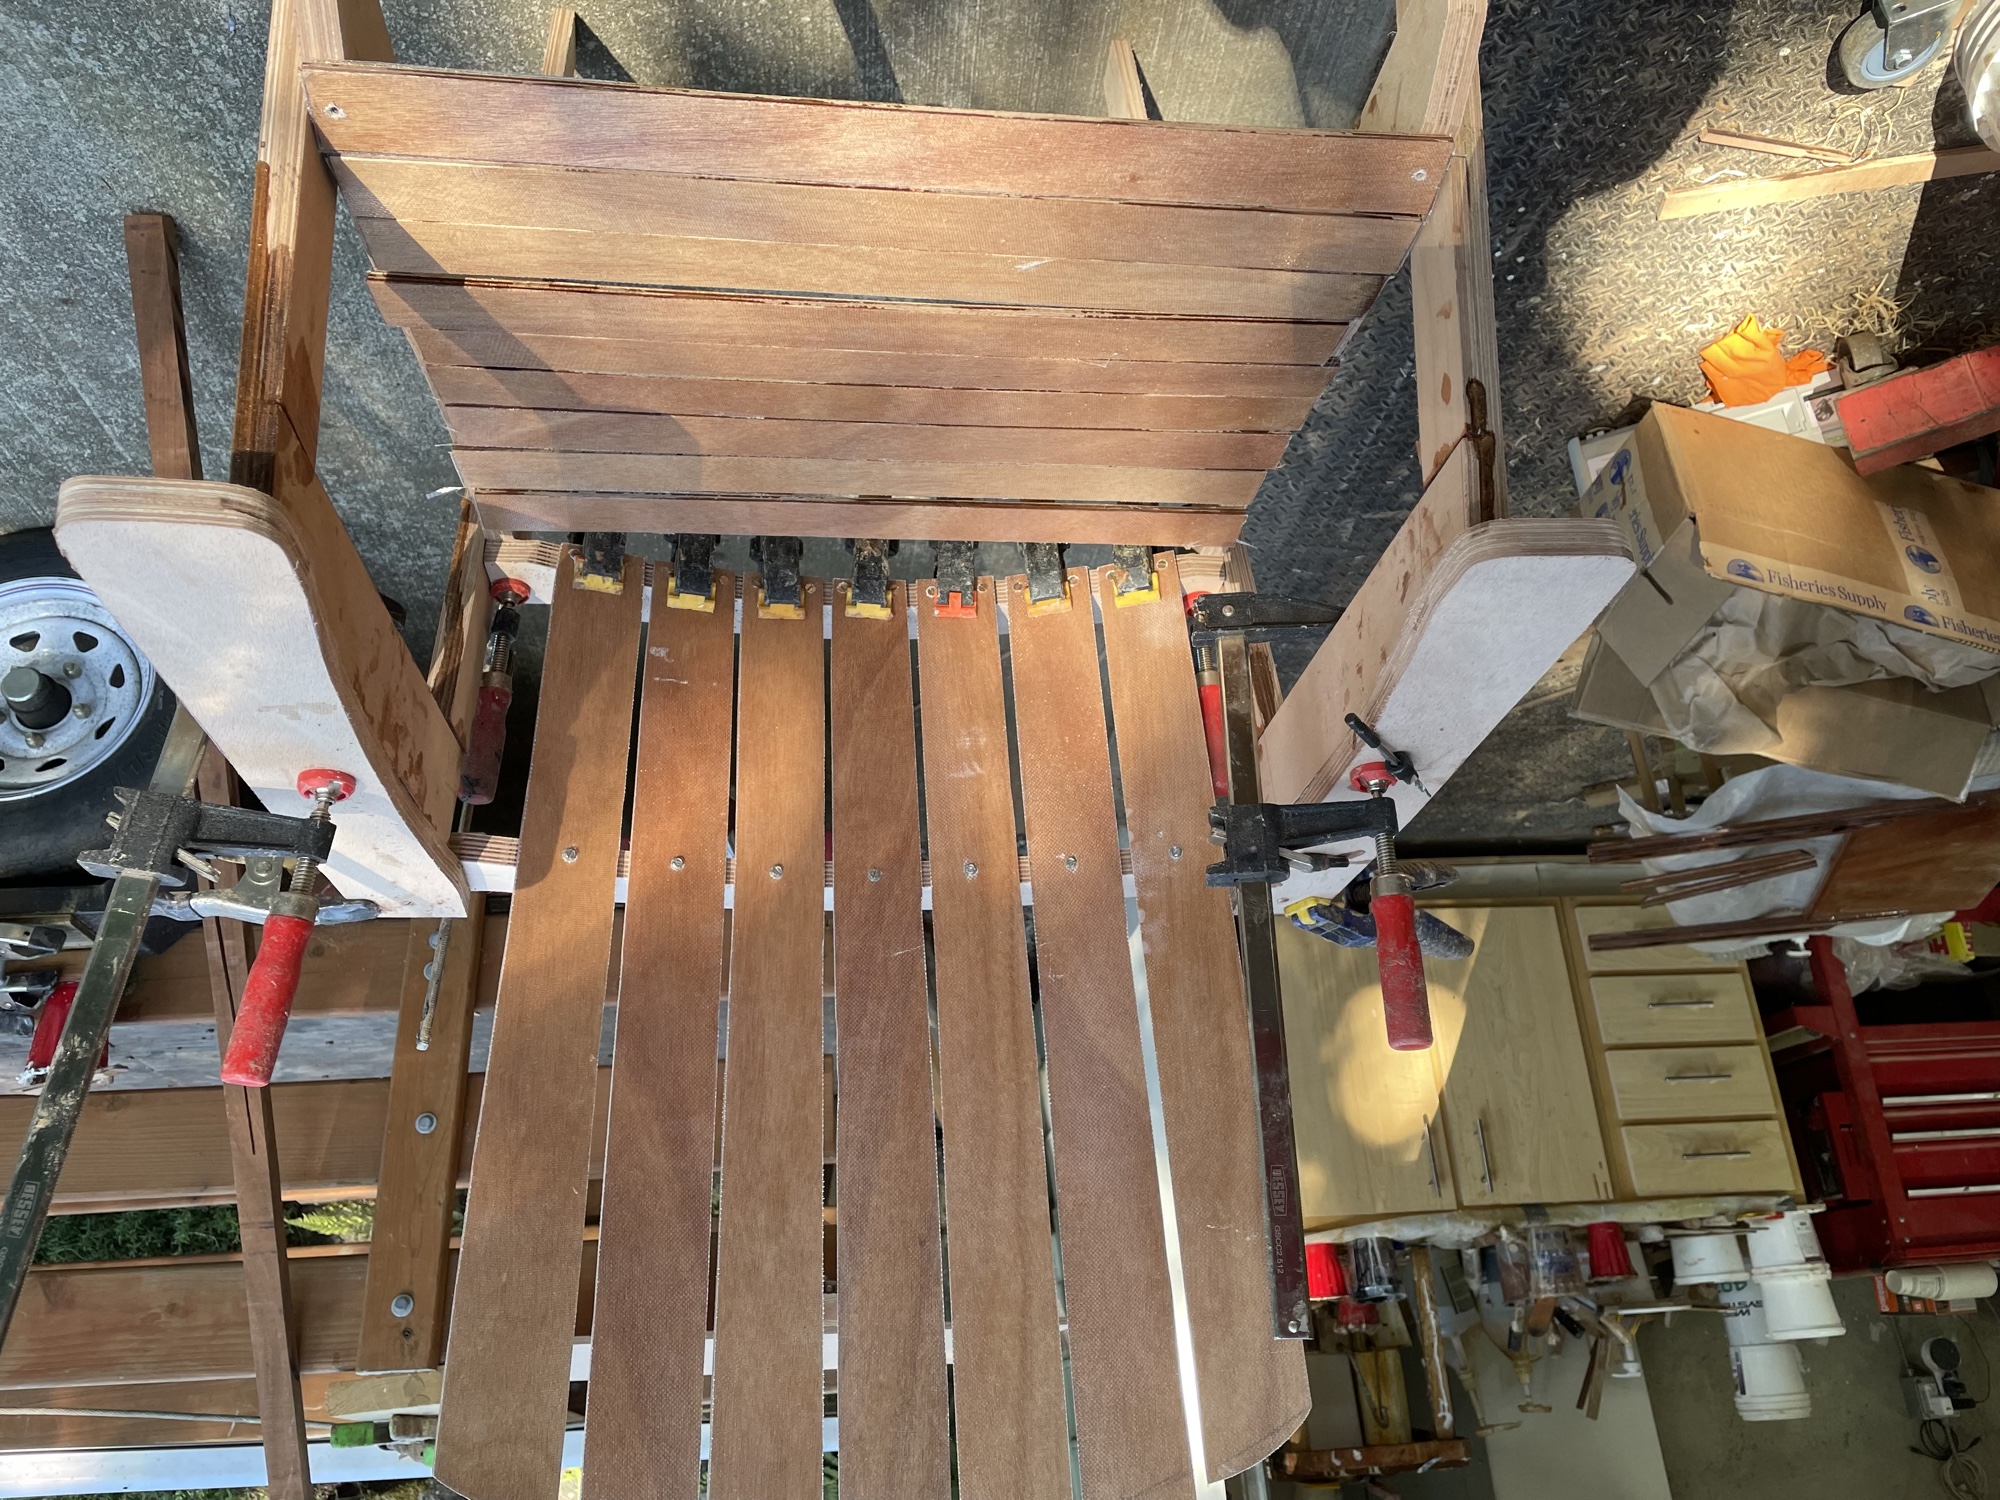
8/17/22 - The seat is partially epoxied together.
-
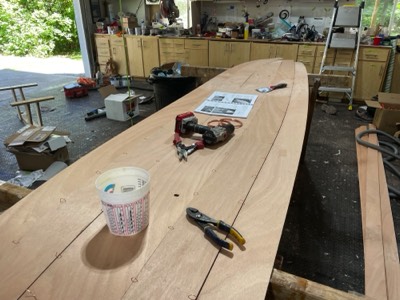
8/29/22 - Half the hull is sanded.
-
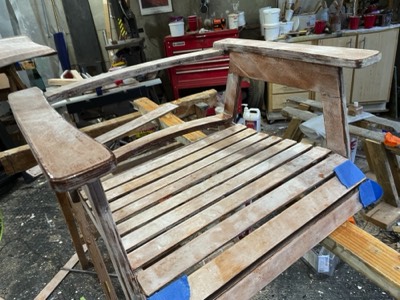
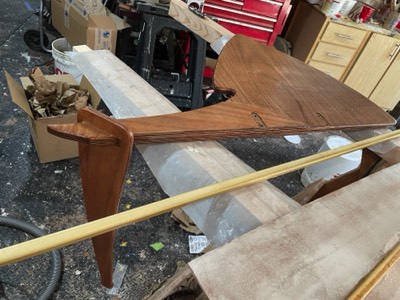
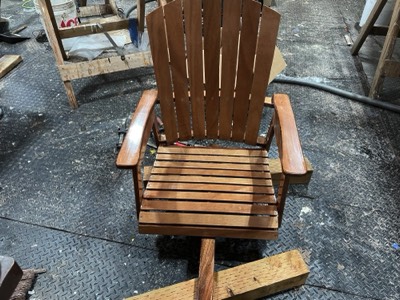
9/7/22 - The seat is sanded and epoxied together.
-
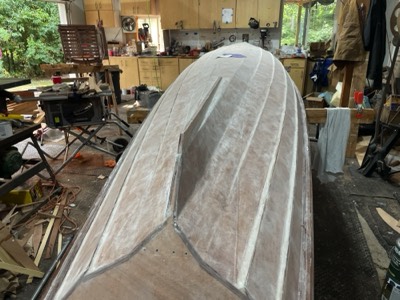
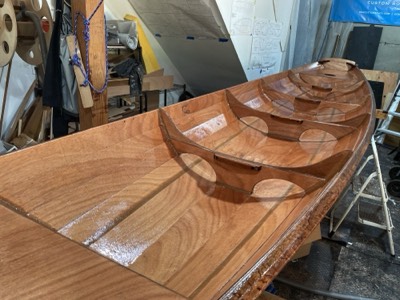
9/12/22 - The hull is sanded and ready for primer.
-
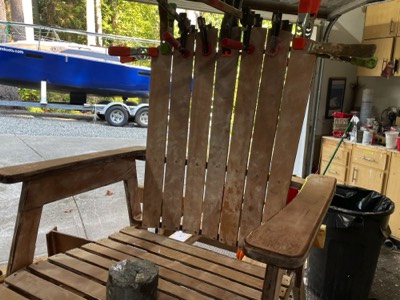
Seat back slats are epoxied in place.
-
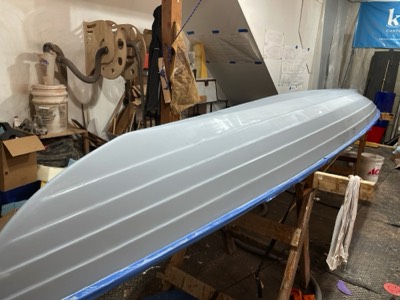
9/14/22 - The hull is primed.
-
The rudder is primed.
-
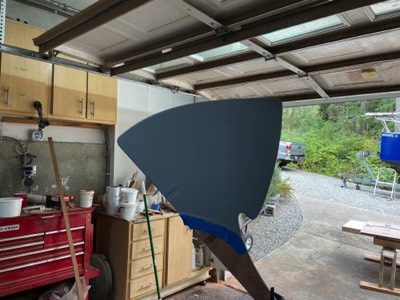
9/15/22 - First coat of paint on the hull bottom.
-
First coat on the rudder.
-
9/16/22 - Second coat of paint.
-
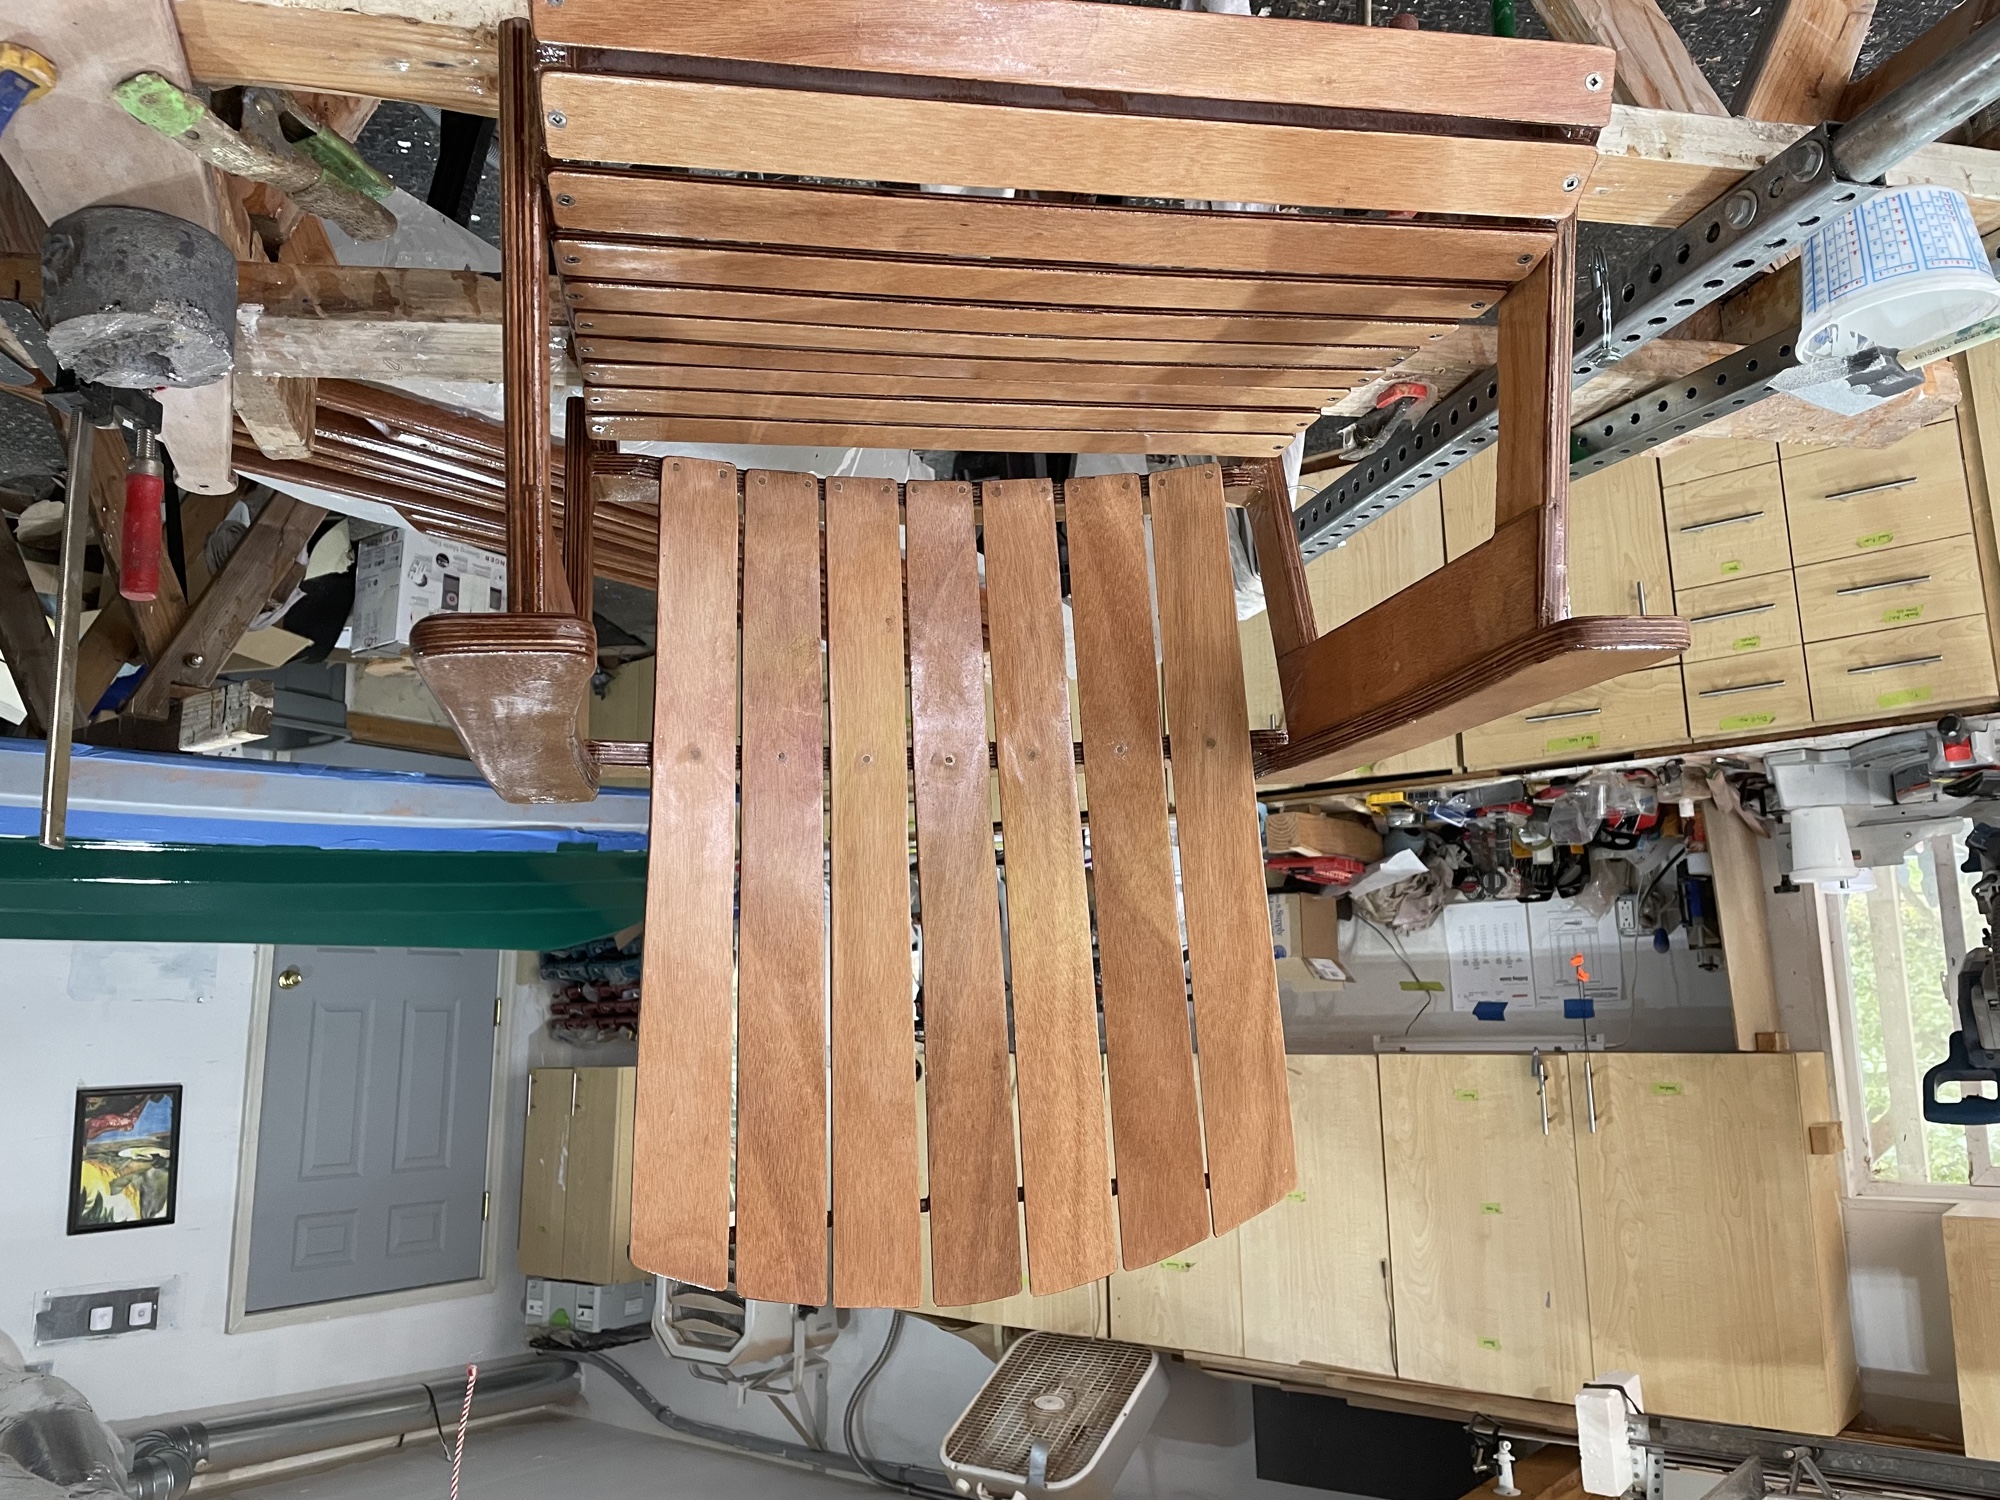
9/16/22 - the queen seat gets the first coat of varnish.
-
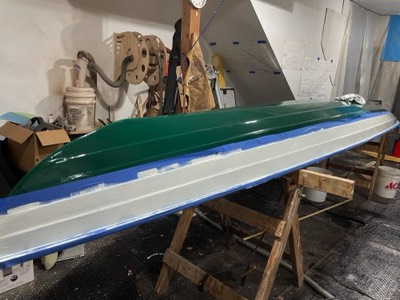
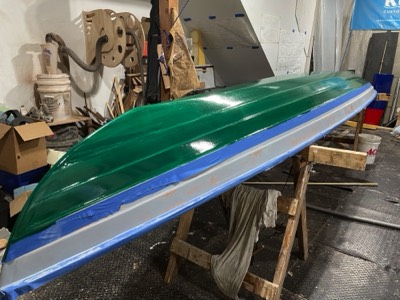
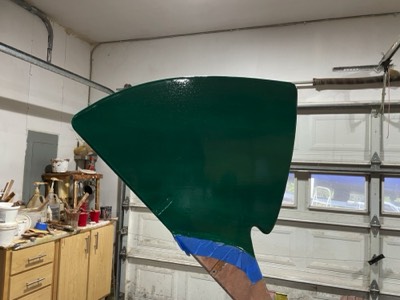
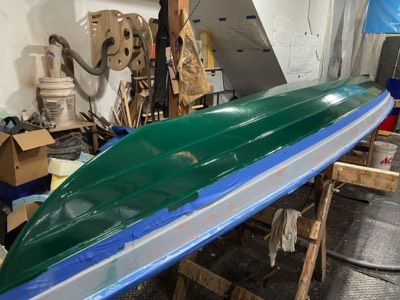
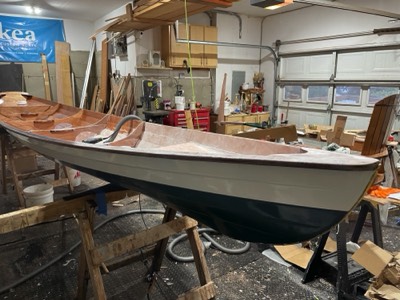
9/20/22 - First coat of white is applied.
-
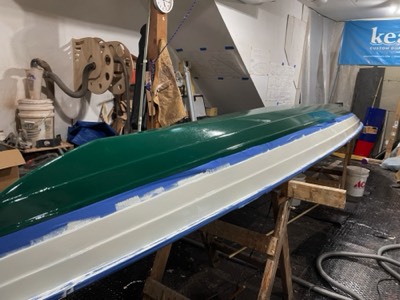
Second coat of white.
-
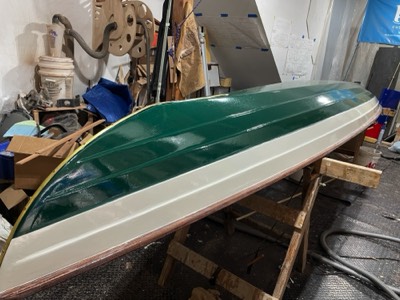
9/28/22 - Tape is removed and rubstrips are attached.
-
Interior is partially sanded.
-
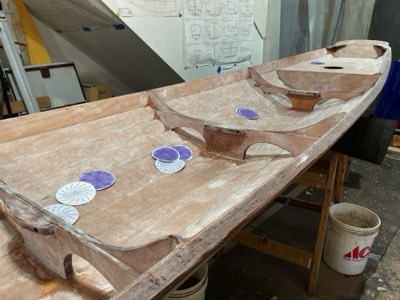
9/29/22 - The interior is sanded and ready for varnish.
-
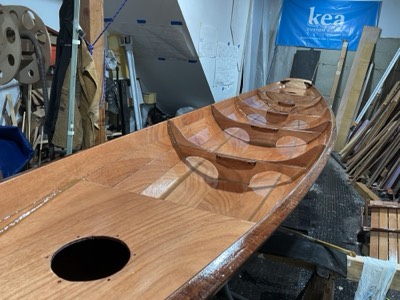
10/3/22 - First coat of varnish is applied.
-
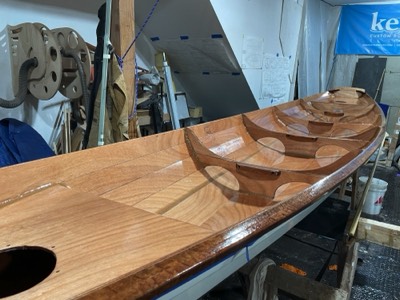
10/6/22 - After several coats of gloss epoxy a final coat of satin is applied. It stays shiny until it dries.
-
The queen seat has been varnished.