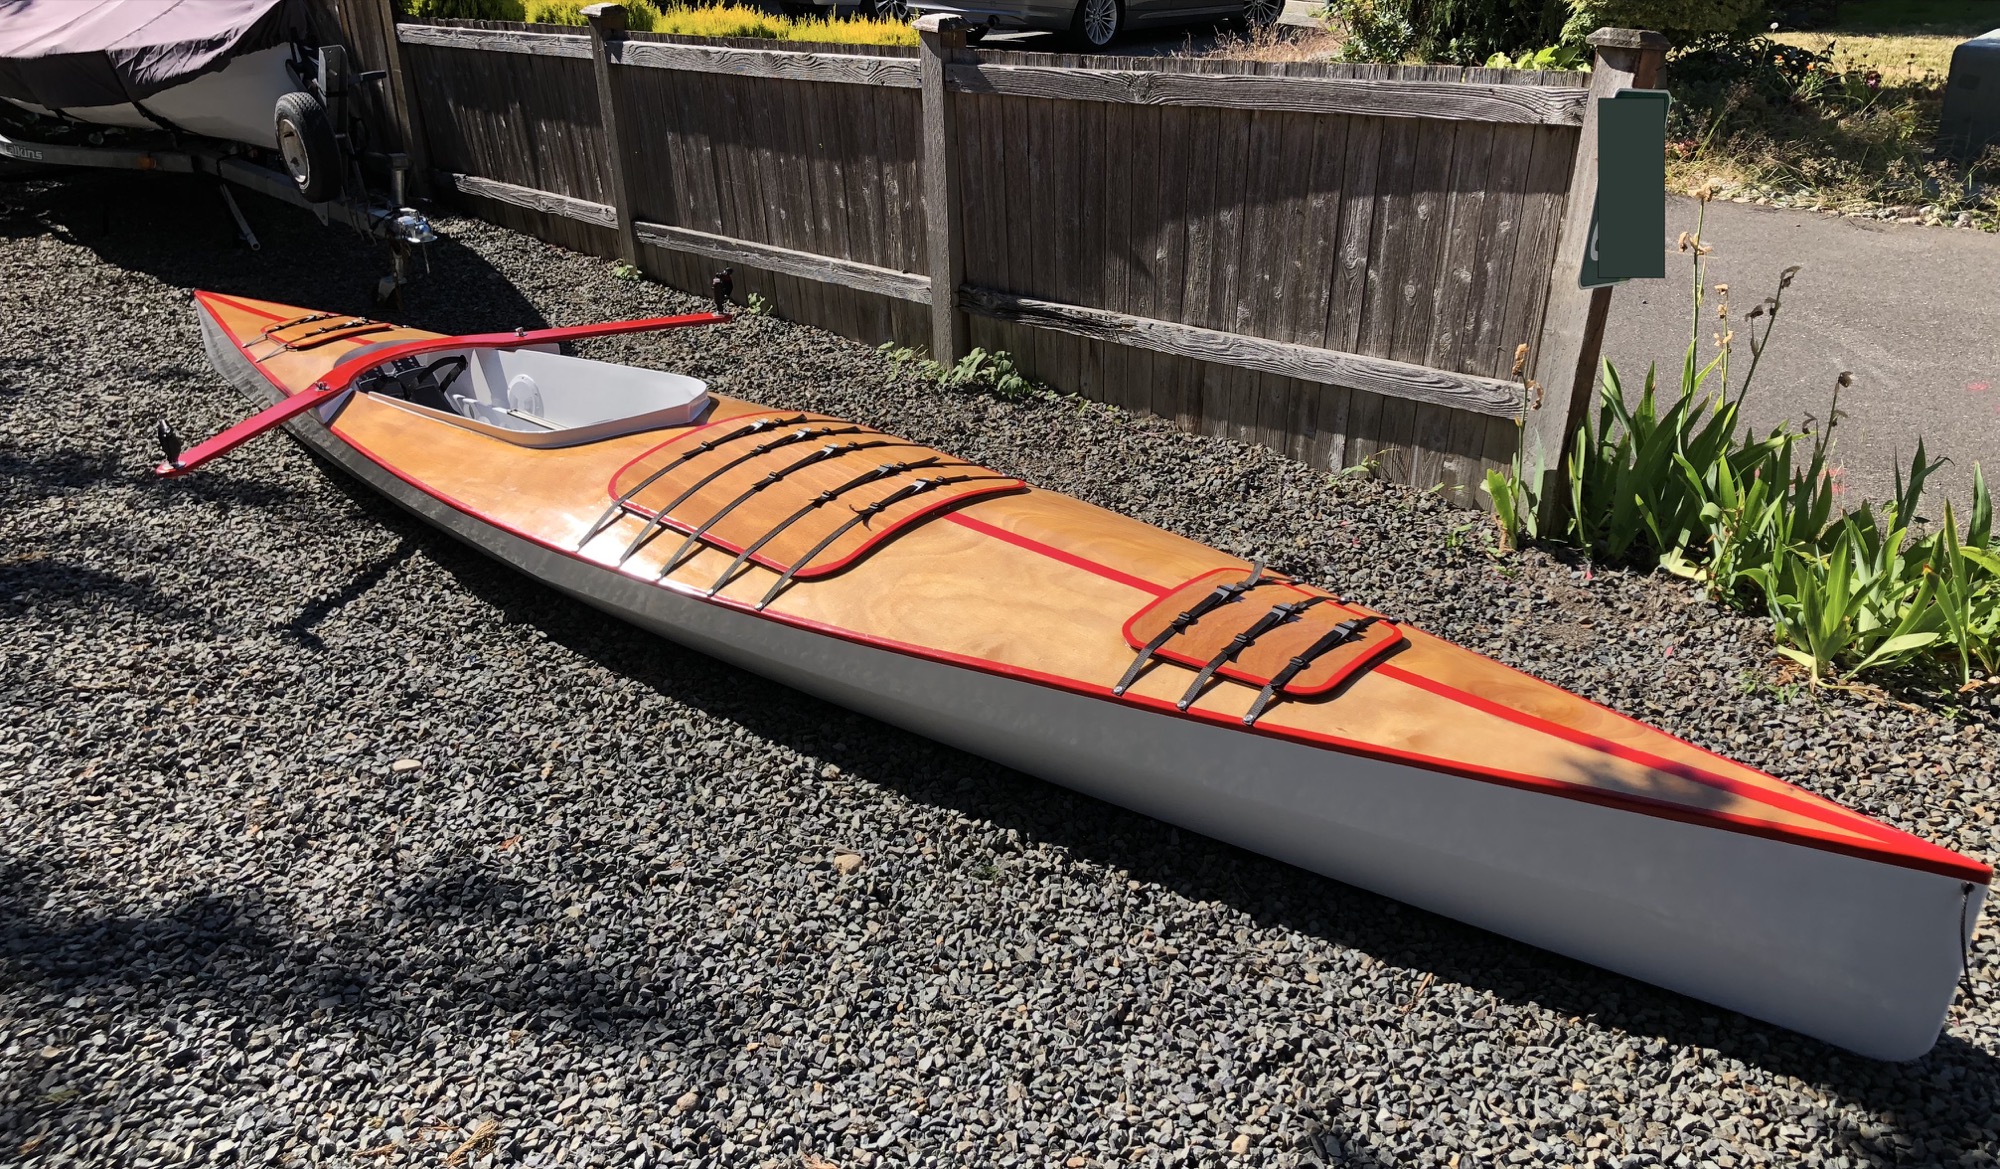

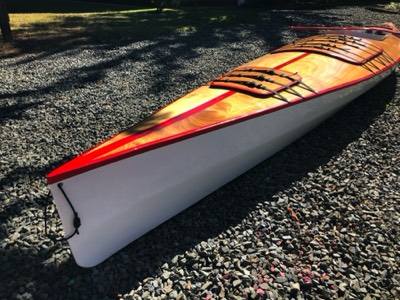
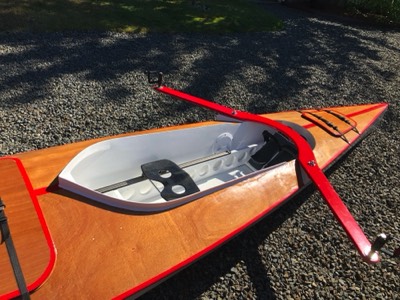
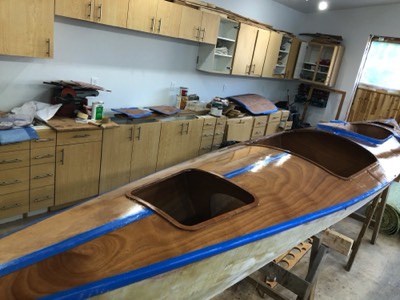
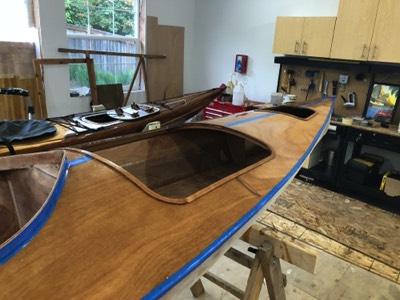
This boat was built with and extra layer of kevlar on the bottom. It is a large rowboat capable of extended expeditions.
Length: 18 feet
Beam: 35 inches
Weight: 85 lbs.
-
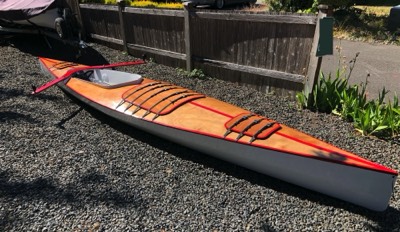
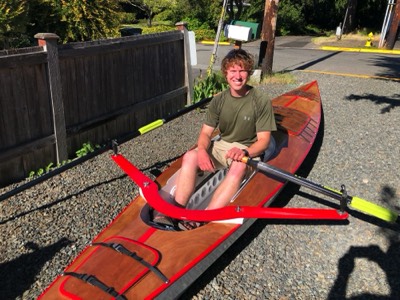
6/26/18 - The project is done!
-
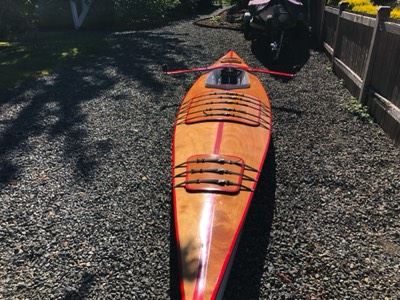
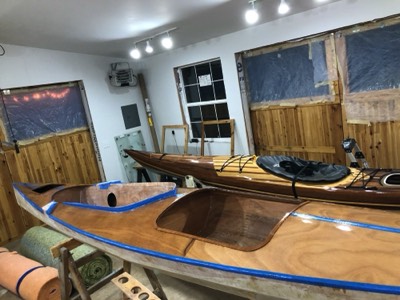
Angus Expedition Rowboat
-
Angus Expedition Rowboat
-
Angus Expedition Rowboat
-
Angus Expedition Rowboat
-

Angus Expedition Rowboat
-
Angus Expedition Rowboat


-
The bottom panels and hull panels are epoxied together.
-
2/2/18 - Sheer clamps are epoxied to the upper panels.
-
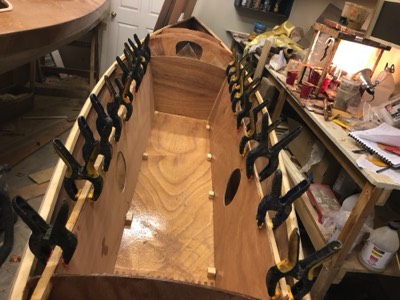
2/8/18 - The bulkheads are wired in place.
-
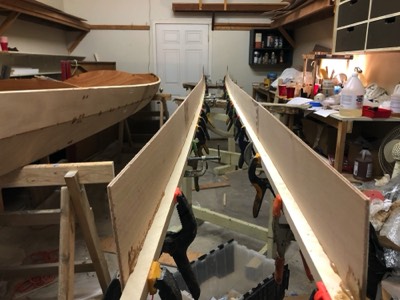
The hull is wired together.
-
2/9/18 - The wires are tightened.
-
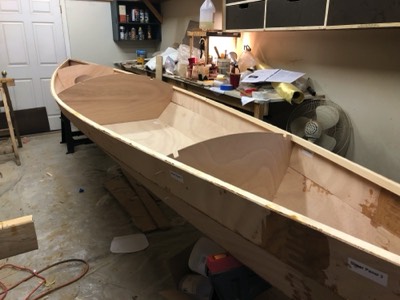
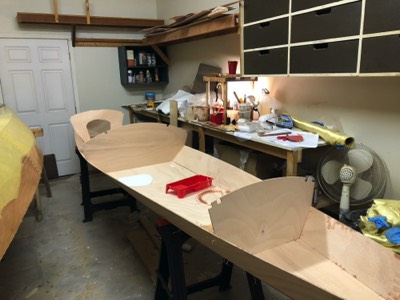
2/12/18 - The wires are pulled out and the hull is flipped over.
-
2/13/18 - The inside seams are filled with epoxy and covered with fiberglass tape.
-
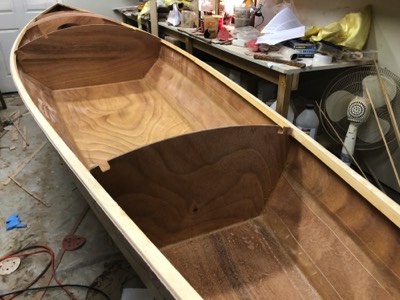
2/14/18 - The interior is sealed with epoxy.
-
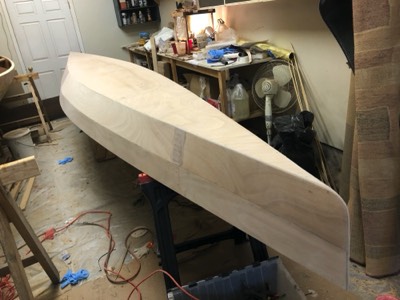
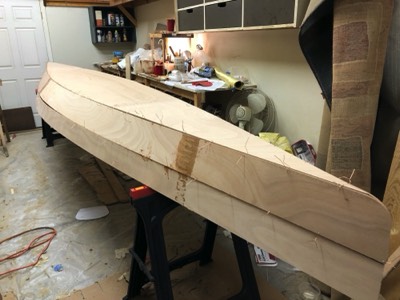
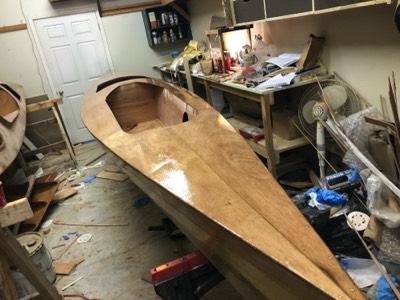
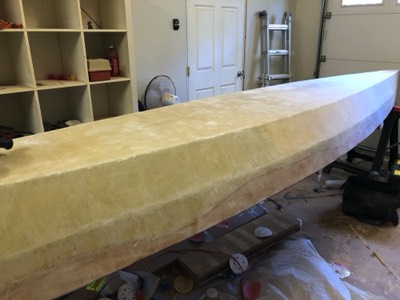
2/20/18 - The hull is sanded smooth.
-
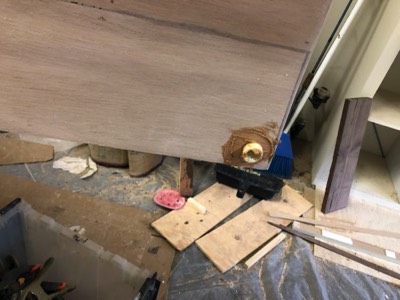
A short length of PVC is epoxied in the bow and stern. This will allow for a secure attachement point for carrying handles.
-
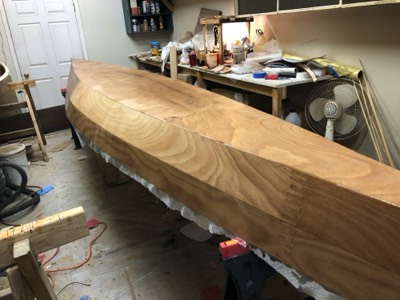
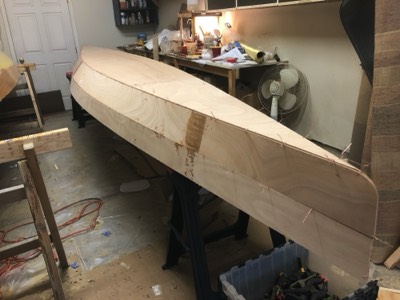
2/21/18 - The hull is fiberglassed.
-
2/28/18 - The sheer clamps are shaped to accommodate the curve of the deck.
-

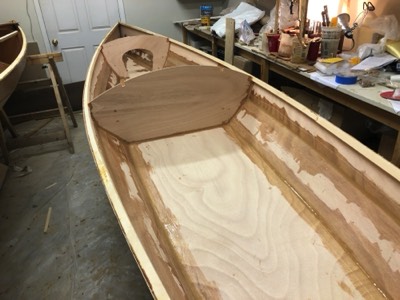
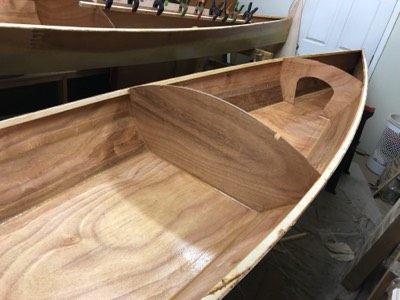
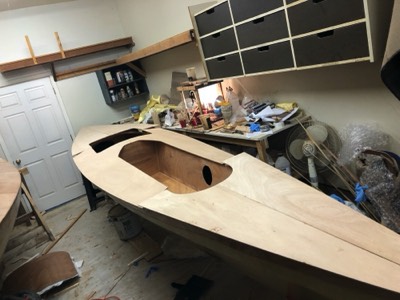
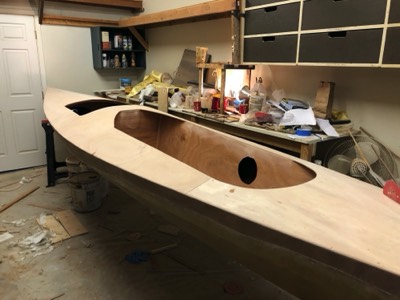
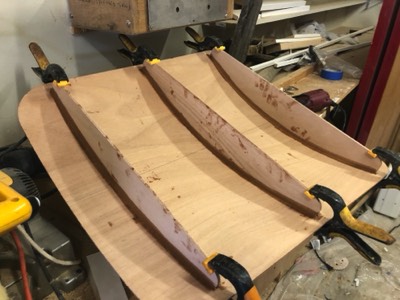
3/1/18 - The cockpit wall stringers are epoxied in place.
-
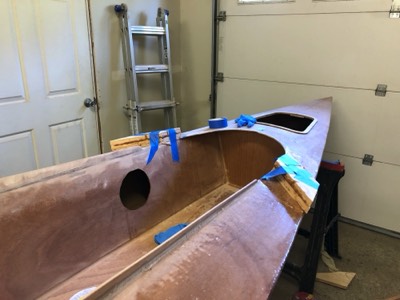
3/7/18 - The cockpit walls are epoxied in place.
-

3/8/18 - Epoxy fillets are applied around the cockpit walls.
-
The panels are nailed to the sheer clamps.
-
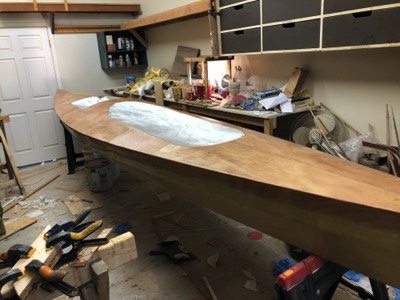
3/16/18 - The deck is sanded smooth.
-
The cloth is saturated with epoxy.
-
3/20/18 - Two fill coats of epoxy are applied to the deck.
-

4/12/18 - The hatch shapes are traced onto masking tape.
-
4/24/18 - The rigger mounting blocks are epoxied in place.
-
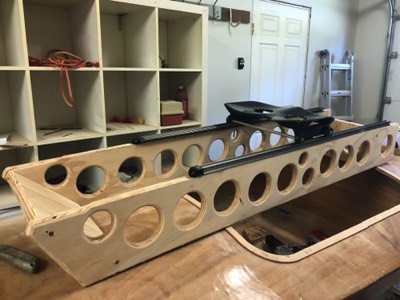
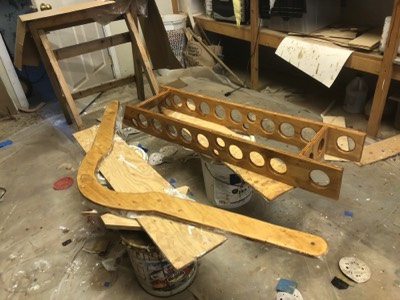
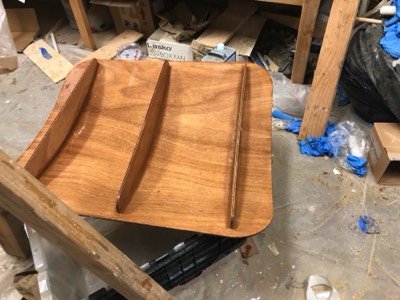
4/26/18 - The sliding seat frame is assembled.
-
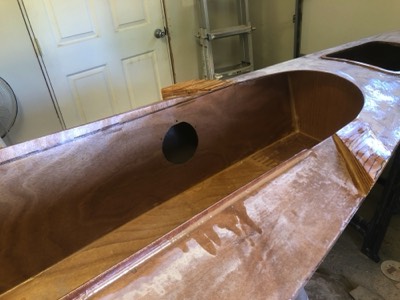
5/14/18 - The inside of the cockpit is sealed with epoxy.
-
The sliding seat frame and rigger are sealed with epoxy.
-
5/15/18 - The large center hatch supports are epoxied in place.
-
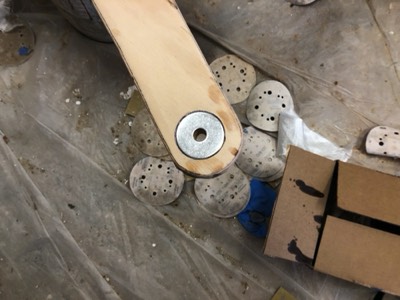
5/16/18 - Washers are inlaid into the underside of the rigger.
-
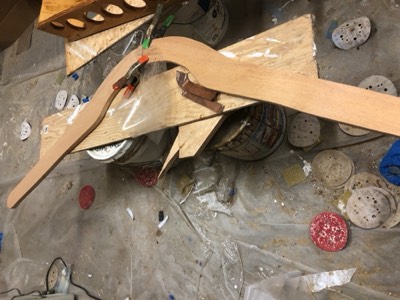
5/21/18 - The rigger is assembled from two pieces of fir.
-
The hull is sanded.
-
The main center hatch is sealed with epoxy.
-
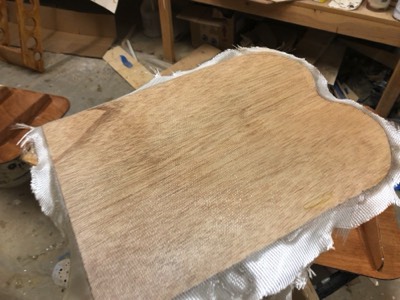
The foot brace plate is fiberglassed.
-
The fisrt coat of varnish is complete.
-
6/6/18 - Two coats of varnish.
-
6/7/18/ - Varnishing is complete.
-
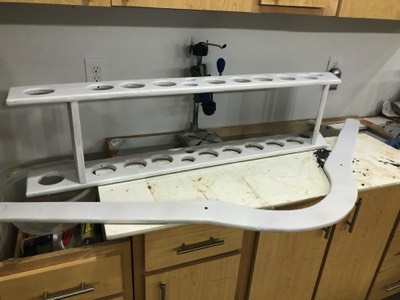
Seat frame and rigger are primered.
-
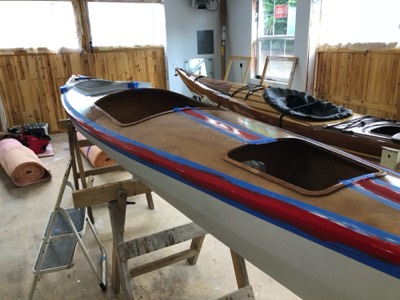
6/9/18 - The first coat of red goes on the accent stripe.
-
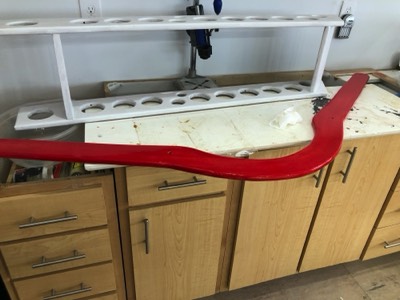
The rigger is painted red.
-
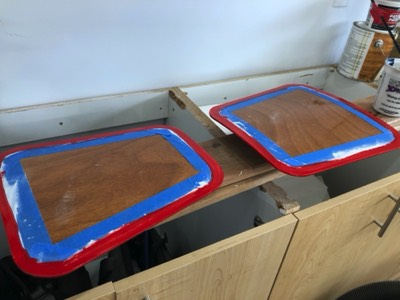
Accent stripes around the hatch covers are painted.
-
6/12/18 - White paint will be applied next.
-
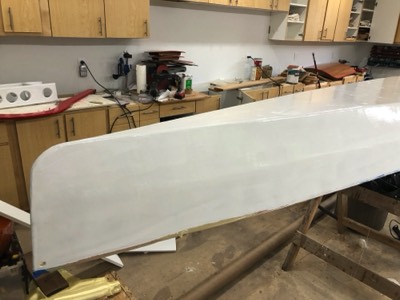
6/13/18 - The hull is painted white.
-
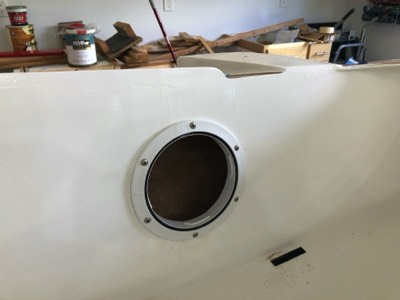
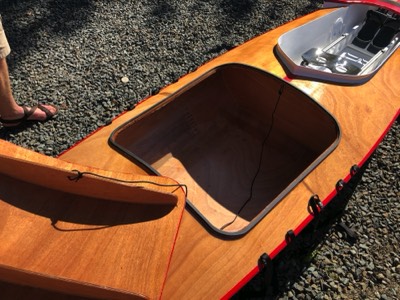
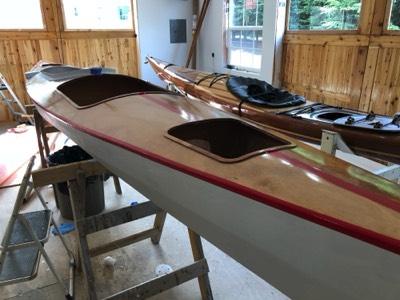
6/25/18 - Deck plates are installed in the cockpit.
-
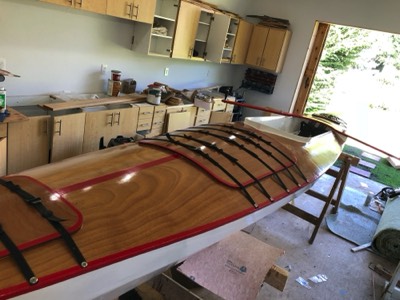
6/26/18 - Hatch straps and rigger are installed.


Link to full construction gallery.