-
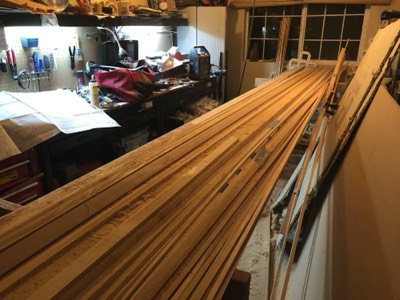
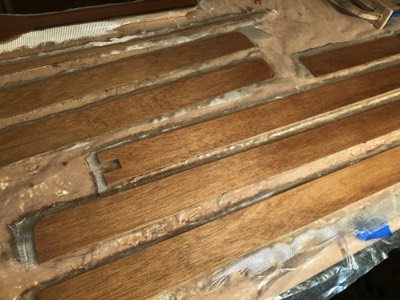
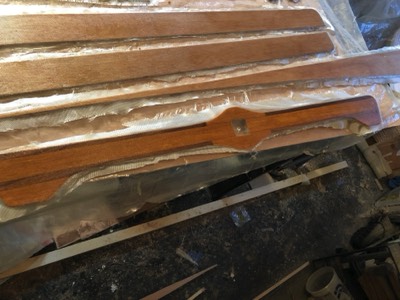
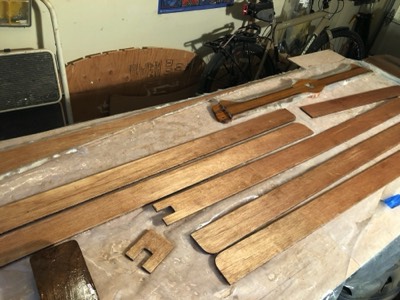
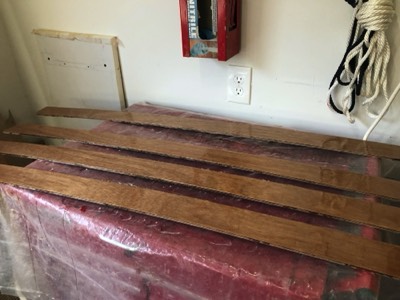
11/5/17 - The build starts by ripping the wood into stringers, ribs, and the keelson.
-
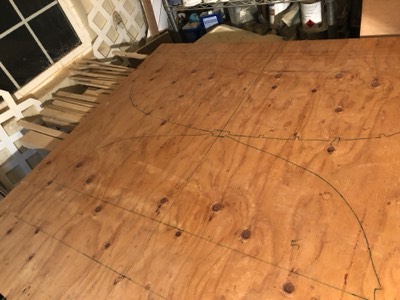
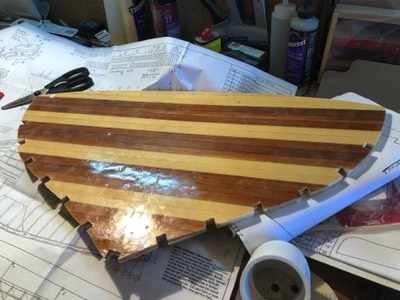
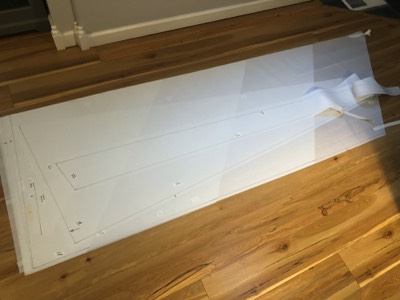
11/6/17 - The shape of temporary forms are transferred from the plans to wood.
-
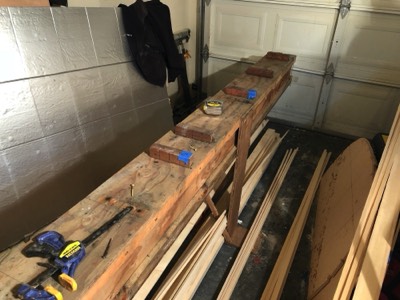
11/8/17 - A strongback is set up.
-
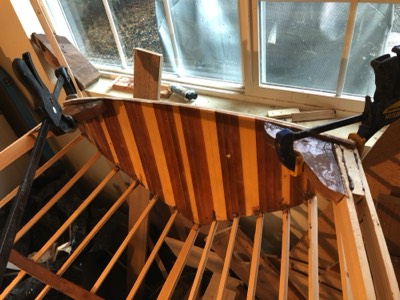
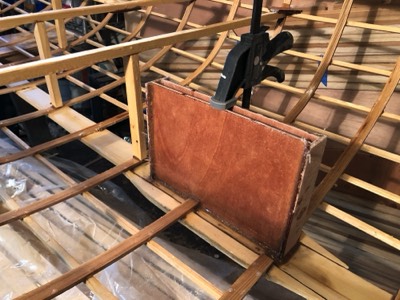
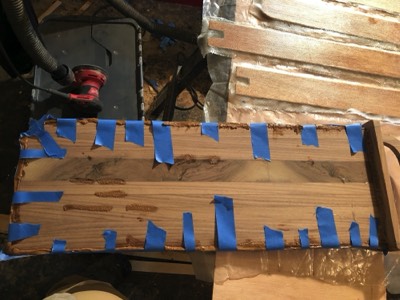
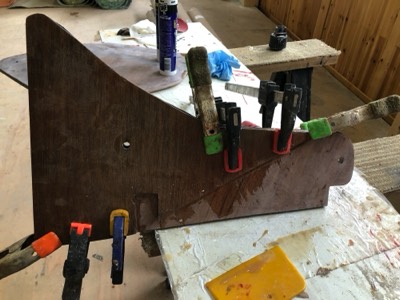
Two parts of the transom are created and fiberglassed.
-
Two parts of the transom are created and fiberglassed.
-
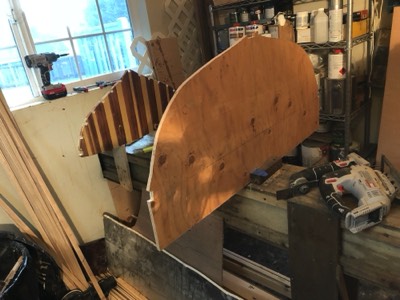
Temporary forms are set up.
-
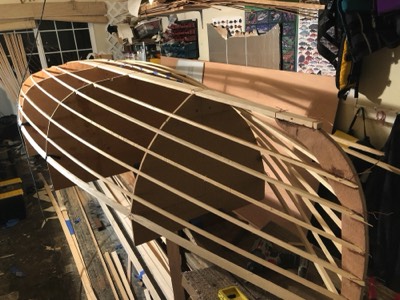
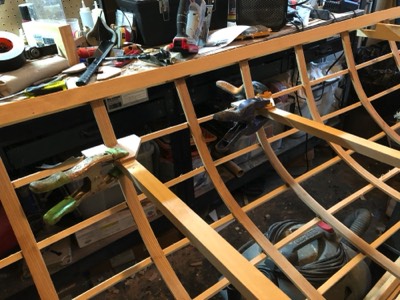
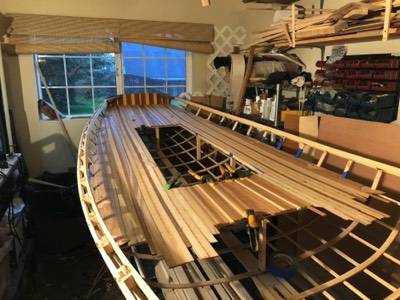
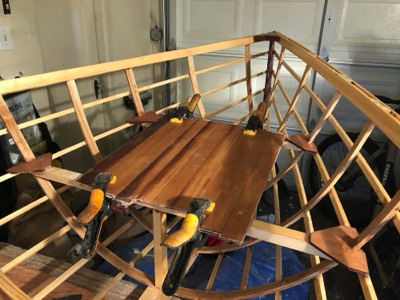
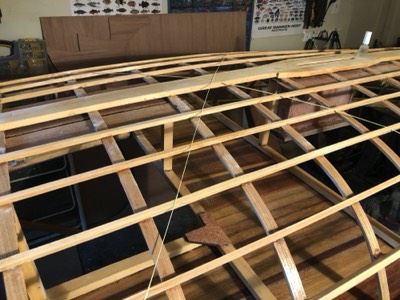
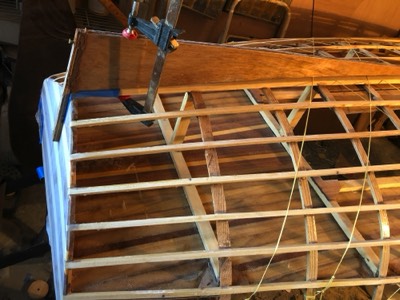
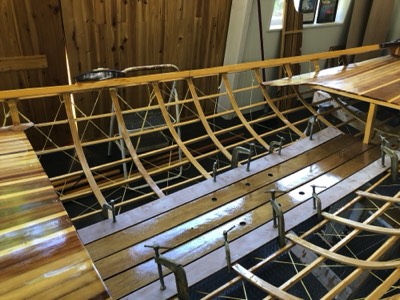
11/11/17 - The keelson and 10 stringers are placed on the temporary frames.
-
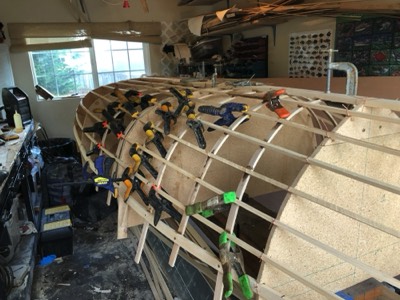
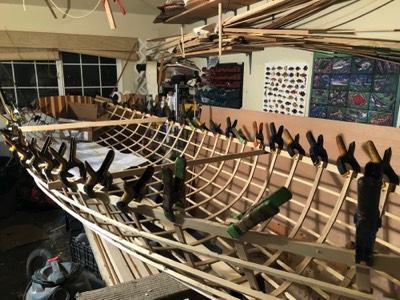
11/13/17 - The first few ribs are steamed and epoxied in place.
-
11/14/17 - My setup for steaming the ribs.
-
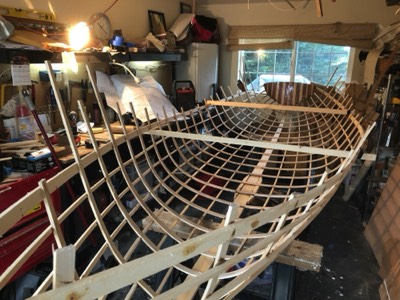
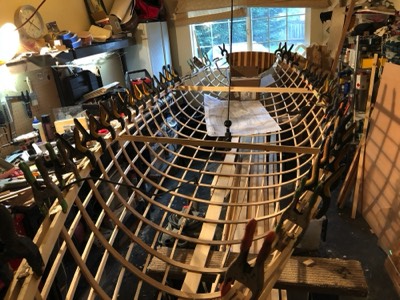
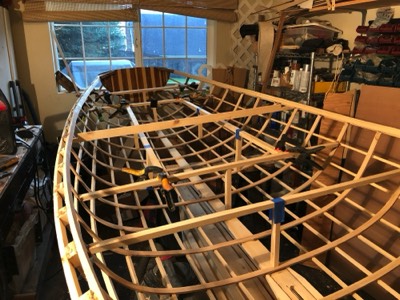
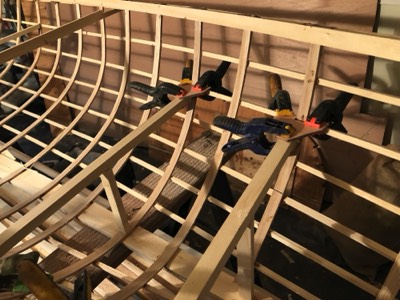
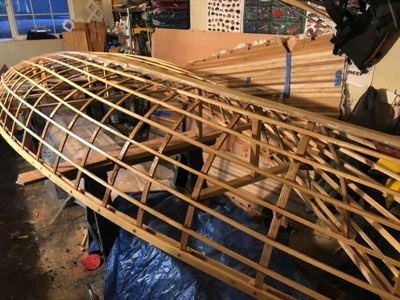
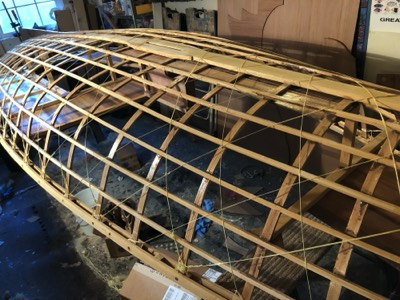
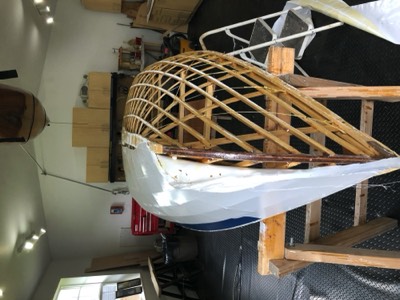
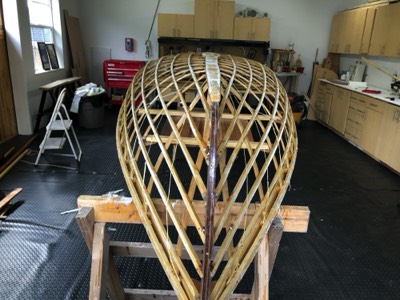
All of the ribs have been steamed, bent, and pushed into place.
-
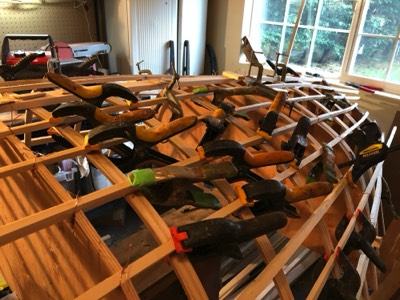
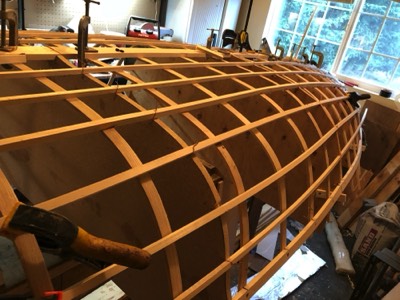
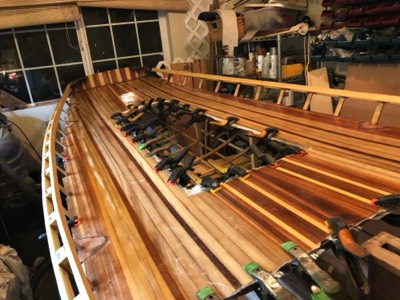
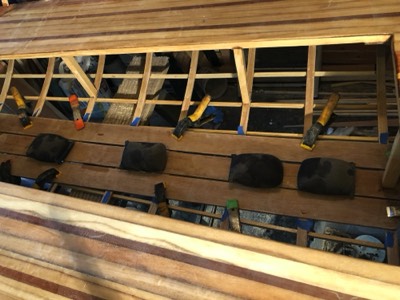
11/15/17 - The ribs are epoxied to the stringers in stages.
-
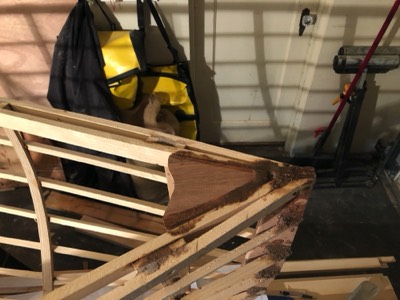
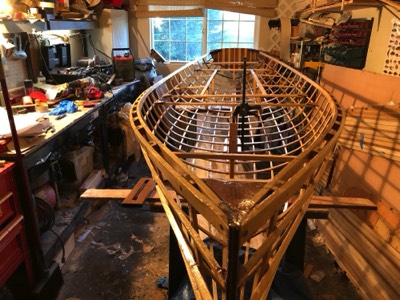
11/17/17 - The boat is removed from the temporary frames.
-
11/19/17 - The overhanging ribs are cut off and inwale spacer blocks are epoxied to the gunwale.
-
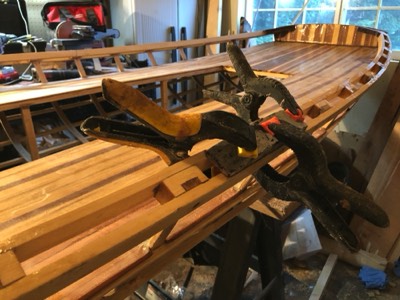
11/20/17 - The inwales are epoxied in place.
-
11/21/17 - The meranti breasthook is installed.
-
The meranti transom knees are installed.
-
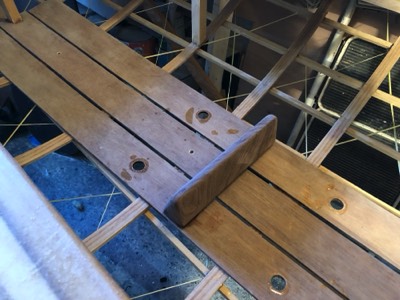
The middle seat cross pieces are installed.
-
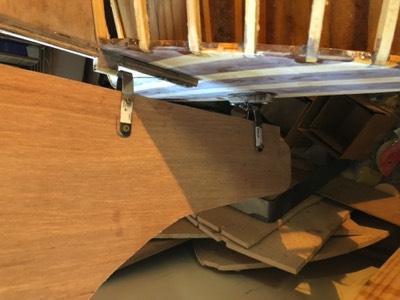
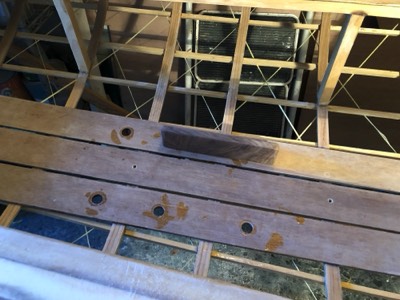
11/22/17 - Seat support pieces are test fit.
-
Support pieces are reinforced with pieces of marine plywood.
-
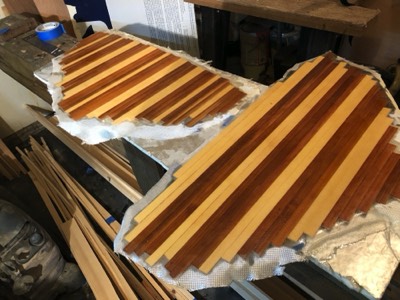
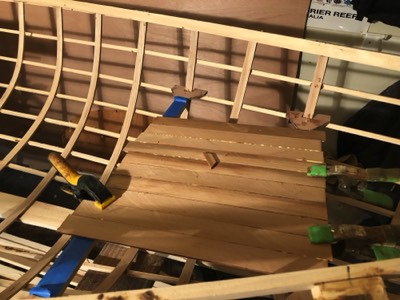
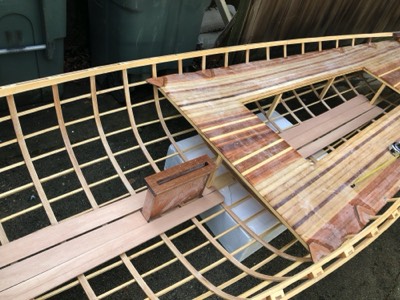
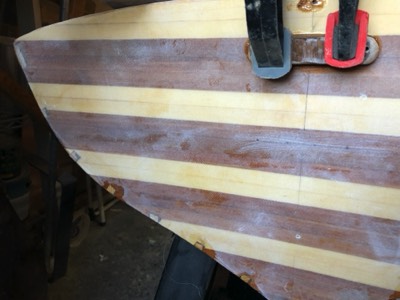
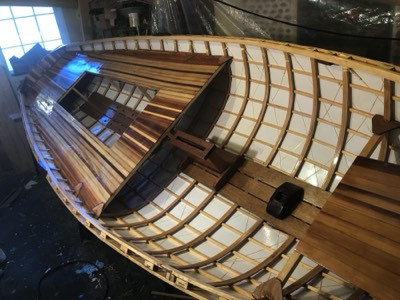
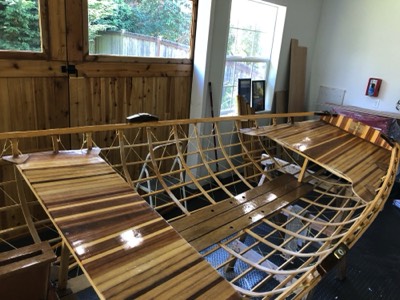
11/28/17 - The modified aft seating area is created out of paulownia and cedar strips.
-
The forward seat is made from cedar strips.
-
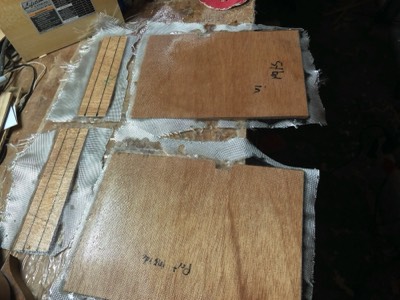
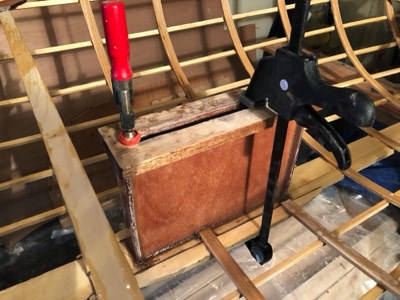
11/29/17 - The inside of the daggerboard trunk pieces is fiberglassed.
-
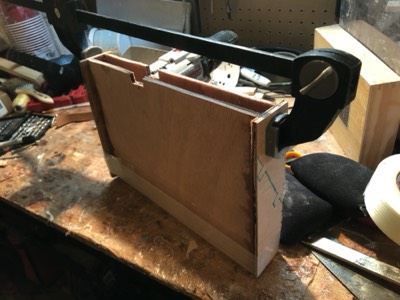
11/30/17 - The daggerboard trunk is epoxied together.
-
12/1/17 - The seats are sanded and prepped for fiberglassing.
-
Forward seat is ready to be fiberglassed.
-
The aft seating is fiberglassed.
-
Forward seat.
-
12/8/17 - The underside of the wood frame is sealed with epoxy and the keelson is fiberglassed.
-
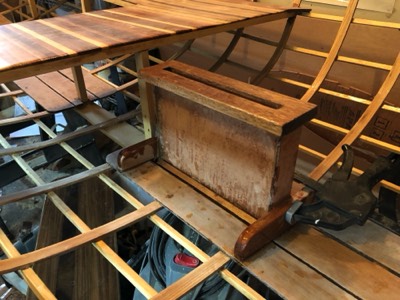
12/12/17 - The daggerboard trunk is epoxied in place.
-
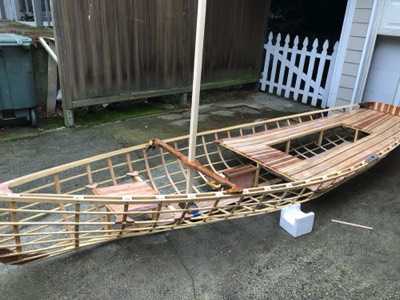
Overall shot of the boat to this point.
-
1/2/18 - The top piece of the daggerboard trunk is epoxied in place.
-
The forward seat is epoxied in place.
-
1/3/18 - The underside of the aft seat is ready for fiberglassing.
-
The fiberglass is saturated with epoxy.
-
1/4/18 - The aft seat is epoxied in place.
-
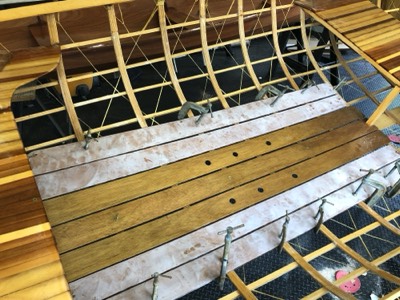
1/8/18 - The floorboards are cut and fitted.
-
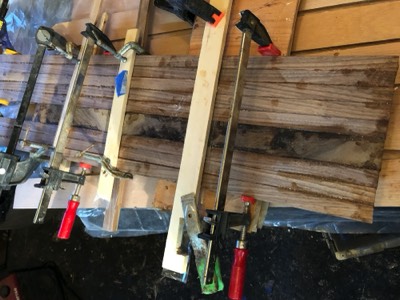
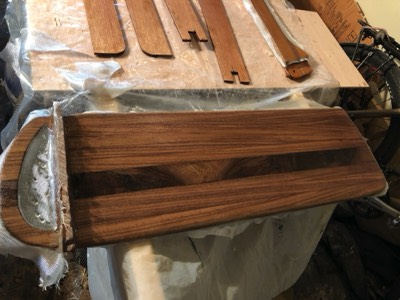
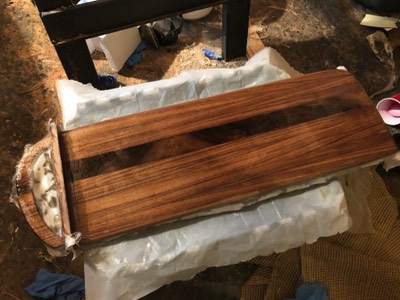
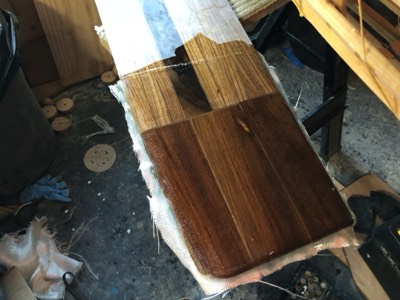
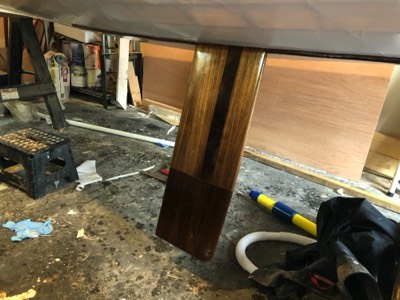
The daggerboard is laminated from several strips of walnut and mahogany.
-
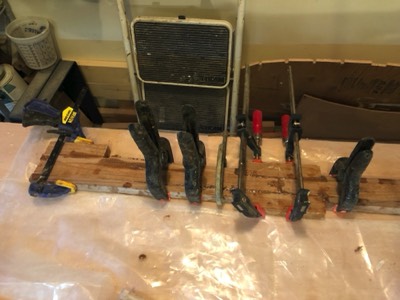
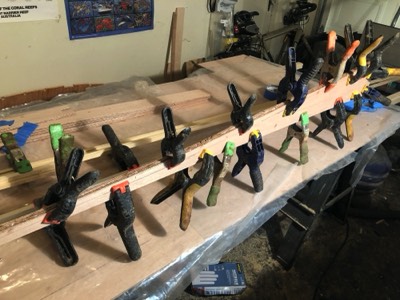
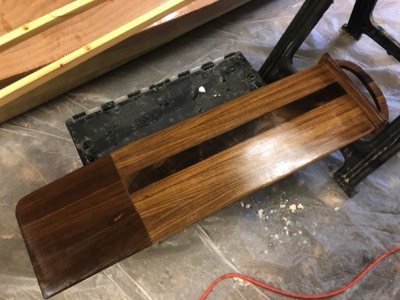
1/9/18 - The mast partner is laminated from several pieces of hardwood.
-
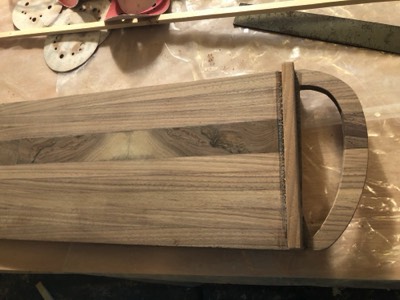
1/10/18 - The daggerboard is sanded and the handle shape is cut out.
-
1/11/18 - The skeg is laminted from two pieces of marine plywood.
-
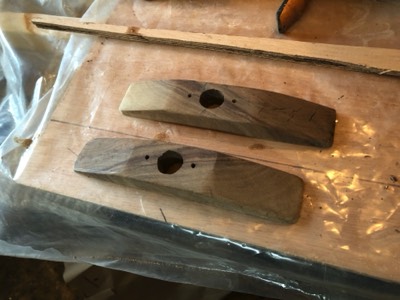
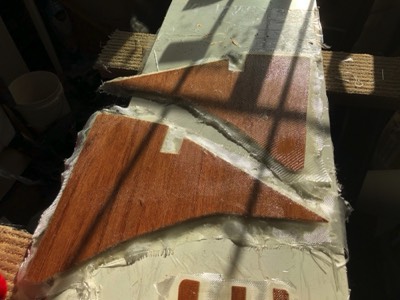
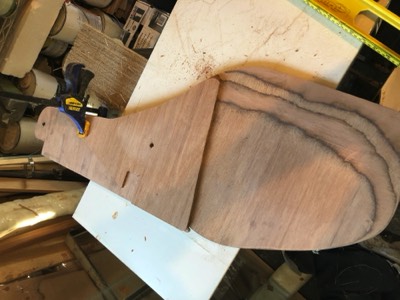
1/12/18 - Oarlock brackets are shaped from pieces of walnut.
-
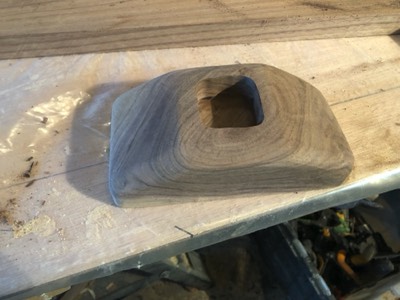
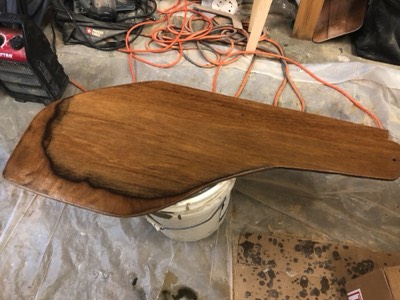
Mast step is shaped from a piece of walnut.
-
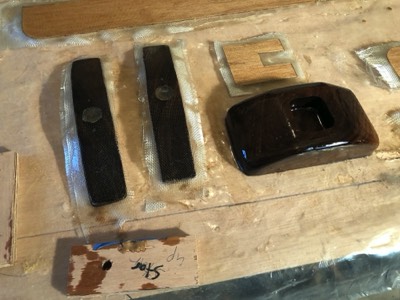
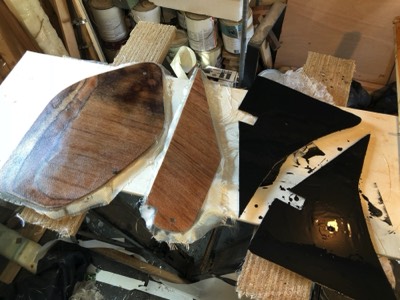
Mast step and oarlock brackets sealed are sealed with epoxy.
-
The floorboards are fiberglassed on one side.
-
The edge of the daggerboard is coated with a layer of thickened epoxy.
-
Mast partner is fiberglassed.
-
1/14/18 - The undersides of the floorboards and mast partner are sealed with epoxy.
-
The daggerboard is fiberglassed on one side.
-
1/16/18 - The aft floorboards are epoxied in place.
-

The forward floorboards are epoxied in place.
-
The flipside of the daggerboard is fiberglassed.
-
Oarlocks are epoxed in place.
-
1/17/18 - The mast is test fit.
-
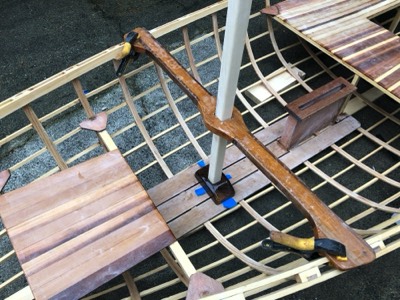
The mast step place is determined.
-
Daggerboard trunk supports are epoxied in place.
-
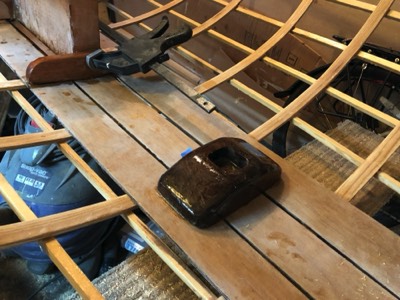
Mast step is epoxied in place.
-
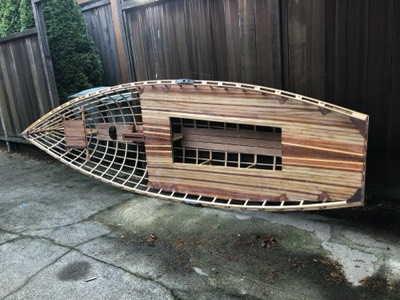
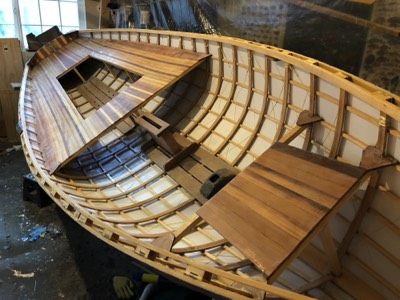
1/19/18 - The boat is almost finished!
-
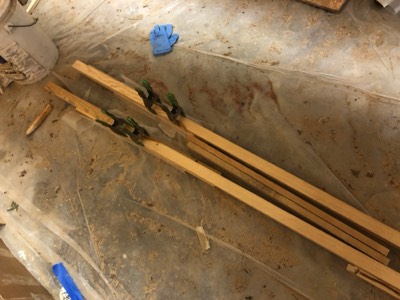
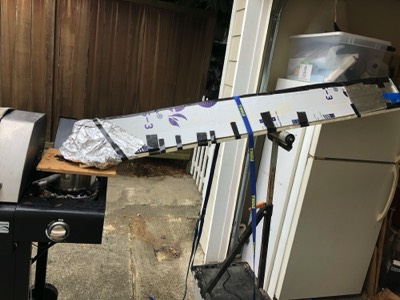
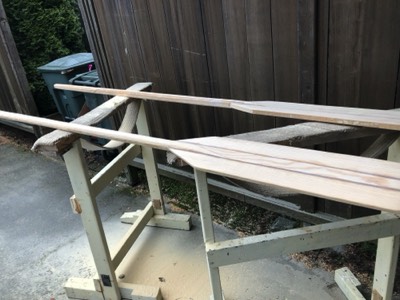
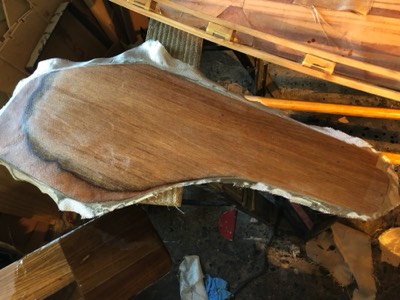
2/16/18 - Pieces of spruce are scarfed together to form oar blanks.
-
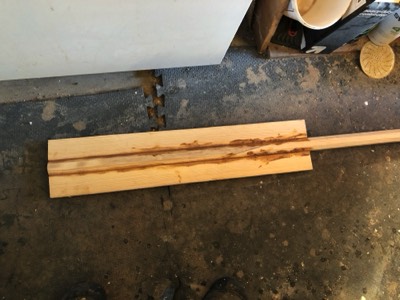
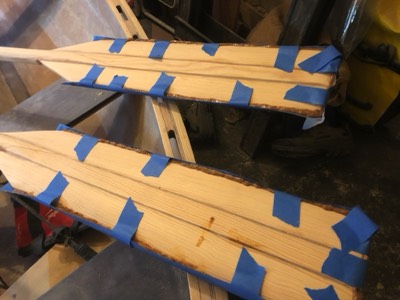
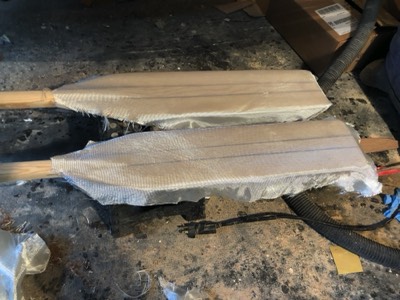
2/24/18 - pieces of spruce are epoxied to either side of the shaped oar shaft.
-
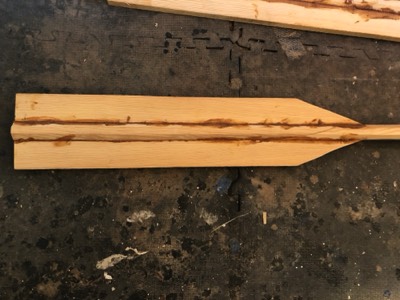
Angles are cut in the blades.
-
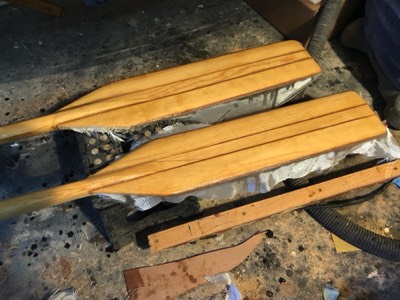
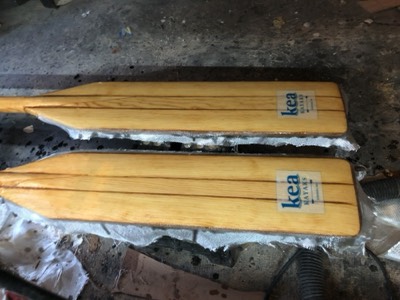
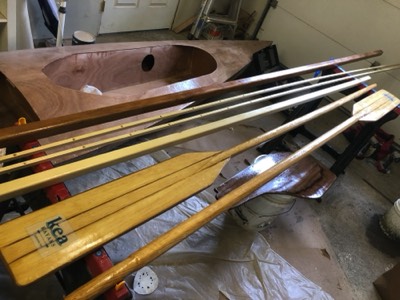
One of the oars is shaped.
-
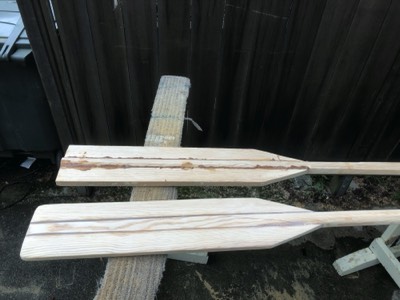
2/25/18 - A good before and after of the oars.
-
Thickened epoxy is applied around the tips of the oars to increase durability.
-
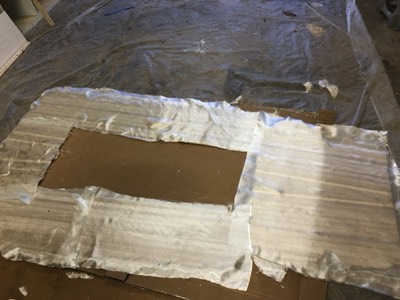
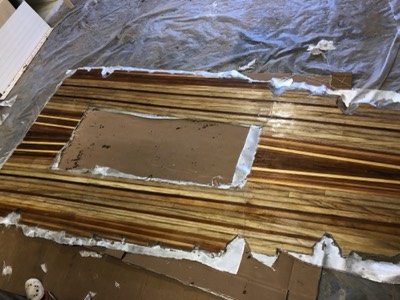
3/4/18 - The sail starts off as a stack of dacron.
-
The reef patches are taped to a panel.
-
The reef patches are sewed to two panels.
-
3/5/18 - All the panels are sewn together.
-

3/13/18 - pieces of ironwood are epoxied to the bottom of the daggerboard.
-

The ironwood is sanded smooth to match.
-
The first two kevlar fibers are strung and tightened on the hull.
-
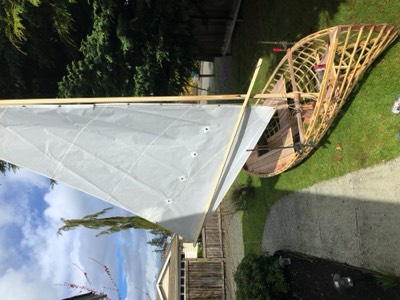
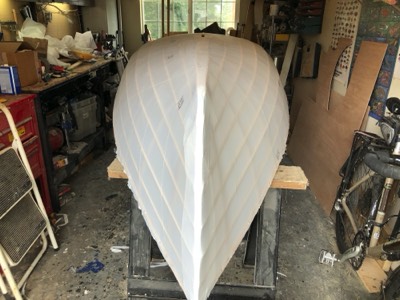
3/16/18 - The entire hull is laced with kevlar strands.
-
The skeg is test fit.
-
3/18/18 - The ironwood pieces of the daggerboard are reinforced with fiberglass.
-
A gudgen spacer block is epoxied to the transom.
-
3/19/18 - The rudder is test fit upside down!
-
An adjustable rowing footbrace is rough cut.
-
The first side of the rudder is fiberglassed.
-
The first sides of the oar blades are ready for epoxy.
-
The rudder is saturated with epoxy.
-
The oar blades are saturated with epoxy.
-
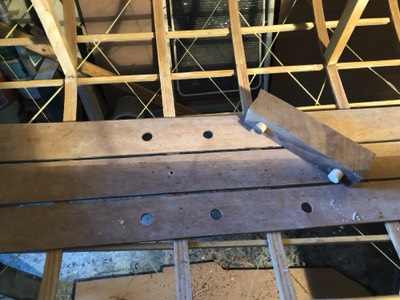
3/20/18 - Holes for the footbrace are drilled.
-
Two sets are drilled so they also act as a hiking brace when sailing.
-
3/21/18 - The flipsides of the oars are fiberglassed.
-
A fill coat of epoxy is added.
-
3/22/18 - A layer of thickened epoxy is added around the edge of the rudder.
-
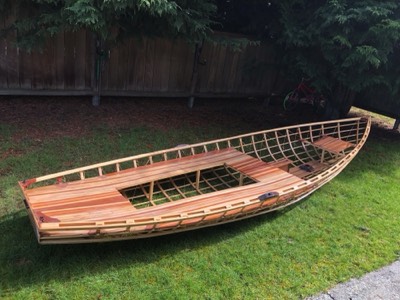
3/23/18 - Construction is complete! The boat will get the dacron skin next.
-
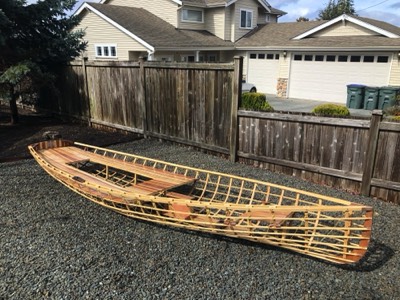
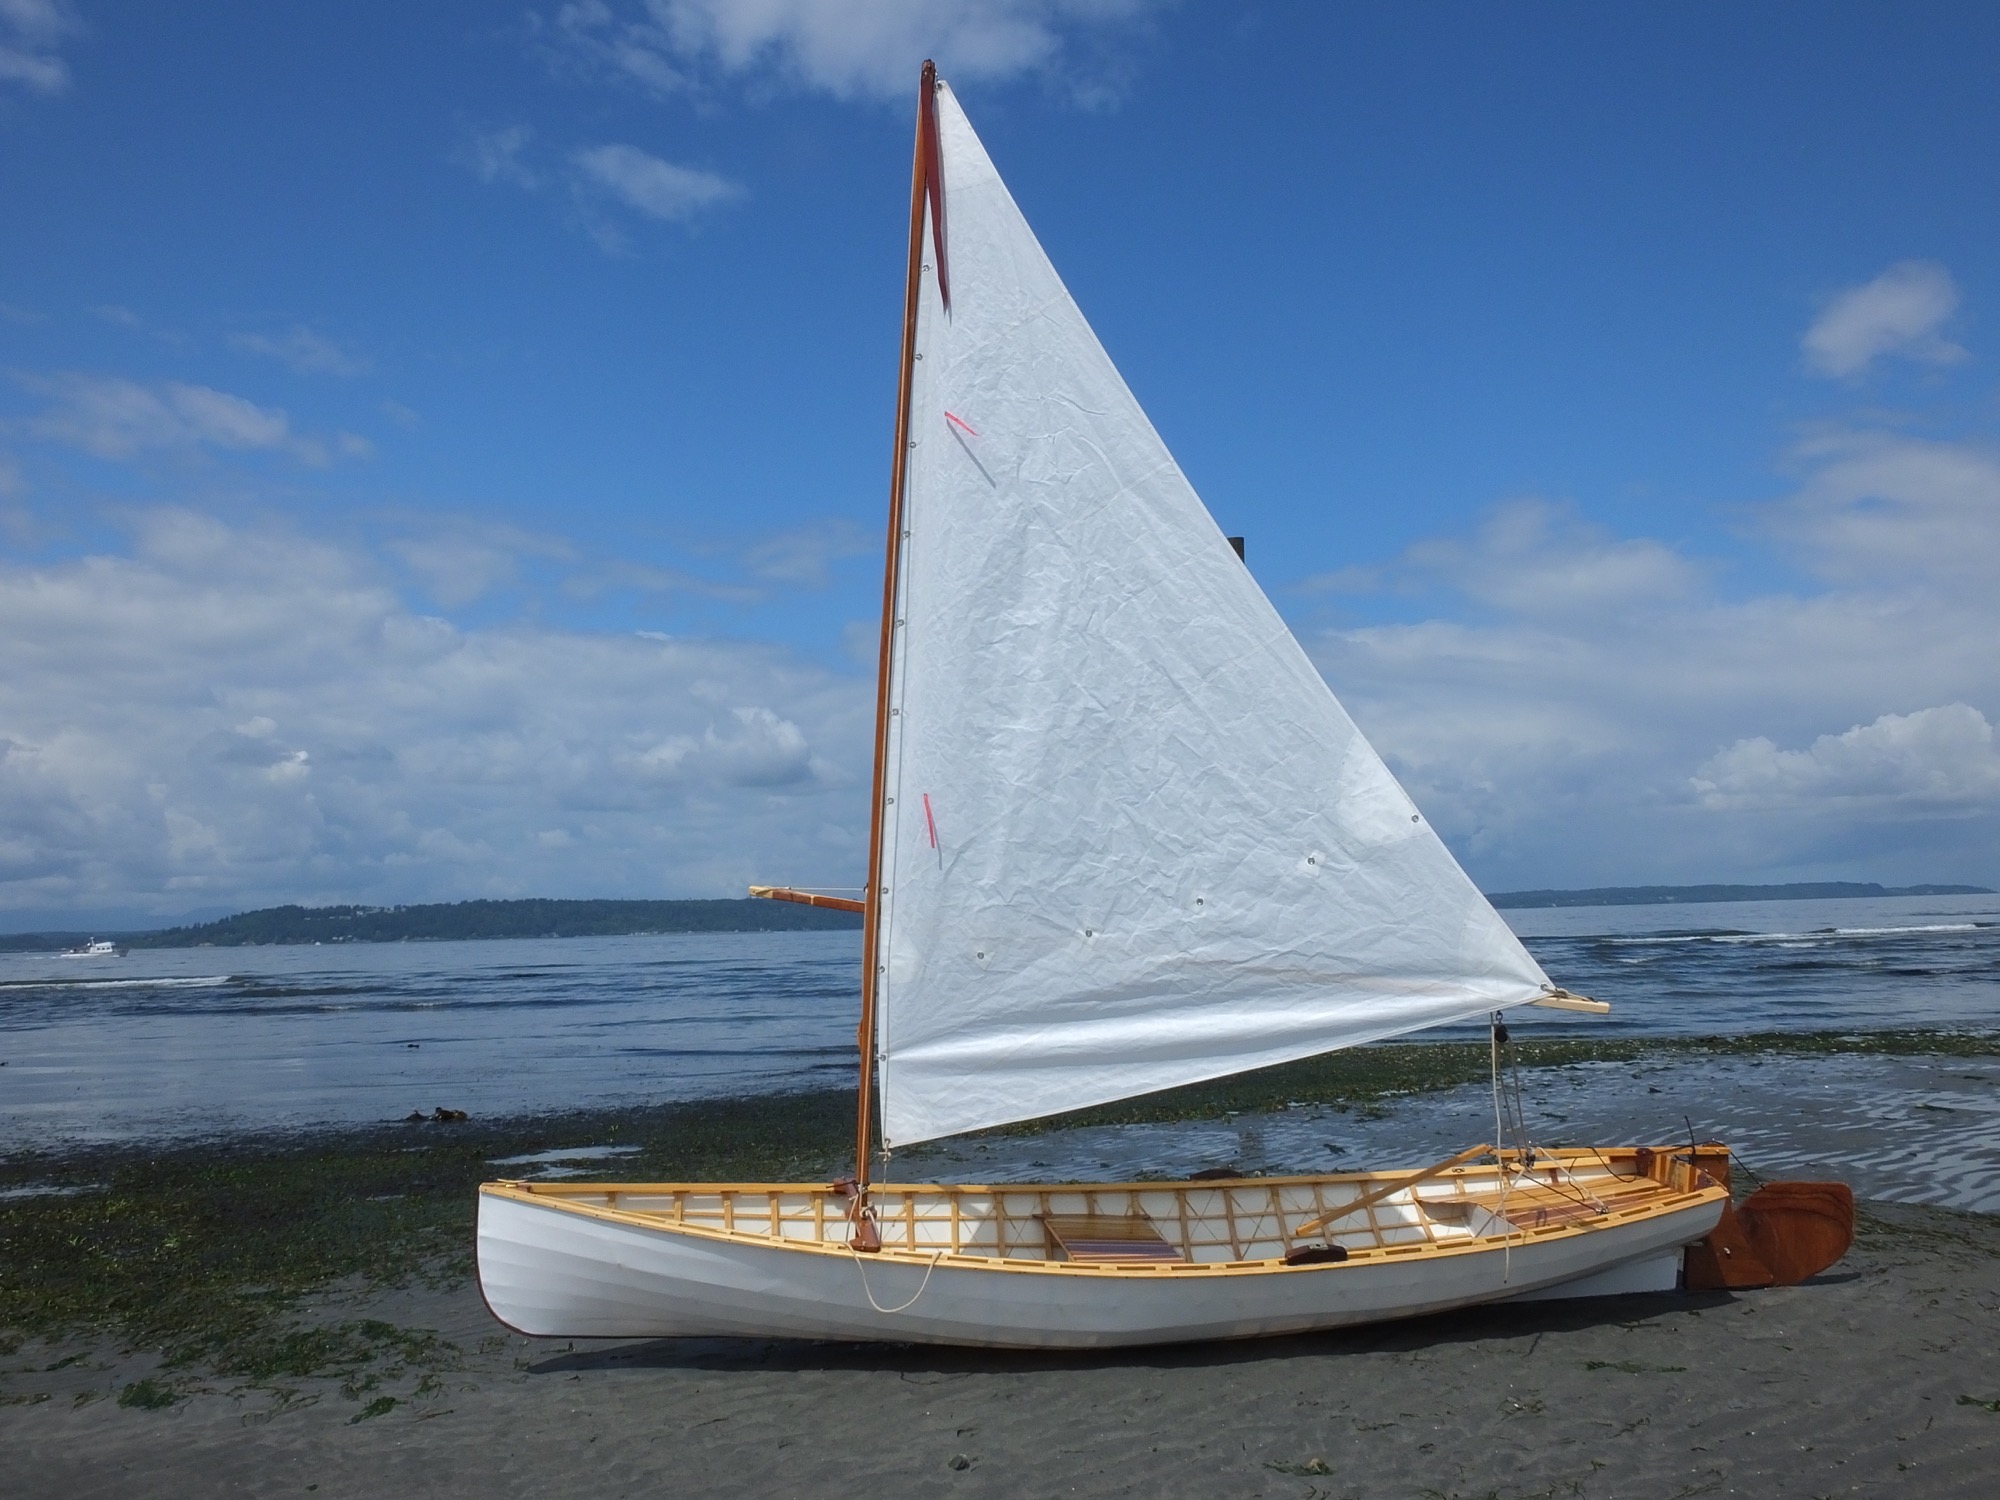
Classic 14
-
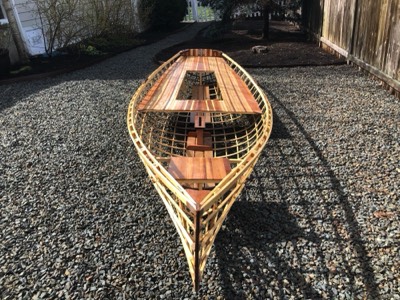
Classic 14
-
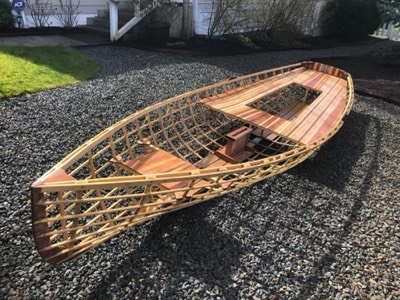
Classic 14
-
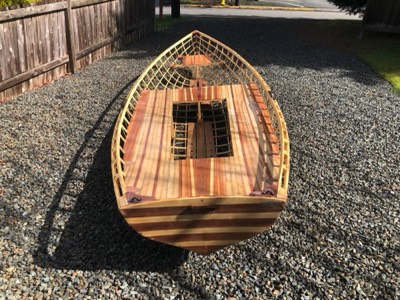
Classic 14
-
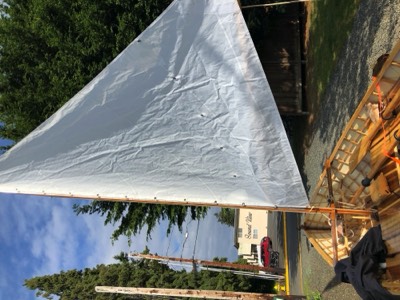
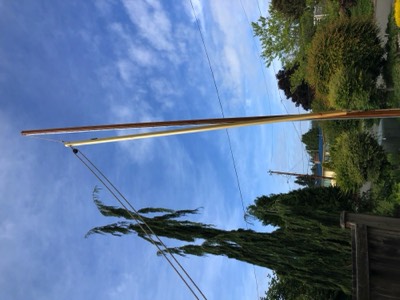
The sailing rig is test fit.
-
3/26/18 - A new mast is scarfed together from two pieces of Douglas Fir.
-
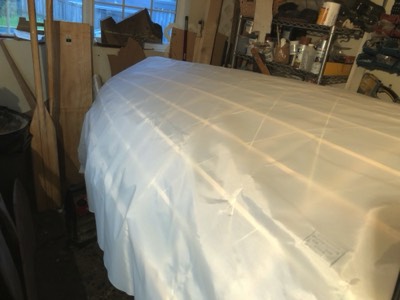
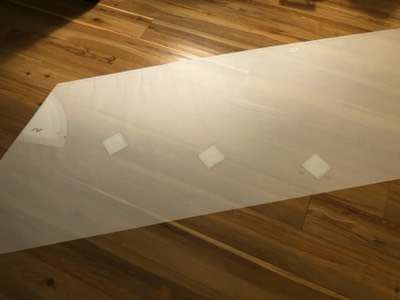
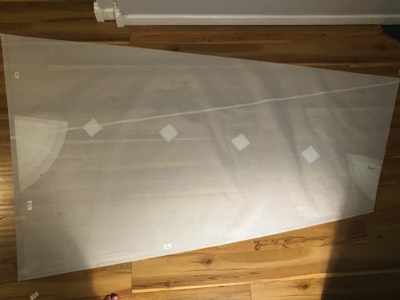
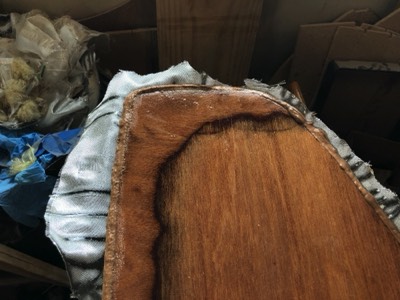
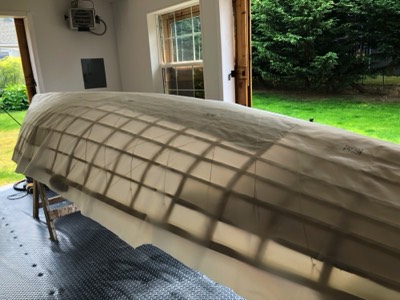
The Ceconite dacron is draped over the hull.
-

3/27/18 - The mast is fiberglassed on three sides.
-
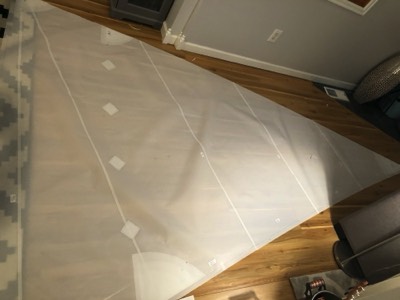
The Ceconite has been heat shrunk and secured to the gunwales.
-
The skeg is screwed into place and glued with 5200.
-
3/28/18 - View from the bow.
-
The first coat of paint is applied to the dacron to waterproof it.
-
3/29/18 - The second coat of paint is applied.
-
A rubstrip is laminated from several pieces of walnut.
-
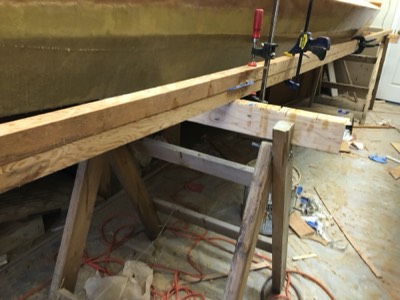
3/30/18 - The rubstrips are saturated with epoxy.
-
The rubrails are test fit.
-
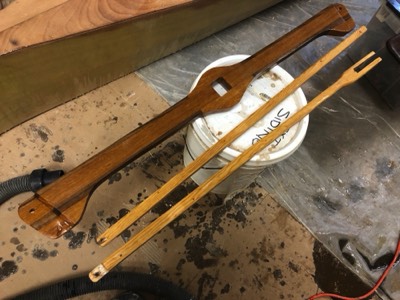
3/31/18 - The mast partner and tiller are varnished.
-
The rudder is varnished.
-
The daggerboard is varnished.
-
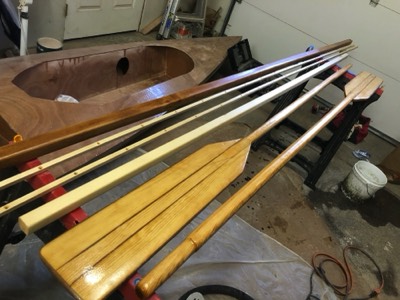
The oars, spars, and rubrails are varnished.
-
4/1/18 - The boat is ready for varnish.
-
First coat of varnish is applied.
-
The opposite sides of the oars and spars are varnished.
-
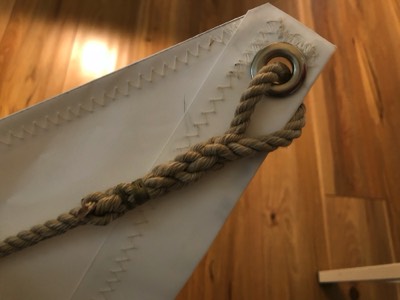
4/3/18 - An eyesplice is tied at the head of the sail.
-
4/4/18 - The daggerboard is test fit.
-
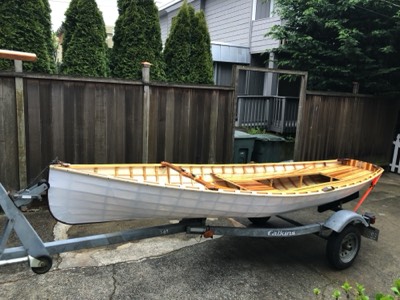
4/8/8 - She fits on the new trailer nicely!
-
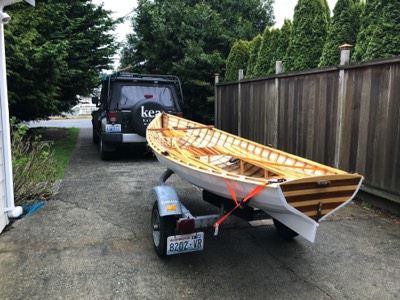
Another trailer view.
-
5/25/18 - New sail track is tested out.
-
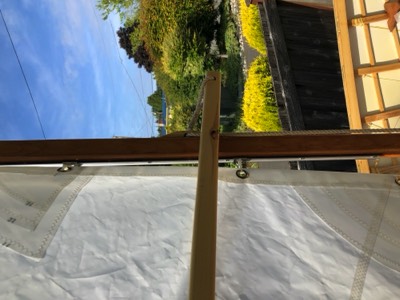
Sail track eliminates the problem of the sail ties interfering with the snotter.
-
I came up with a system for getting the boom out of the way for rowing.
-
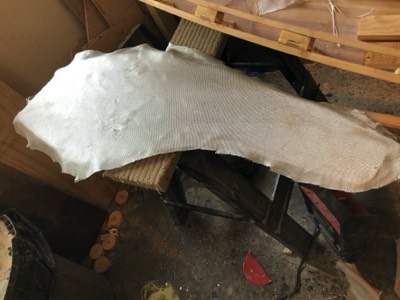
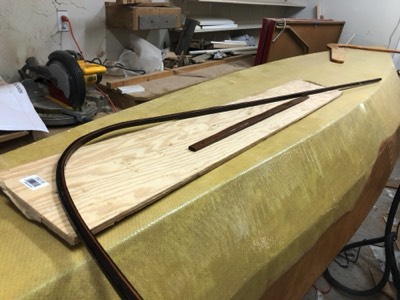
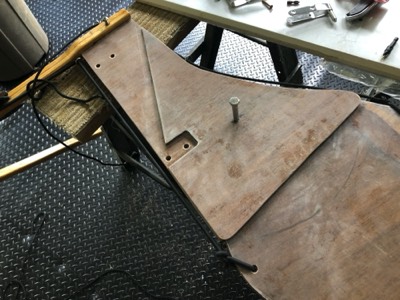
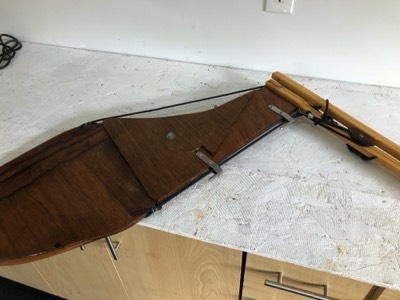
5/27/18 - Pieces of the new kick-up rudder are fiberglassed.
-
5/28/18 - The kick up rudder is test-assembled.
-
More parts are fiberglassed.
-
7/1/18 - The parts of the kick up rudder trunk are epoxied together.
-
7/2/18 - The kick up rudder is assembled for the first time.
-
7/18/18 - The rudder is varnished.
-
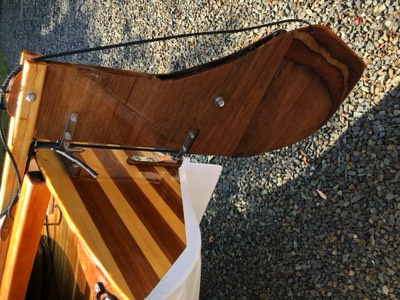
The rudder is mounted on the boat for the first time.
-
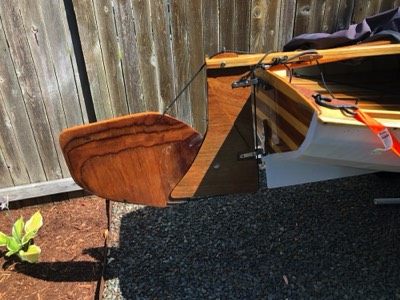
The kick up feature works great.
-
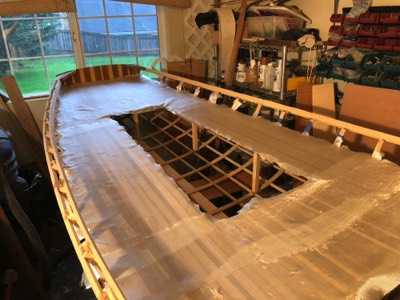
7/19/8 - The old fabric covering is stripped off.
-
Bare bones again.
-
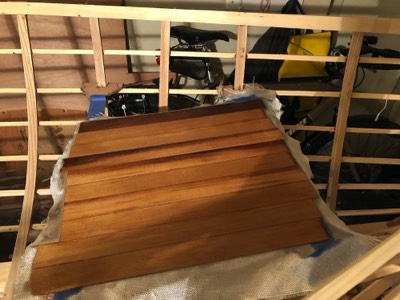
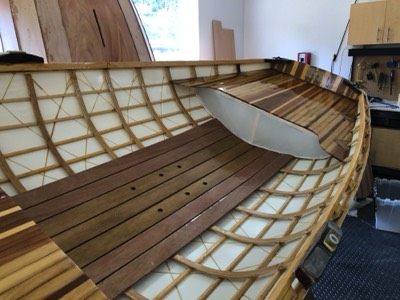
8/3/18 - The side seats have been cut out.
-
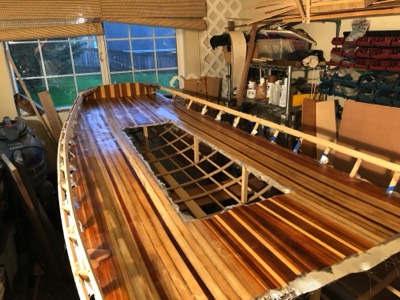
8/6/18 - Extra floor boards are fiberglassed.
-
8/7/18 - Extra floor boards are installed.
-
8/8/18 - One more set of floorboards.
-
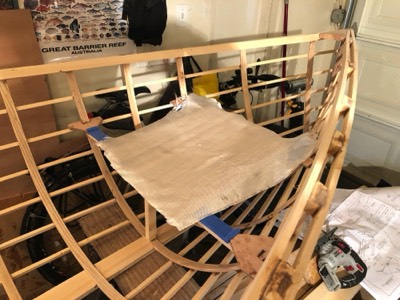
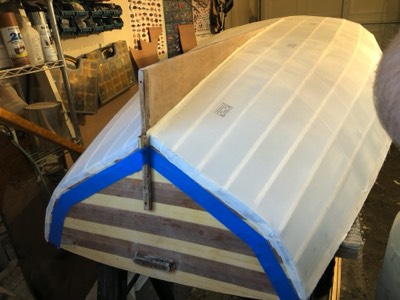
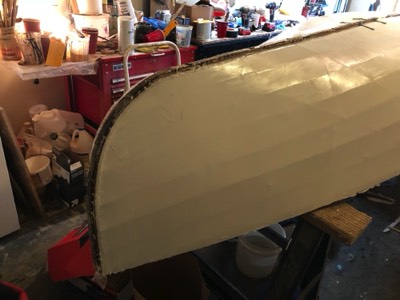
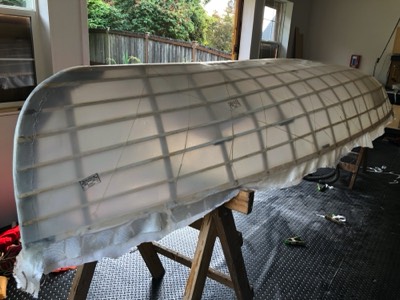
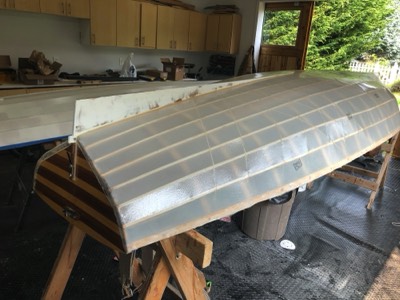
8/13/18 - New Ceconite Dacron is laid on the hull.
-
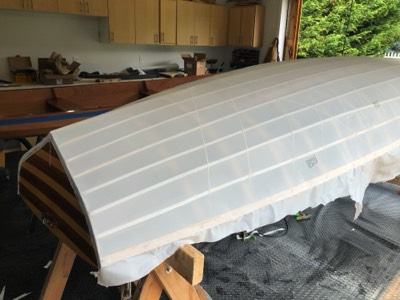
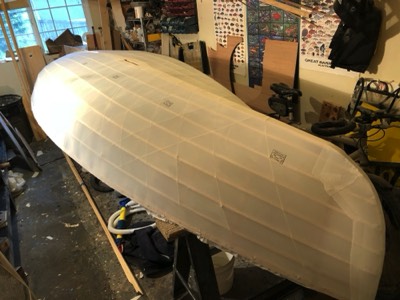
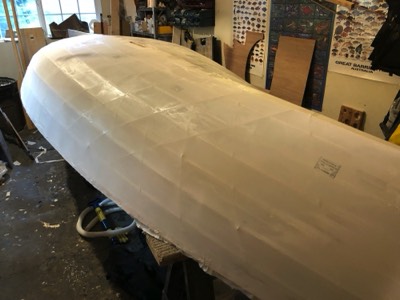
The fabric is heat shrunk onto the hull.
-
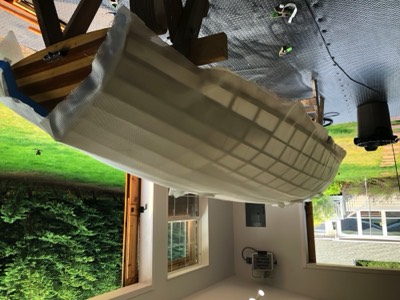
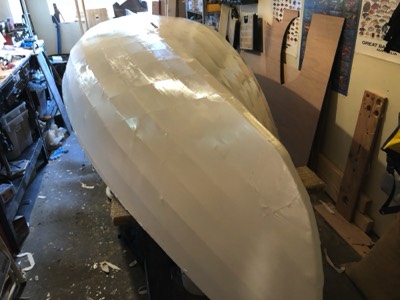
6oz fiberglass cloth is laid on top of the Ceconite
-
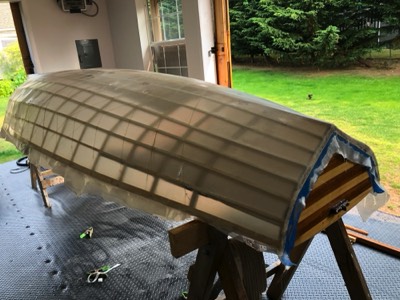
The fiberglass is saturated with epoxy.
-
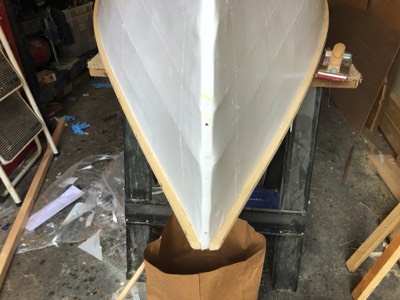
View of the bow.
-
8/15/18 - The skeg is epoxied in place.
-
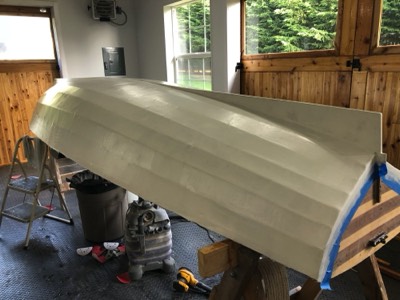
8/16/18 - The first coat of primer is applied.
-
8/28/18 - A piece of Ceconite is used to cover floatation foam mounted under the stern seat.