-
3/17/16 - The first two deck strips are in place.
-
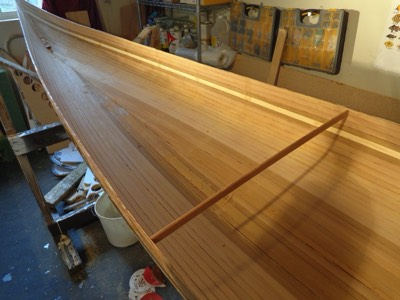
3/18/16 - Strip detail on the stern.
-
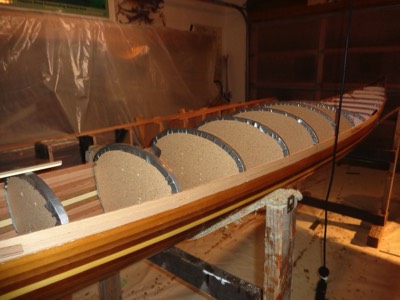
3/28/16 - The aft deck is partially stripped.
-
3/29/16 - The forward deck is stripped.
-
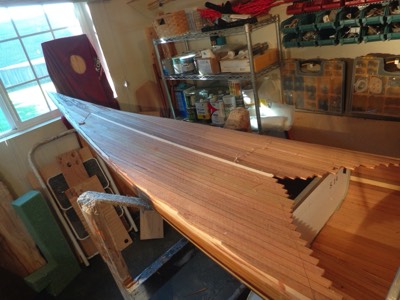
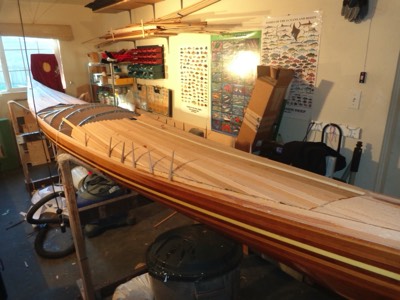
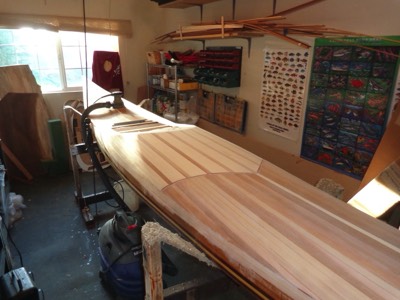
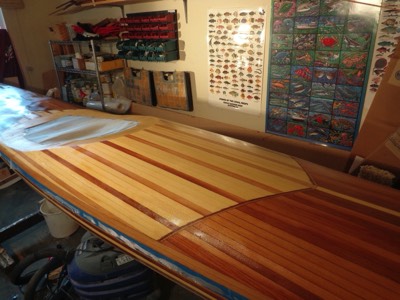
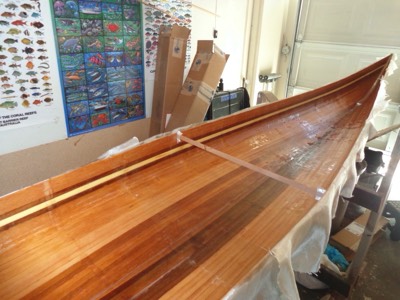
3/31/16 - Stripping of the main part of the deck is complete.
-
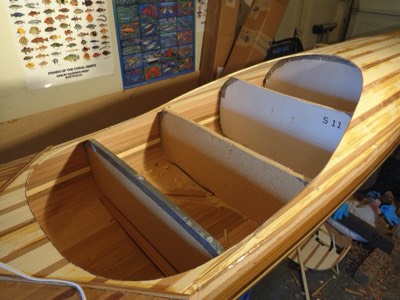
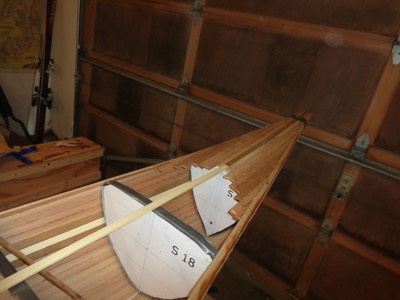
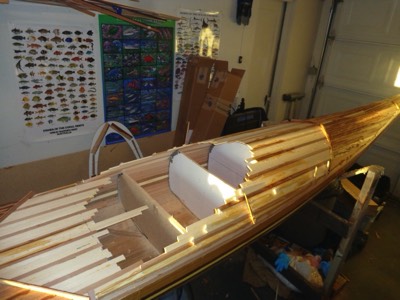
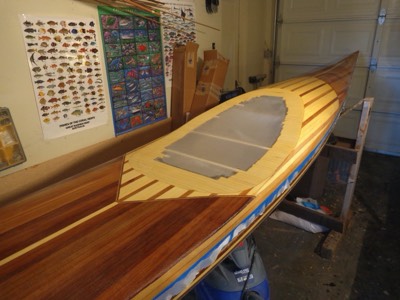
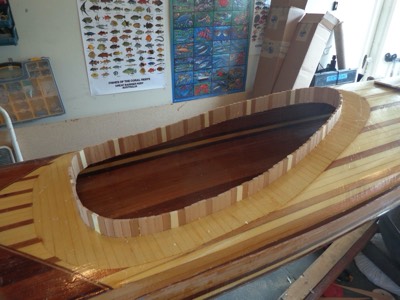
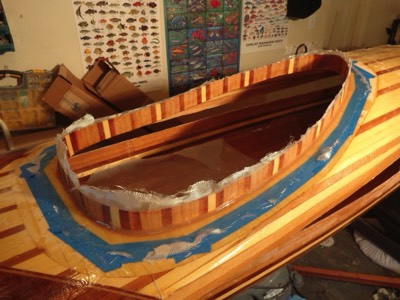
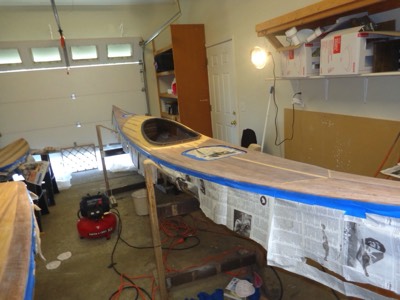
4/1/16 - The cockpit recess area is cut out.
-
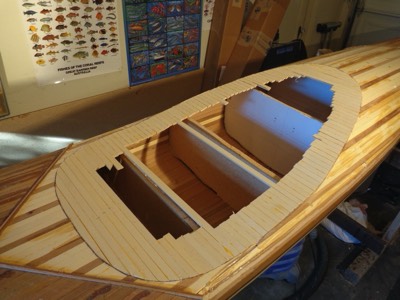
The cockpit recess is filled in with strips.
-
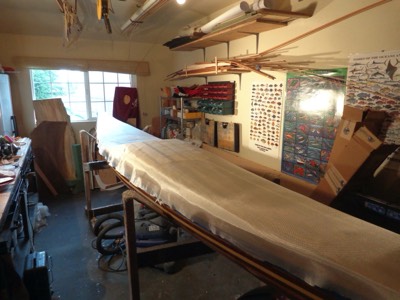
4/2/16 - The deck is sanded in preparation for fiberglassing.
-
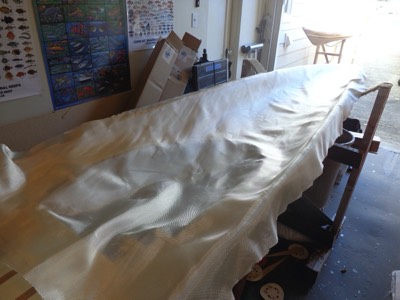
4/4/16 - Fiberglass cloth is laid on the deck.
-
The cloth is saturated with epoxy.
-
View from the stern.
-

4/5/16 - The deck and forms have been removed from the hull.
-
The inside of the hull is cleaned up.
-
4/6/16 - Fiberglass cloth is laid in the hull.
-
The cloth is saturated with epoxy.
-
4/7/16 - Fiberglass cloth is laid on the underside of the deck.
-
Saturated with epoxy.
-
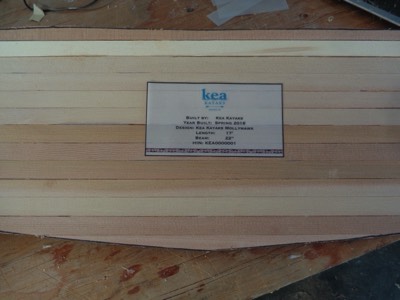
4/8/16 - The nameplate is ready for the aft bulkhead.
-
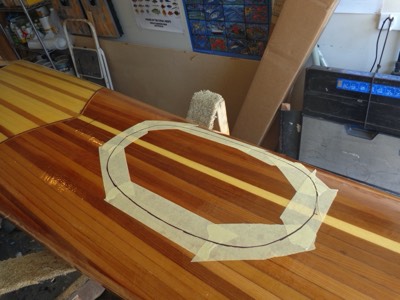
The outline for the forward hatch is traced on the deck.
-
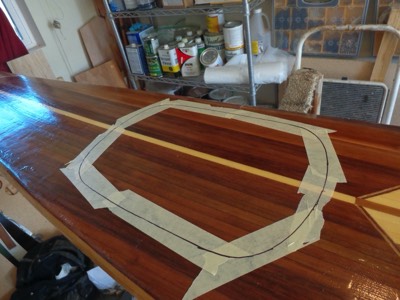
Aft hatch.
-
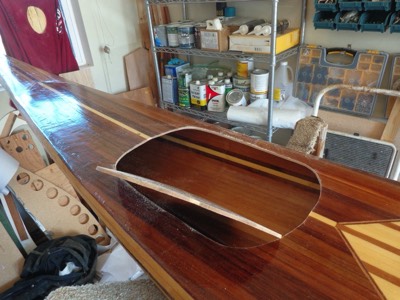
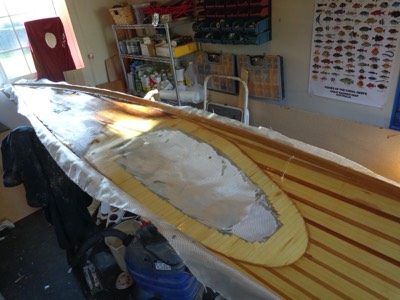
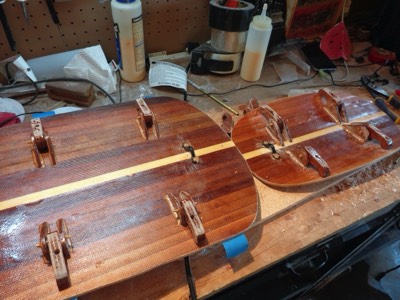
The aft hatch is cut out.
-
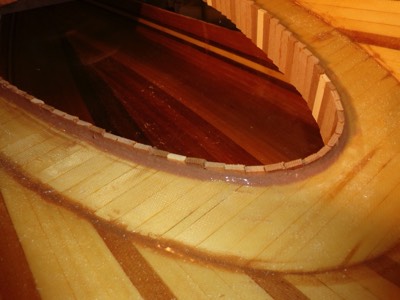
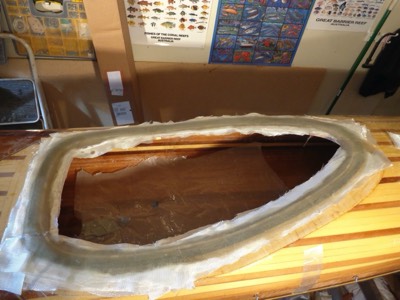
The coaming riser is made from strips.
-
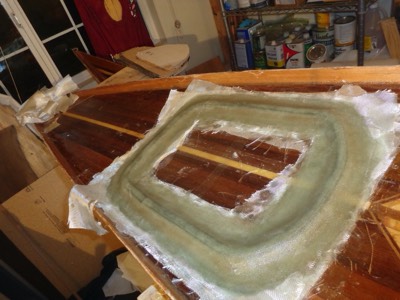
4/9/16 - The aft hatch lip is made from several layers of laminated fiberglass.
-
Underside of the coaming wall is filletted with epoxy.
-
4/11/16 - The inside of the coaming wall is fiberglassed.
-
Outside of the coaming wall is fiberglassed.
-
4/12/16 - The strapless hatch system is epoxied into place on the hatch covers.
-
Paua shell is inlayed and fiberglassed.
-
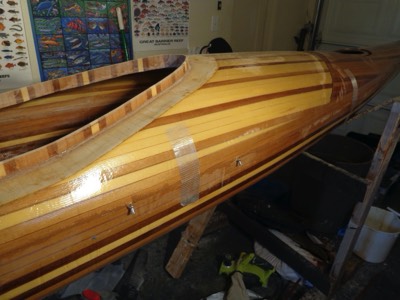
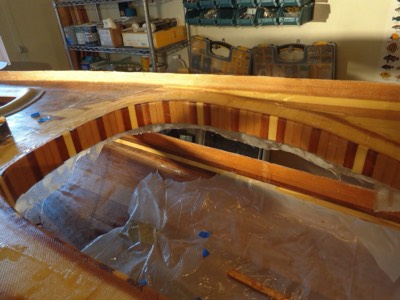
4/13/16 - The deck and hull are epoxied together.
-
The cockpit coaming lip is created from several layers of fiberglass.
-
4/19/16 - The boat is given a washdown after being sanded.
-
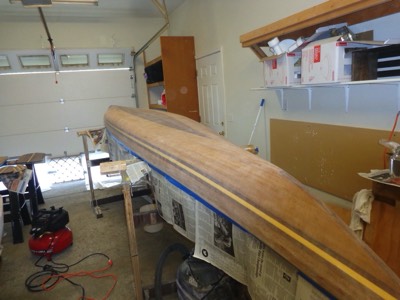
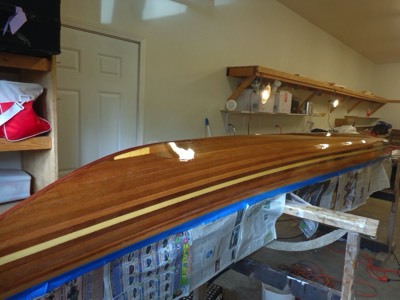
4/20/16 - The hull is ready for varnish.
-
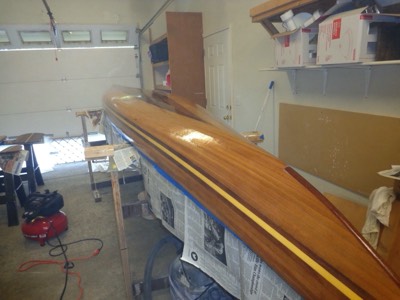
4/21/16 - First coat of varnish has been applied.
-
4/24/16 - Clear coating the hull is done.
-
4/25/16 - The deck is ready for varnish.
-

First coat is applied.
-

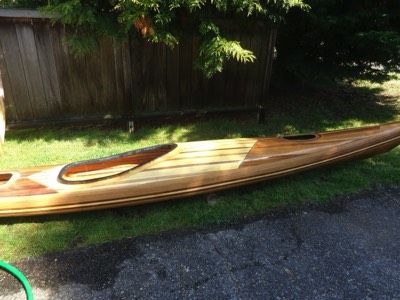
5/1/16 - The super comfortable Redfish seat is wedged into place.


