-
2/19/16 - Guidelines for the "fishbone" frame are drawn onto the rocker table.
-
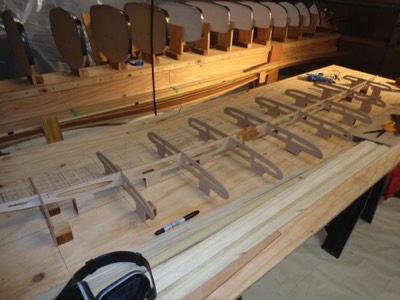
The frame is hot glued into place.
-
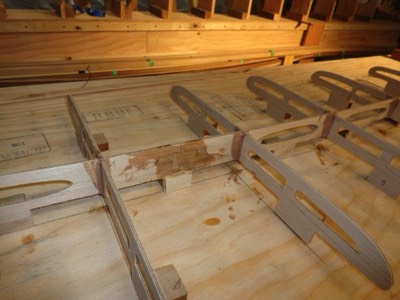
The frame pieces are filleted with thickened epoxy.
-
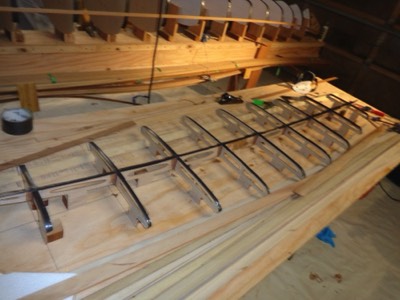
2/23/16 - The frame is coverd with tape.
-
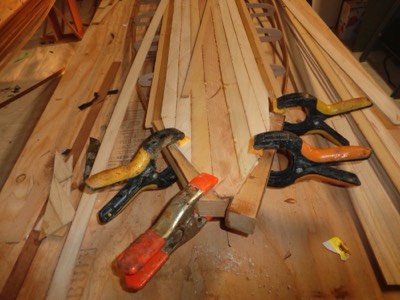
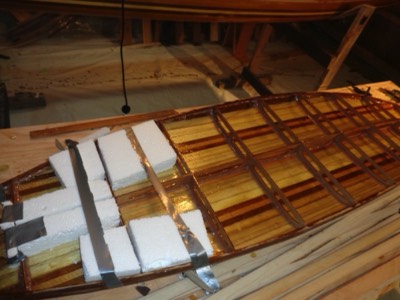
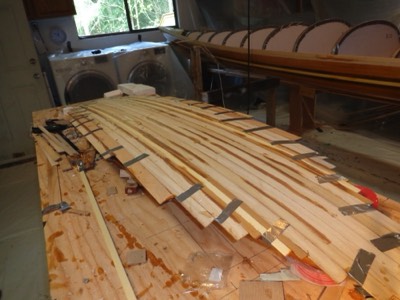
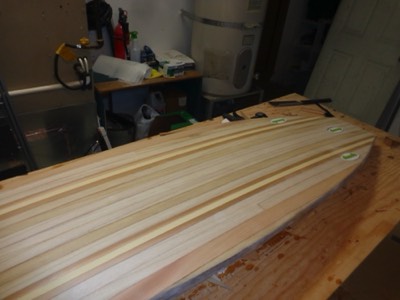
2/24/16 - Several strips of paulownia are temporarity glued in place.
-
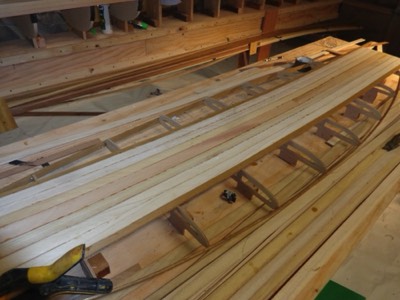
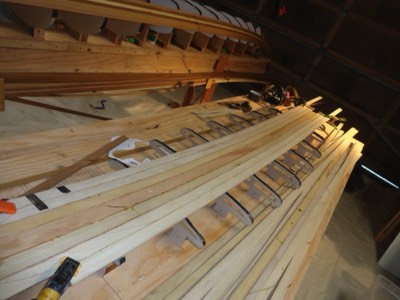
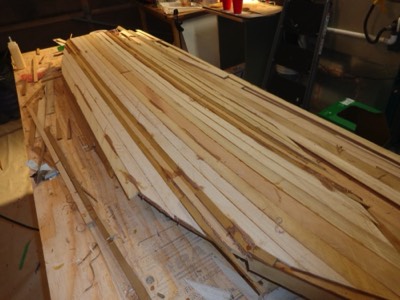
2/25/16 - Several strips are added.
-
Nose blocking.
-
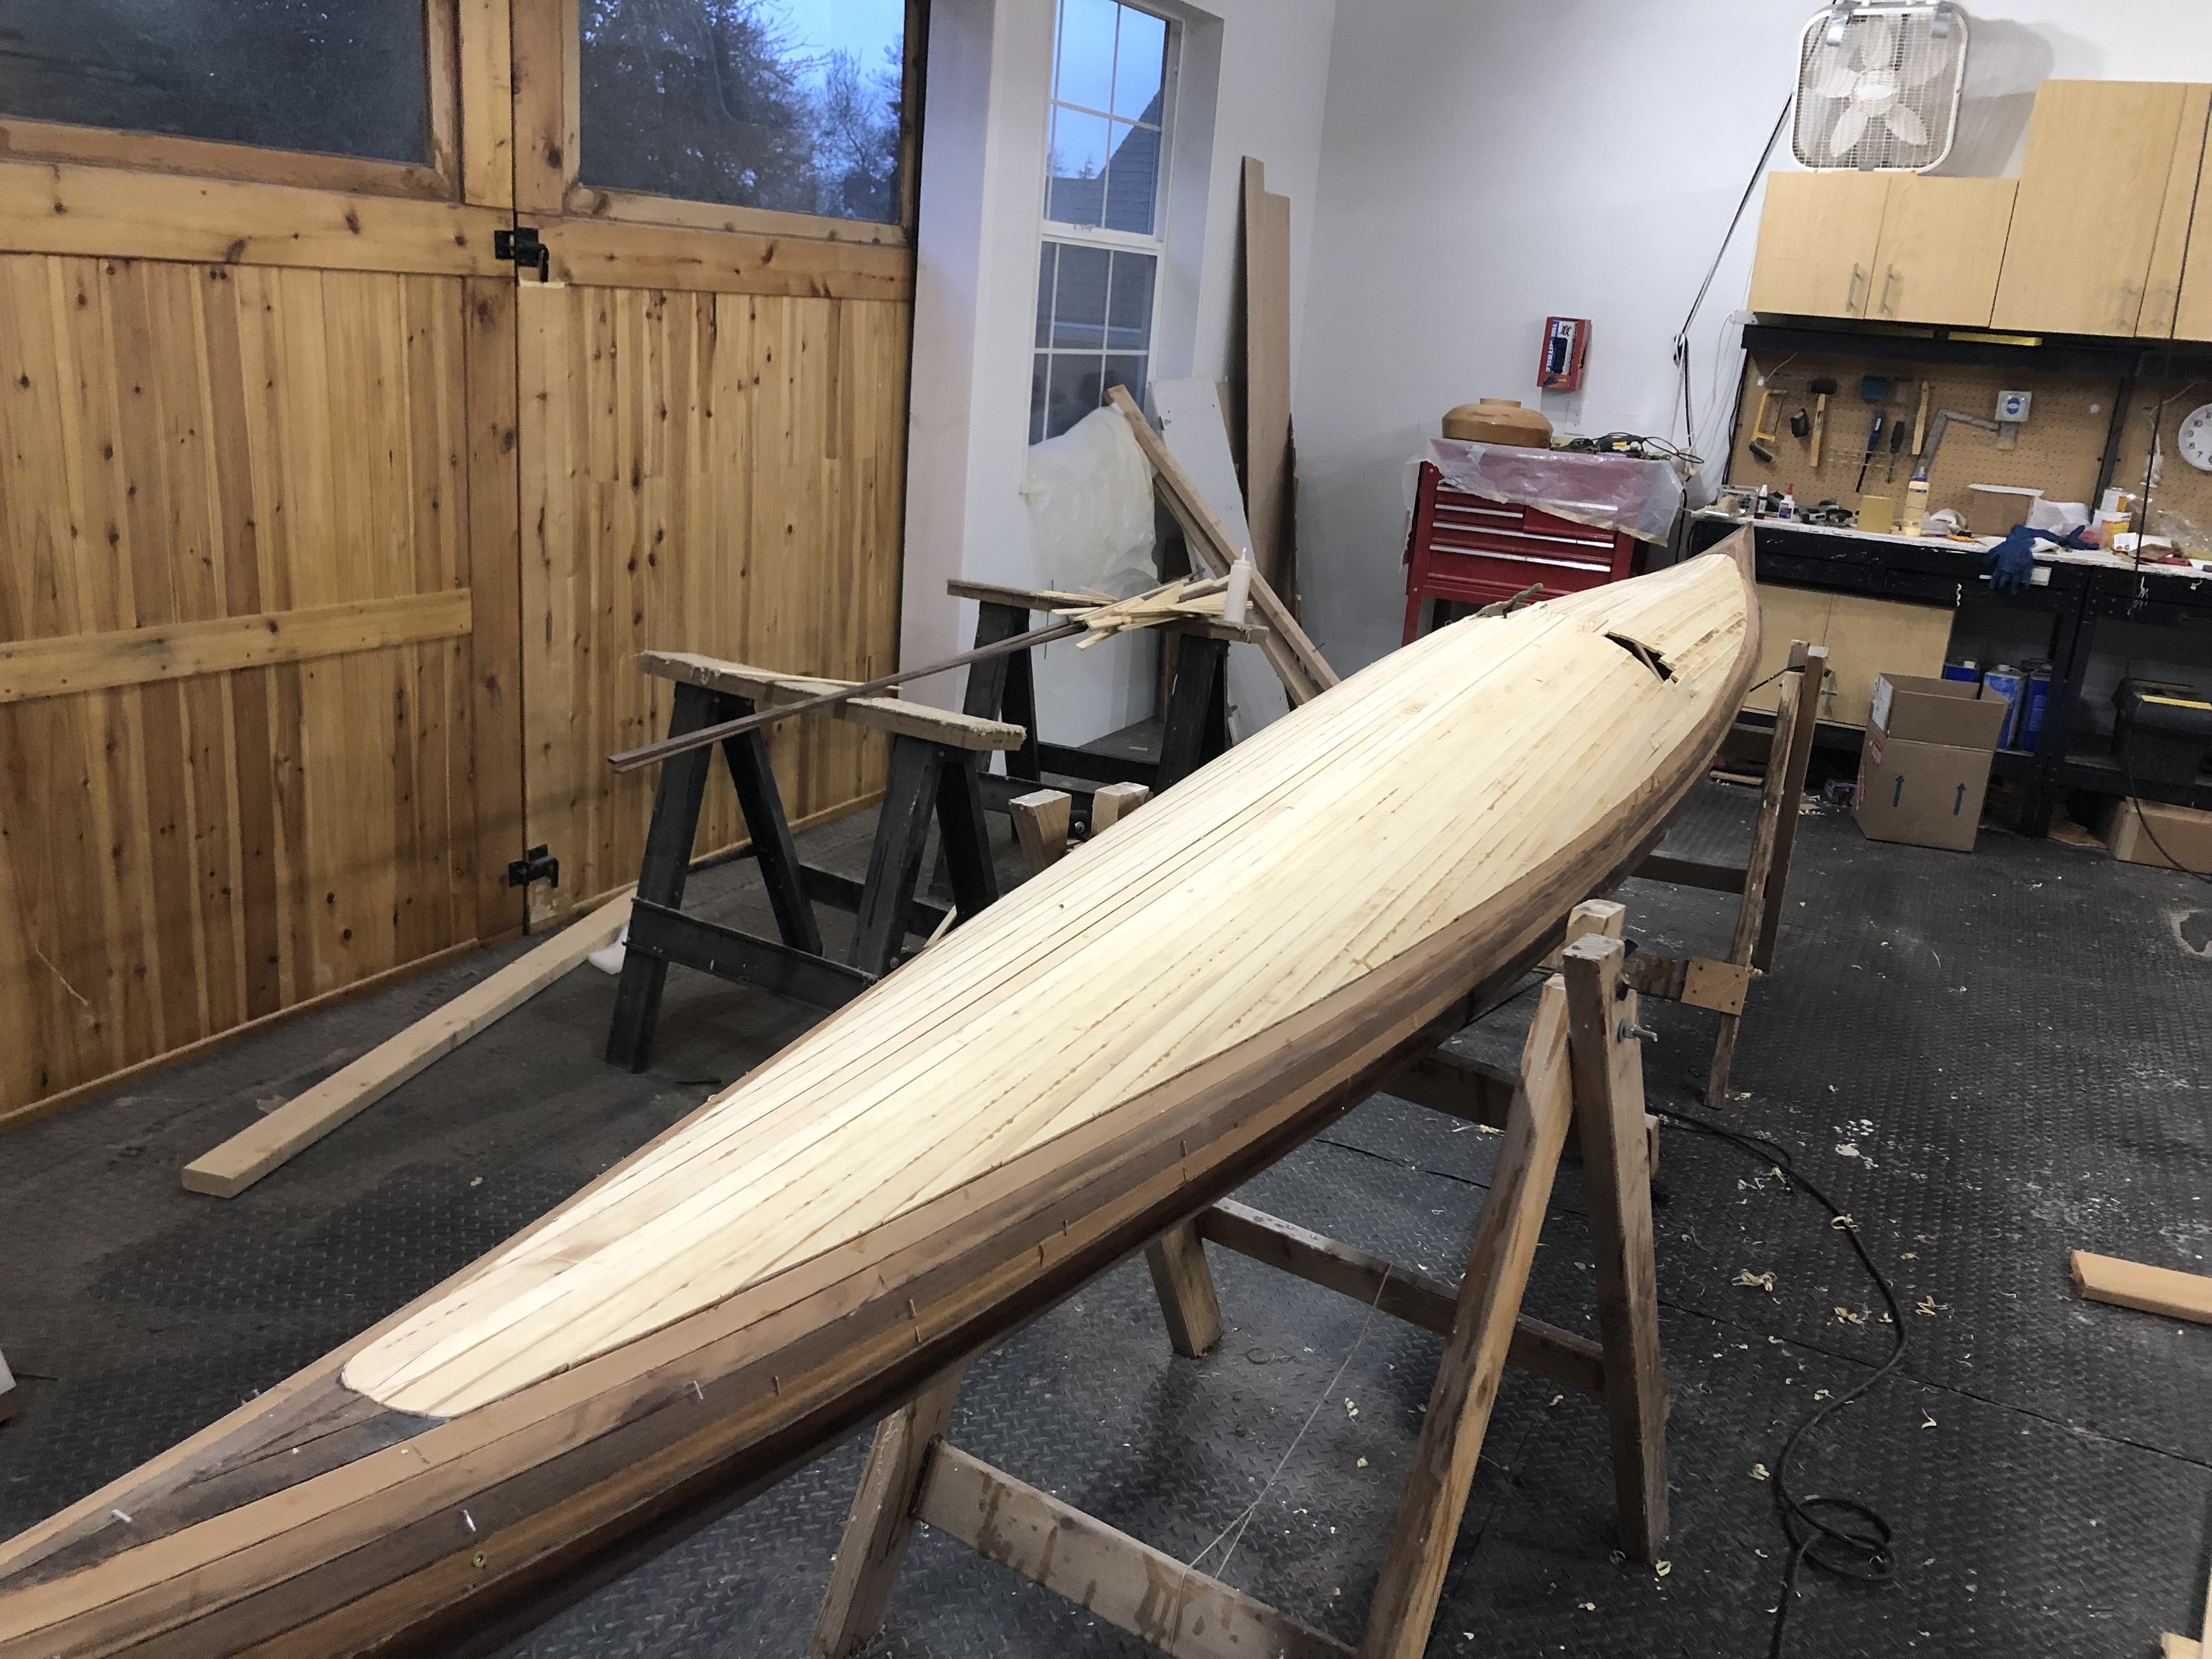
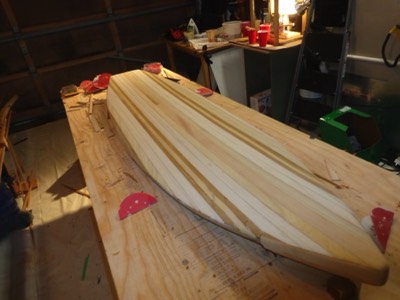
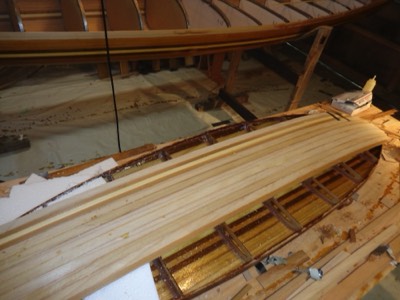
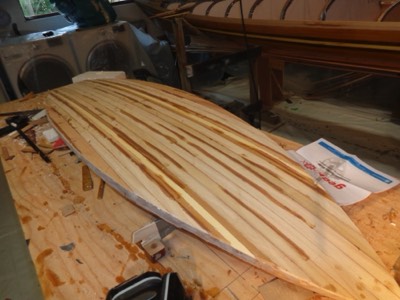
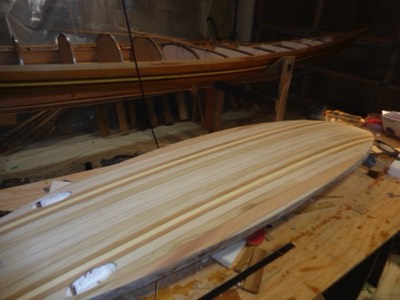
3/5/16 - The deck is ready for sanding and shaping.
-
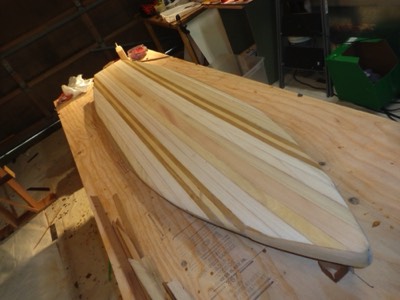
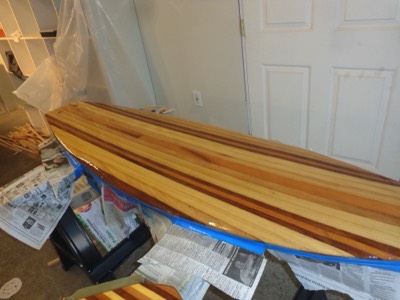
3/6/16 - The deck has been sanded smooth.
-
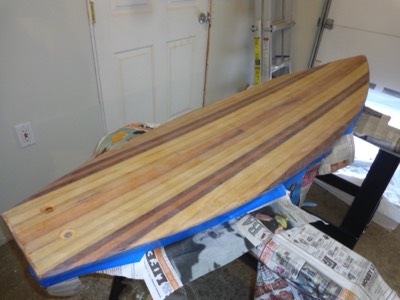
3/8/16 - Final sanding of the deck is done.
-
The deck is fiberglassed.
-

3/11/16 - The board is flipped over.
-
3/17/16 - The inside of the board is sealed with epoxy.
-
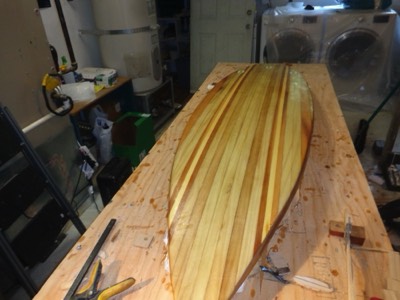
3/18/16 - The bottom of the board is mostly stripped.
-
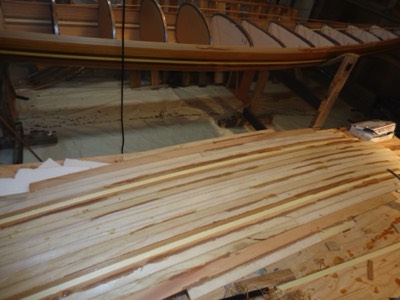
3/21/16 - Stripping of the bottom panel is finished.
-
3/22/16 - The bottom panel is epoxied onto the frame.
-
3/23/16 - The overhanging strips are trimmed.
-
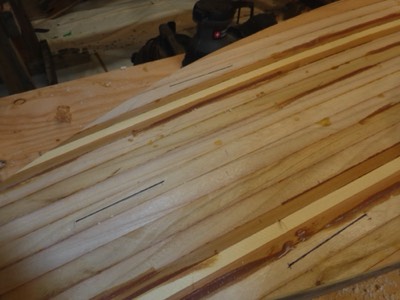
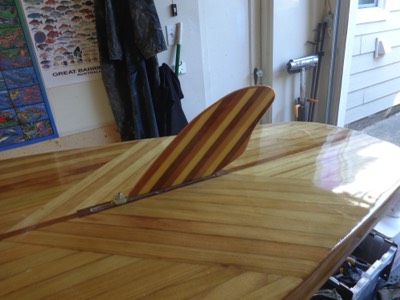
Locations for the thruster fin boxes are marked.
-
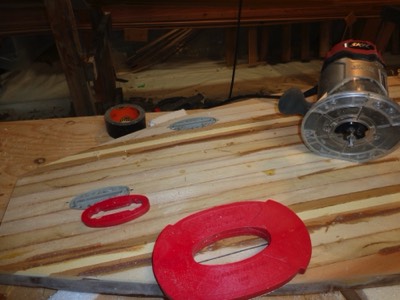
The spot for the third fin box is about to be routed out.
-
The bottom panel is sanded smooth.
-
3/24/16 - The board is sanded in preparation for fiberglassing.
-
The bottom is fiberglassed.
-
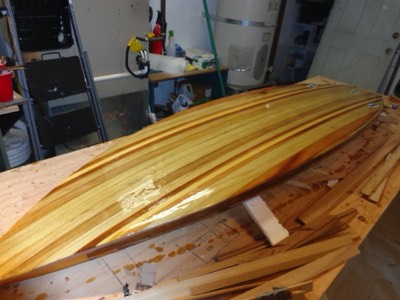
3/25/16 - The bottom gets two fill coats of epoxy.
-
4/19/16 - The board is given a washdown after being sanded.
-
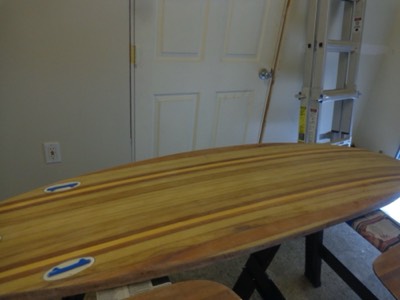
4/20/16 - The board is ready for varnish.
-
4/21/16 - First coat of varnish.
-
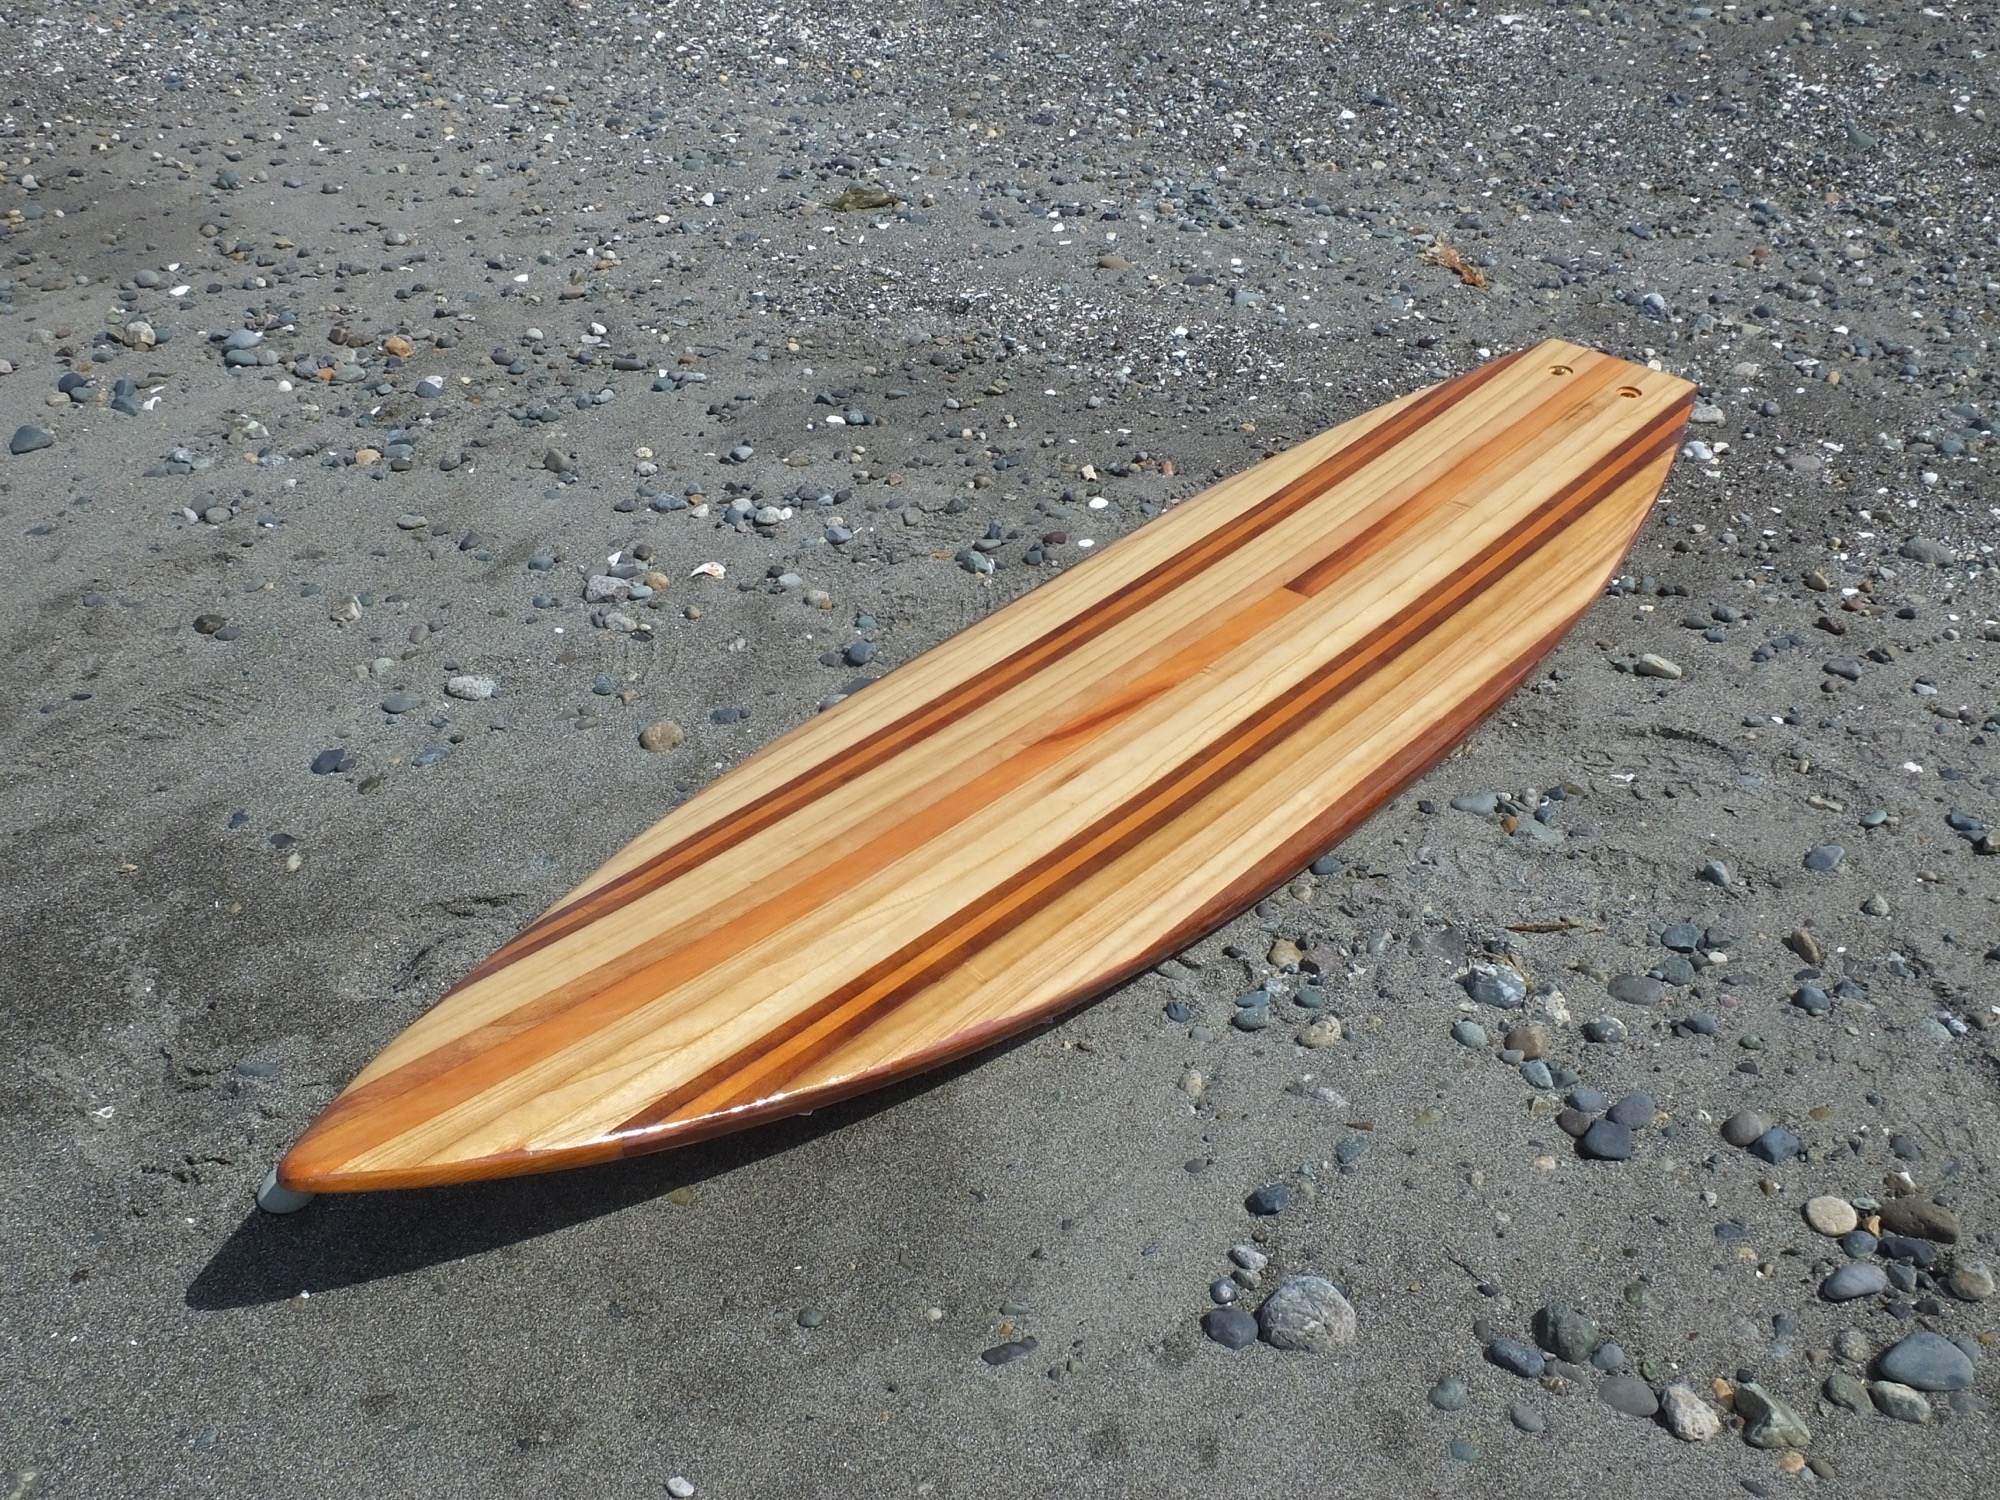
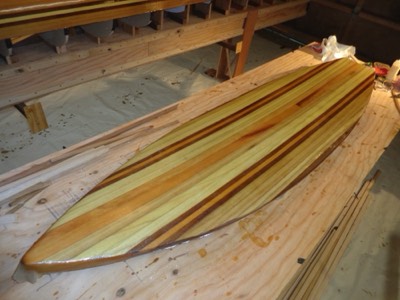
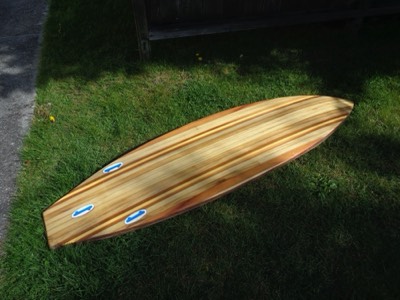
4/24/16 - The final coat of varnish is applied.
-
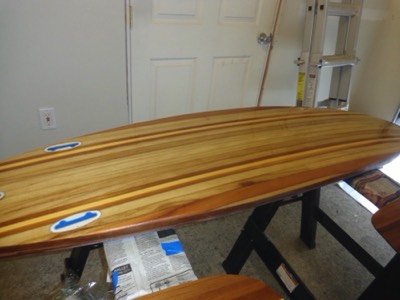
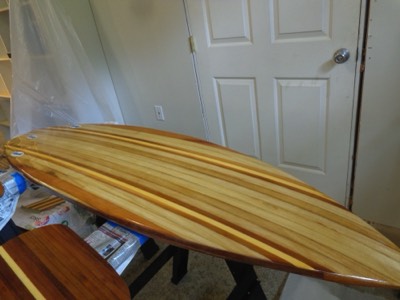
4/25/16 - The deck is ready for varnish.
-
First coat is applied.