-
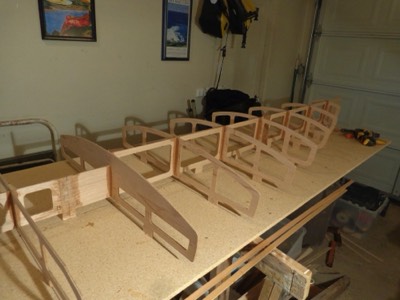
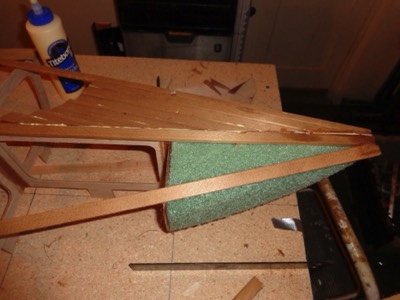
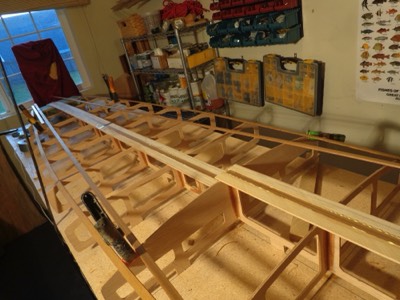
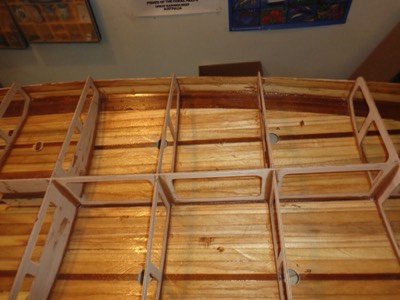
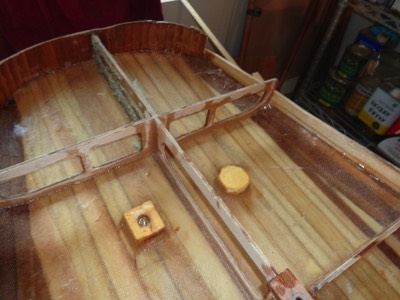
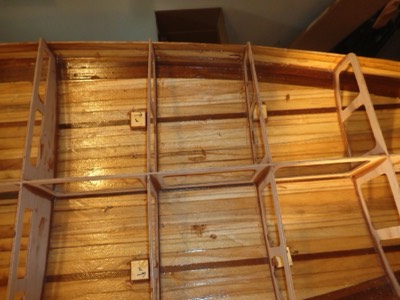
2/9/16 - The "fishbone" frame is assembled and filleted.
-
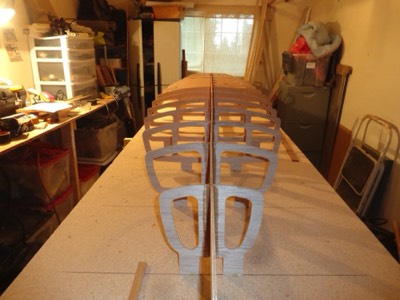
View from the bow of the board.
-
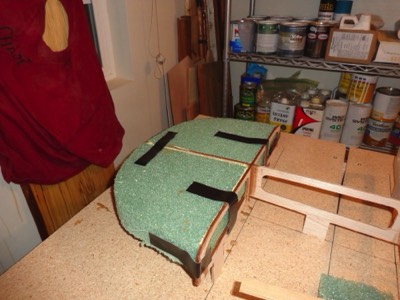
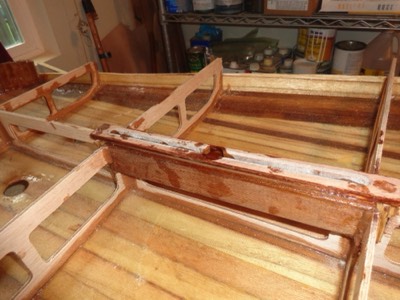
2/23/16 - Foam is attached to the tail end of the board. Wood strips will be glued over it.
-
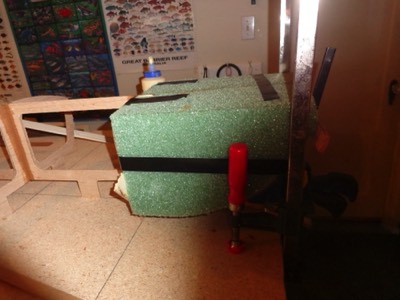
Foam on the bow of the board.
-
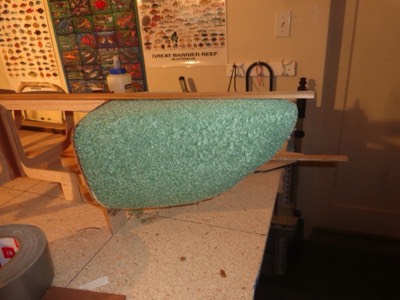
2/24/16 - The bow block is shaped.
-
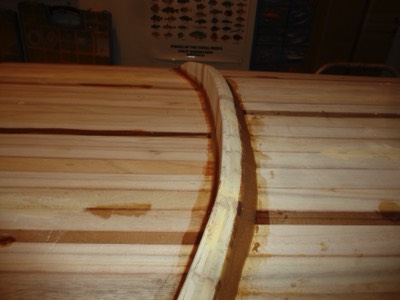
Several accent strips of cedar are temporarily glued in place.
-
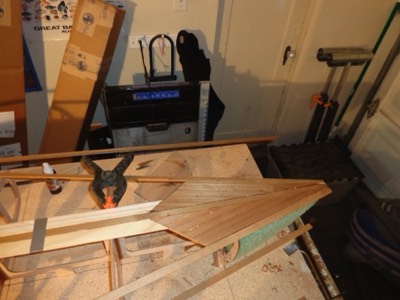
2/25/16 - Bow detail.
-
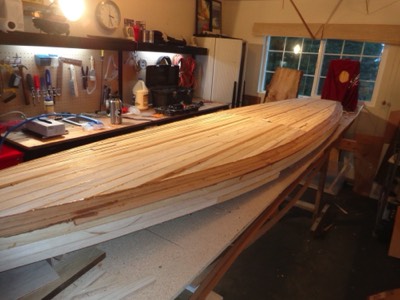
First three strips on the board.
-
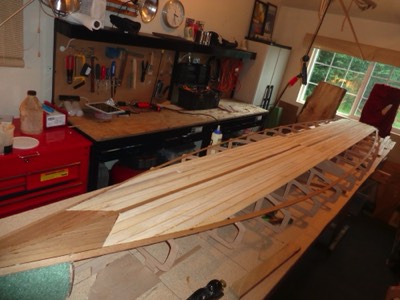
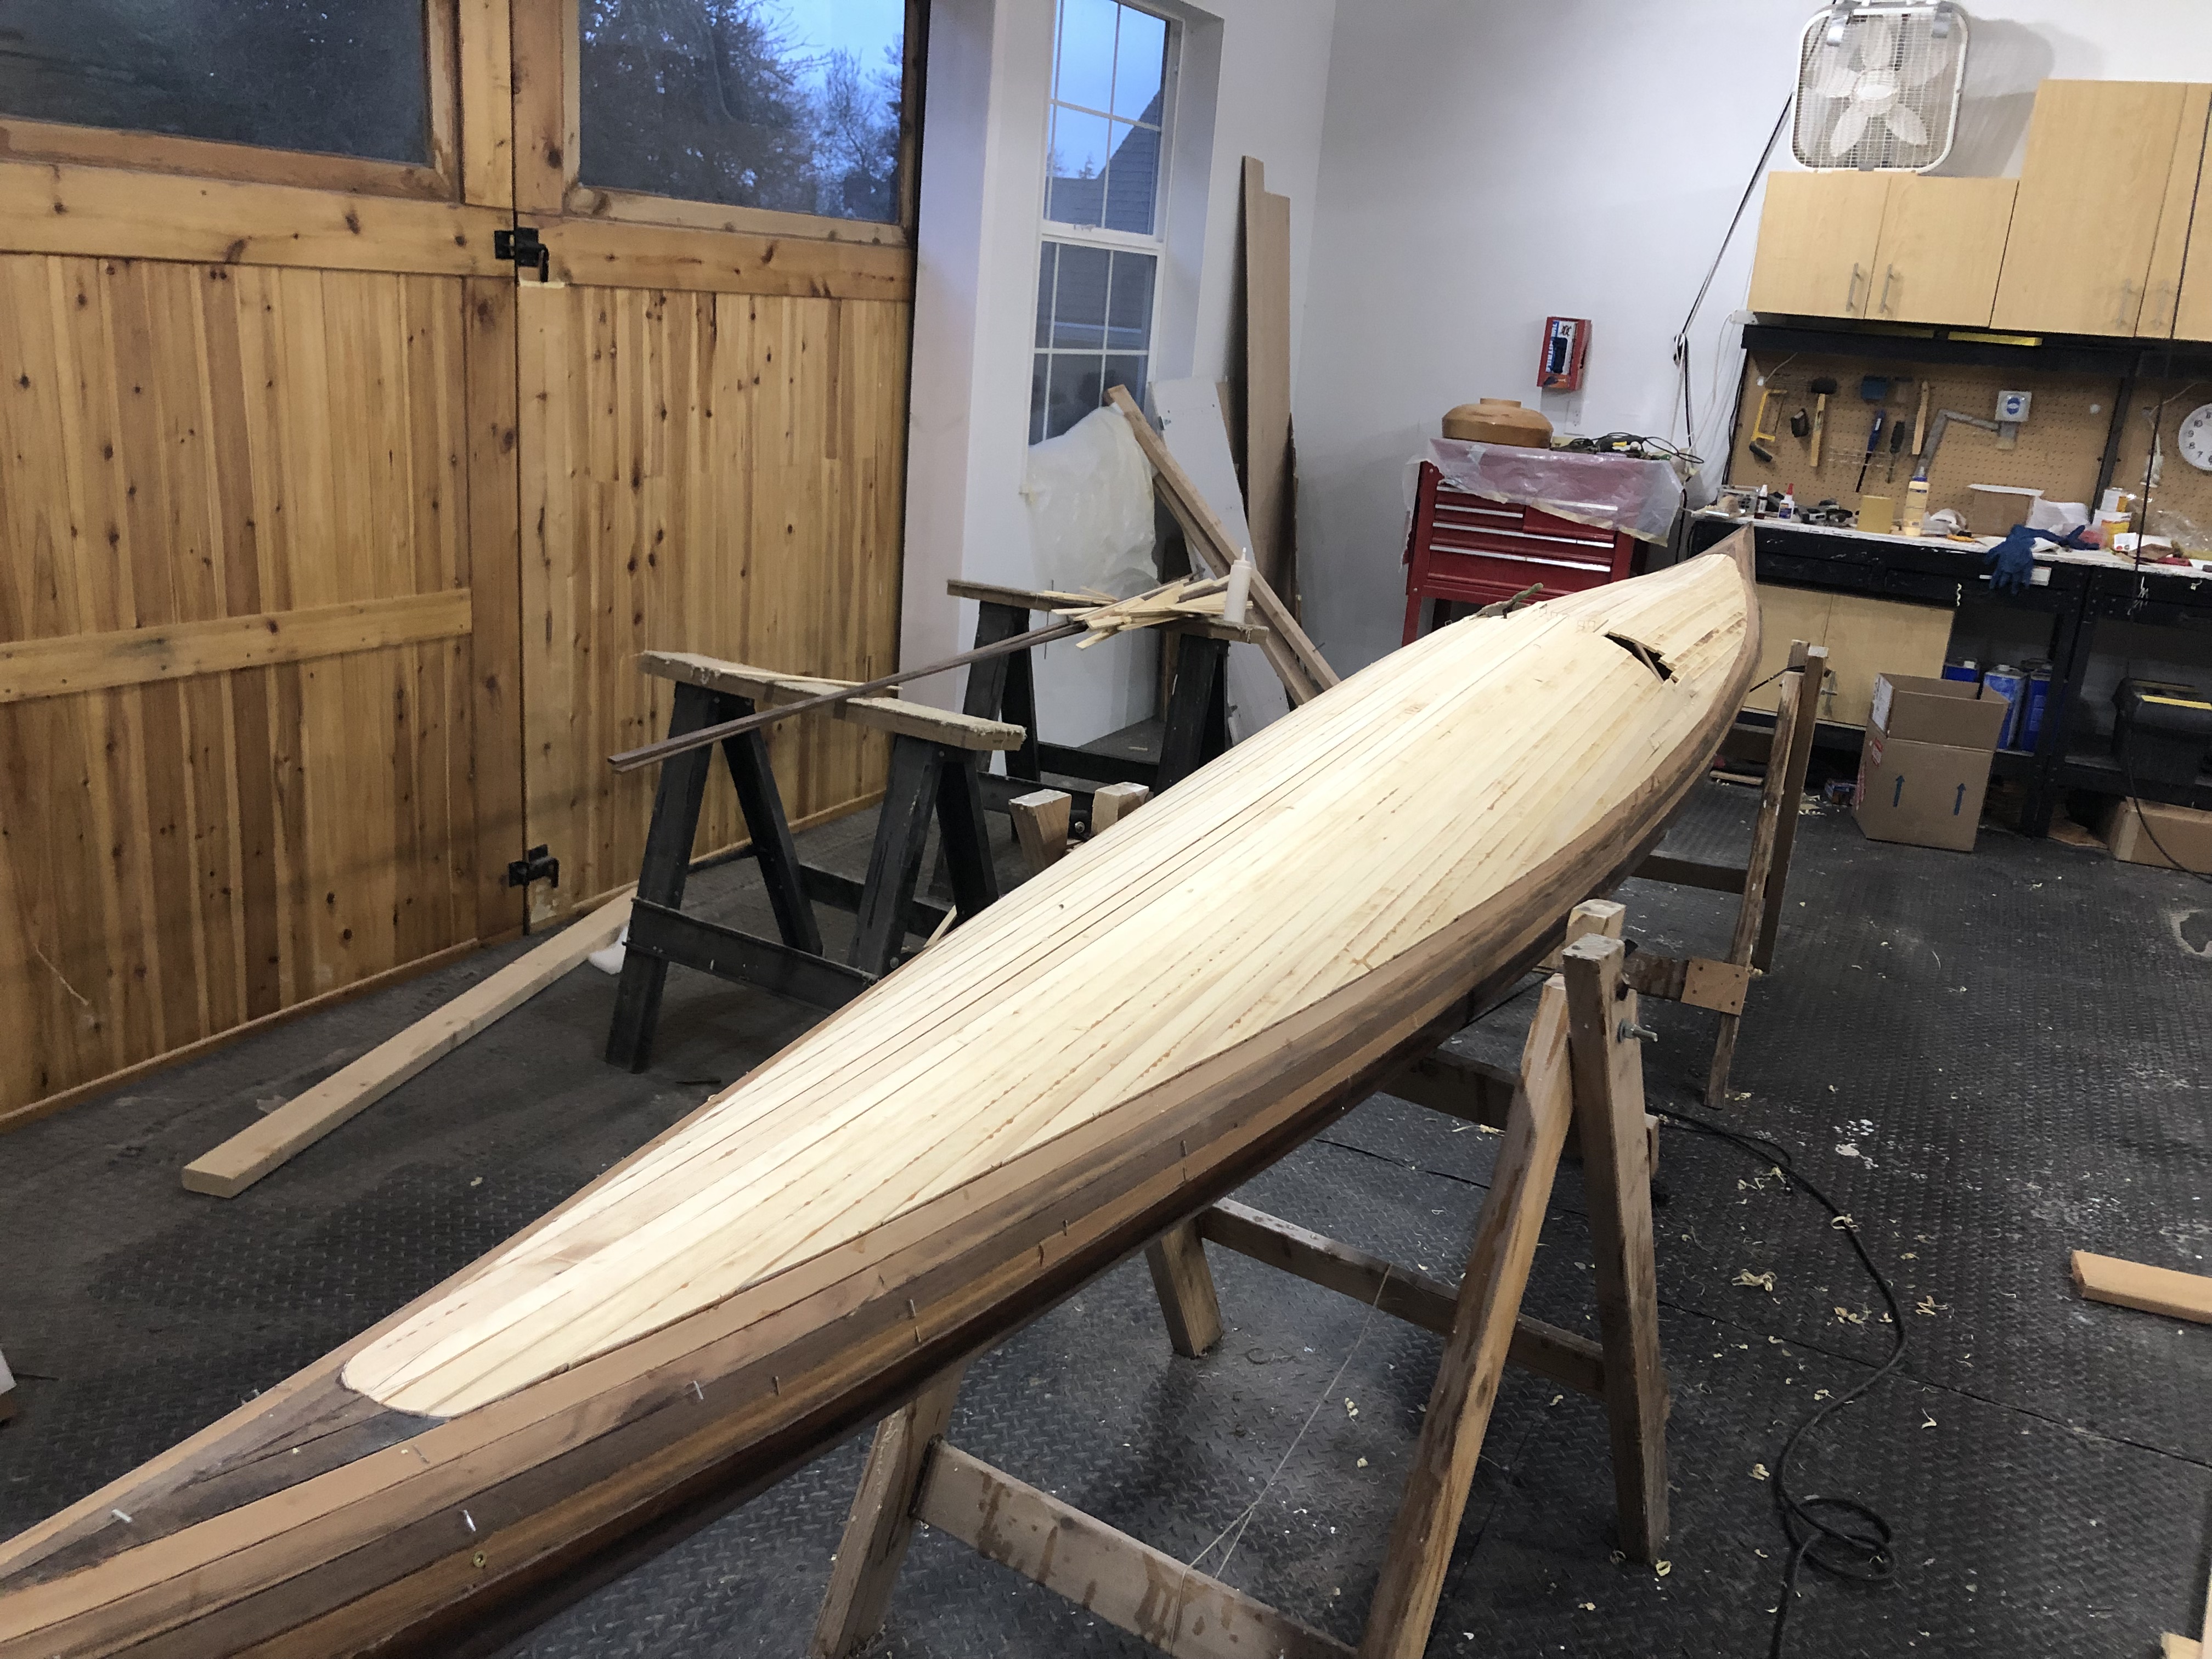
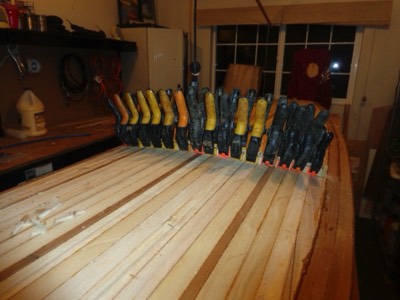
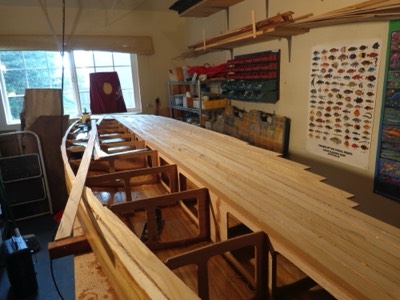
2/26/16 - Several strips on each side have been added.
-
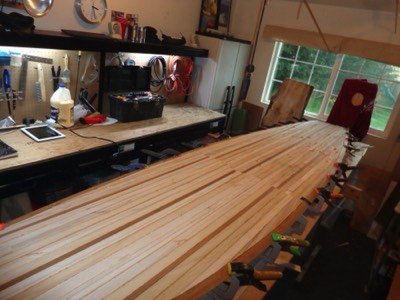
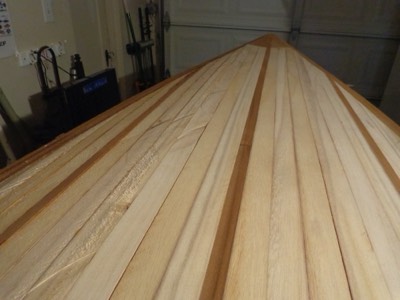
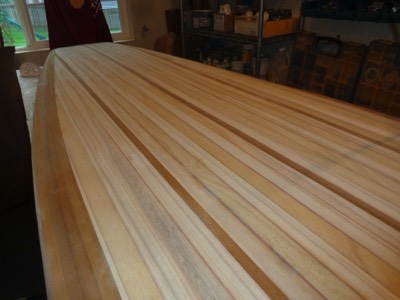
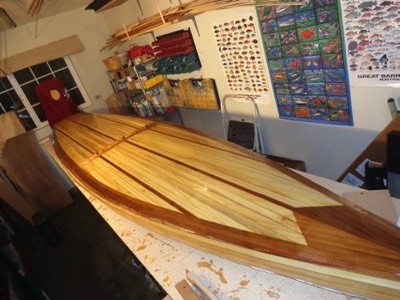
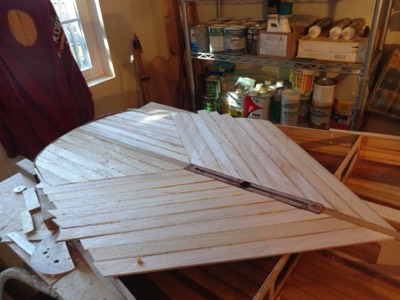
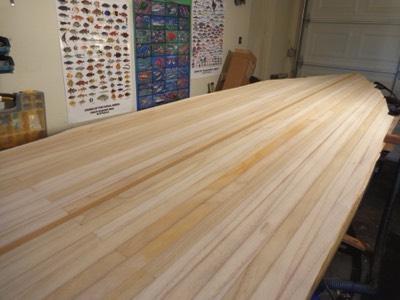
2/28/16 - The deck is finished.
-
2/29/16 - The deck and upper side of the rails have been fully stripped.
-

Coaming lip is trimmed.
-
3/1/16 - The coaming is laminated out of many pieces of paulownia.
-
3/2/16 - The deck is half sanded.
-
3/3/16 - The coaming gets lightweight epoxy fillets.
-
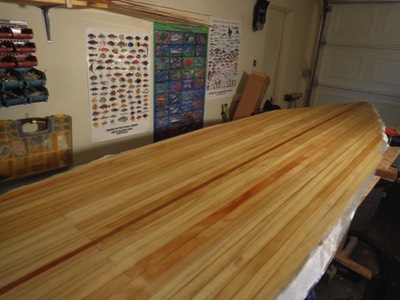
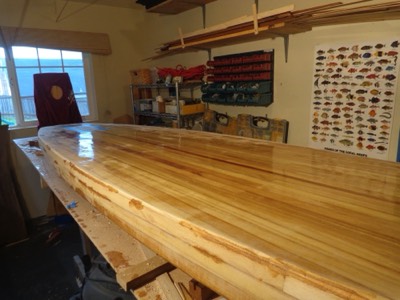
3/5/16 - The deck is sanded and ready for fiberglass.
-
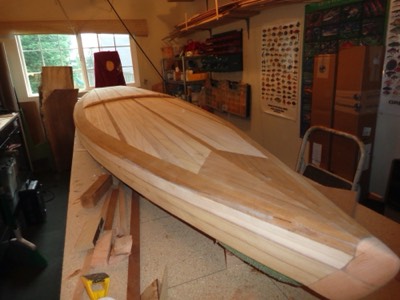
View of the bow.
-
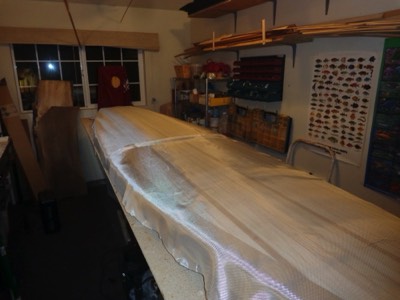
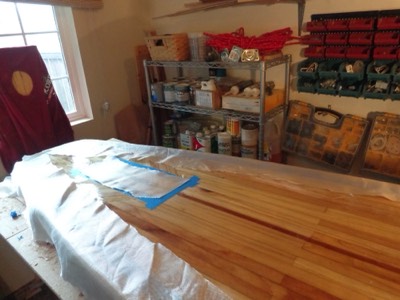
Fiberglass cloth is laid on the deck.
-
The cloth is wetted out with epoxy.
-
View from the bow.
-
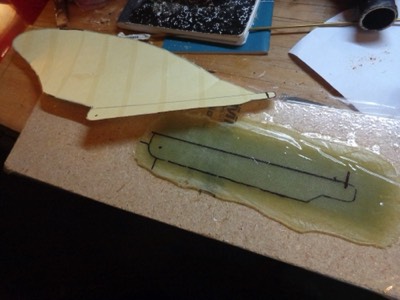
3/7/16 - The base of the removable fin is made from several layers of fiberglass cloth.
-

3/8/16 - The board is flipped over.
-
3/9/16 - The frames are removed and the underside of the standing area is fiberglassed.
-

The underside of the deck is sealed with epoxy.
-
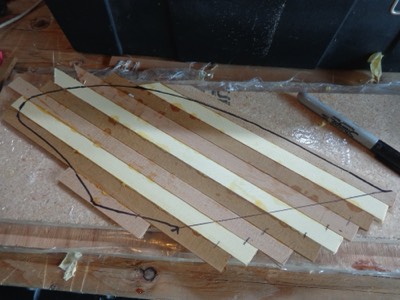
3/10/16 - Strips are glued together for the fin.
-

The wood is glued to the fiberglass base.
-
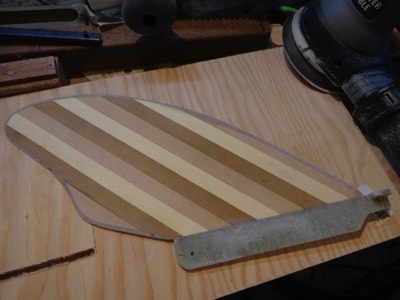
3/11/16 - The fin is ready for fiberglass.
-
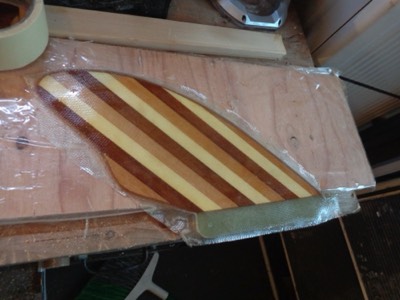
One side of the fin is fiberglassed.
-
3/15/16 - Holes are cut for padeyes for deck bungies.
-
The wooden fin box is epoxied in place.
-
Vent plug and leash clip blocks are epoxied into place.
-
Four padeye blocks for deck bungies are epoxied into place.
-
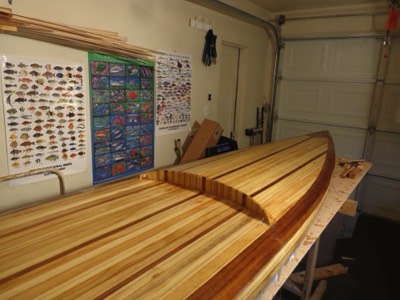
3/17/16 - The area around the fin box is stripped.
-
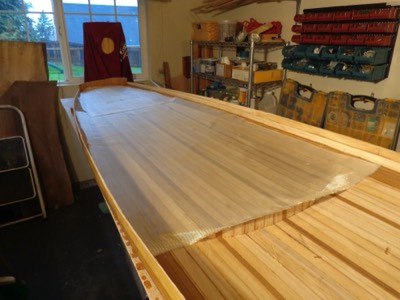
3/18/16 - One half of the bottom is stripped.
-
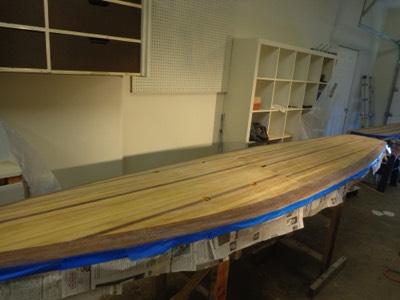
3/19/16 - The bottom panel is sanded smooth.
-
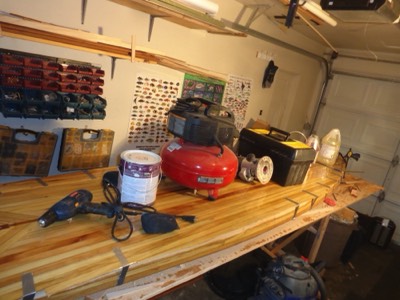
3/20/16 - The bottom panel is fiberglassed.
-
3/21/16 - The bottom panel is removed and the inside is sealed with epoxy.
-
The bottom is epoxied onto the fishbone frame.
-
3/22/16 - The edges have been sanded smooth and gaps filled with epoxy.
-
3/23/16 - Fiberglass cloth is laid along the edges.
-

The cloth is saturated with epoxy.
-
After the epoxy has cured for a couple of hours, the cloth is cut along the tape and peeled away.
-
4/19/16 - The board is given a washdown after being sanded.
-
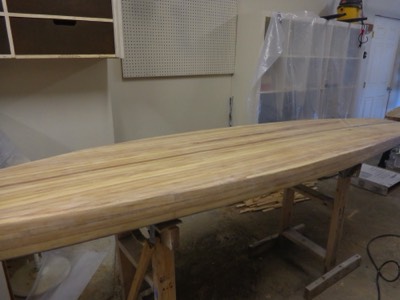
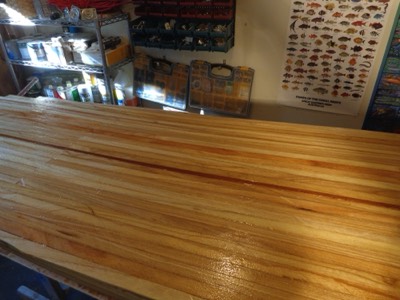
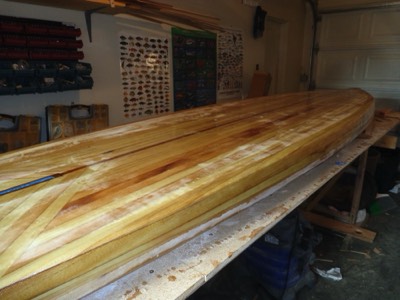
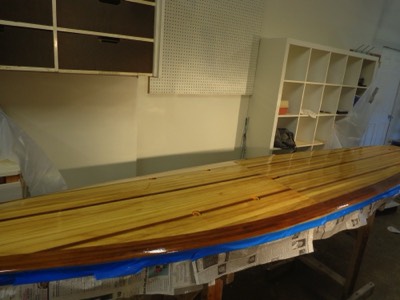
4/20/16 - The bottom of the board is ready for varnish.
-
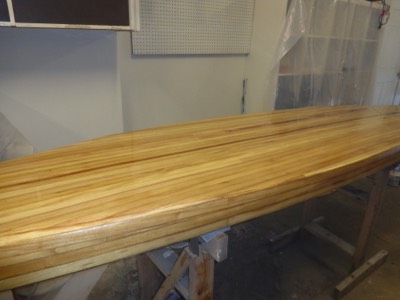
4/21/16 - First coat of varnish.
-
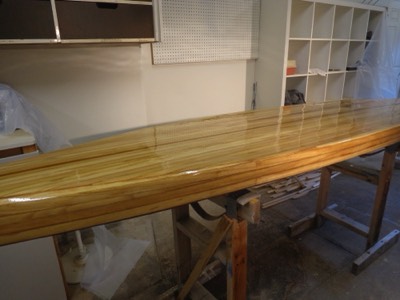
4/24/16 - The final coat of varnish is applied.
-
4/25/16 - The deck is ready for varnish.
-
Fist coat is applied.
-

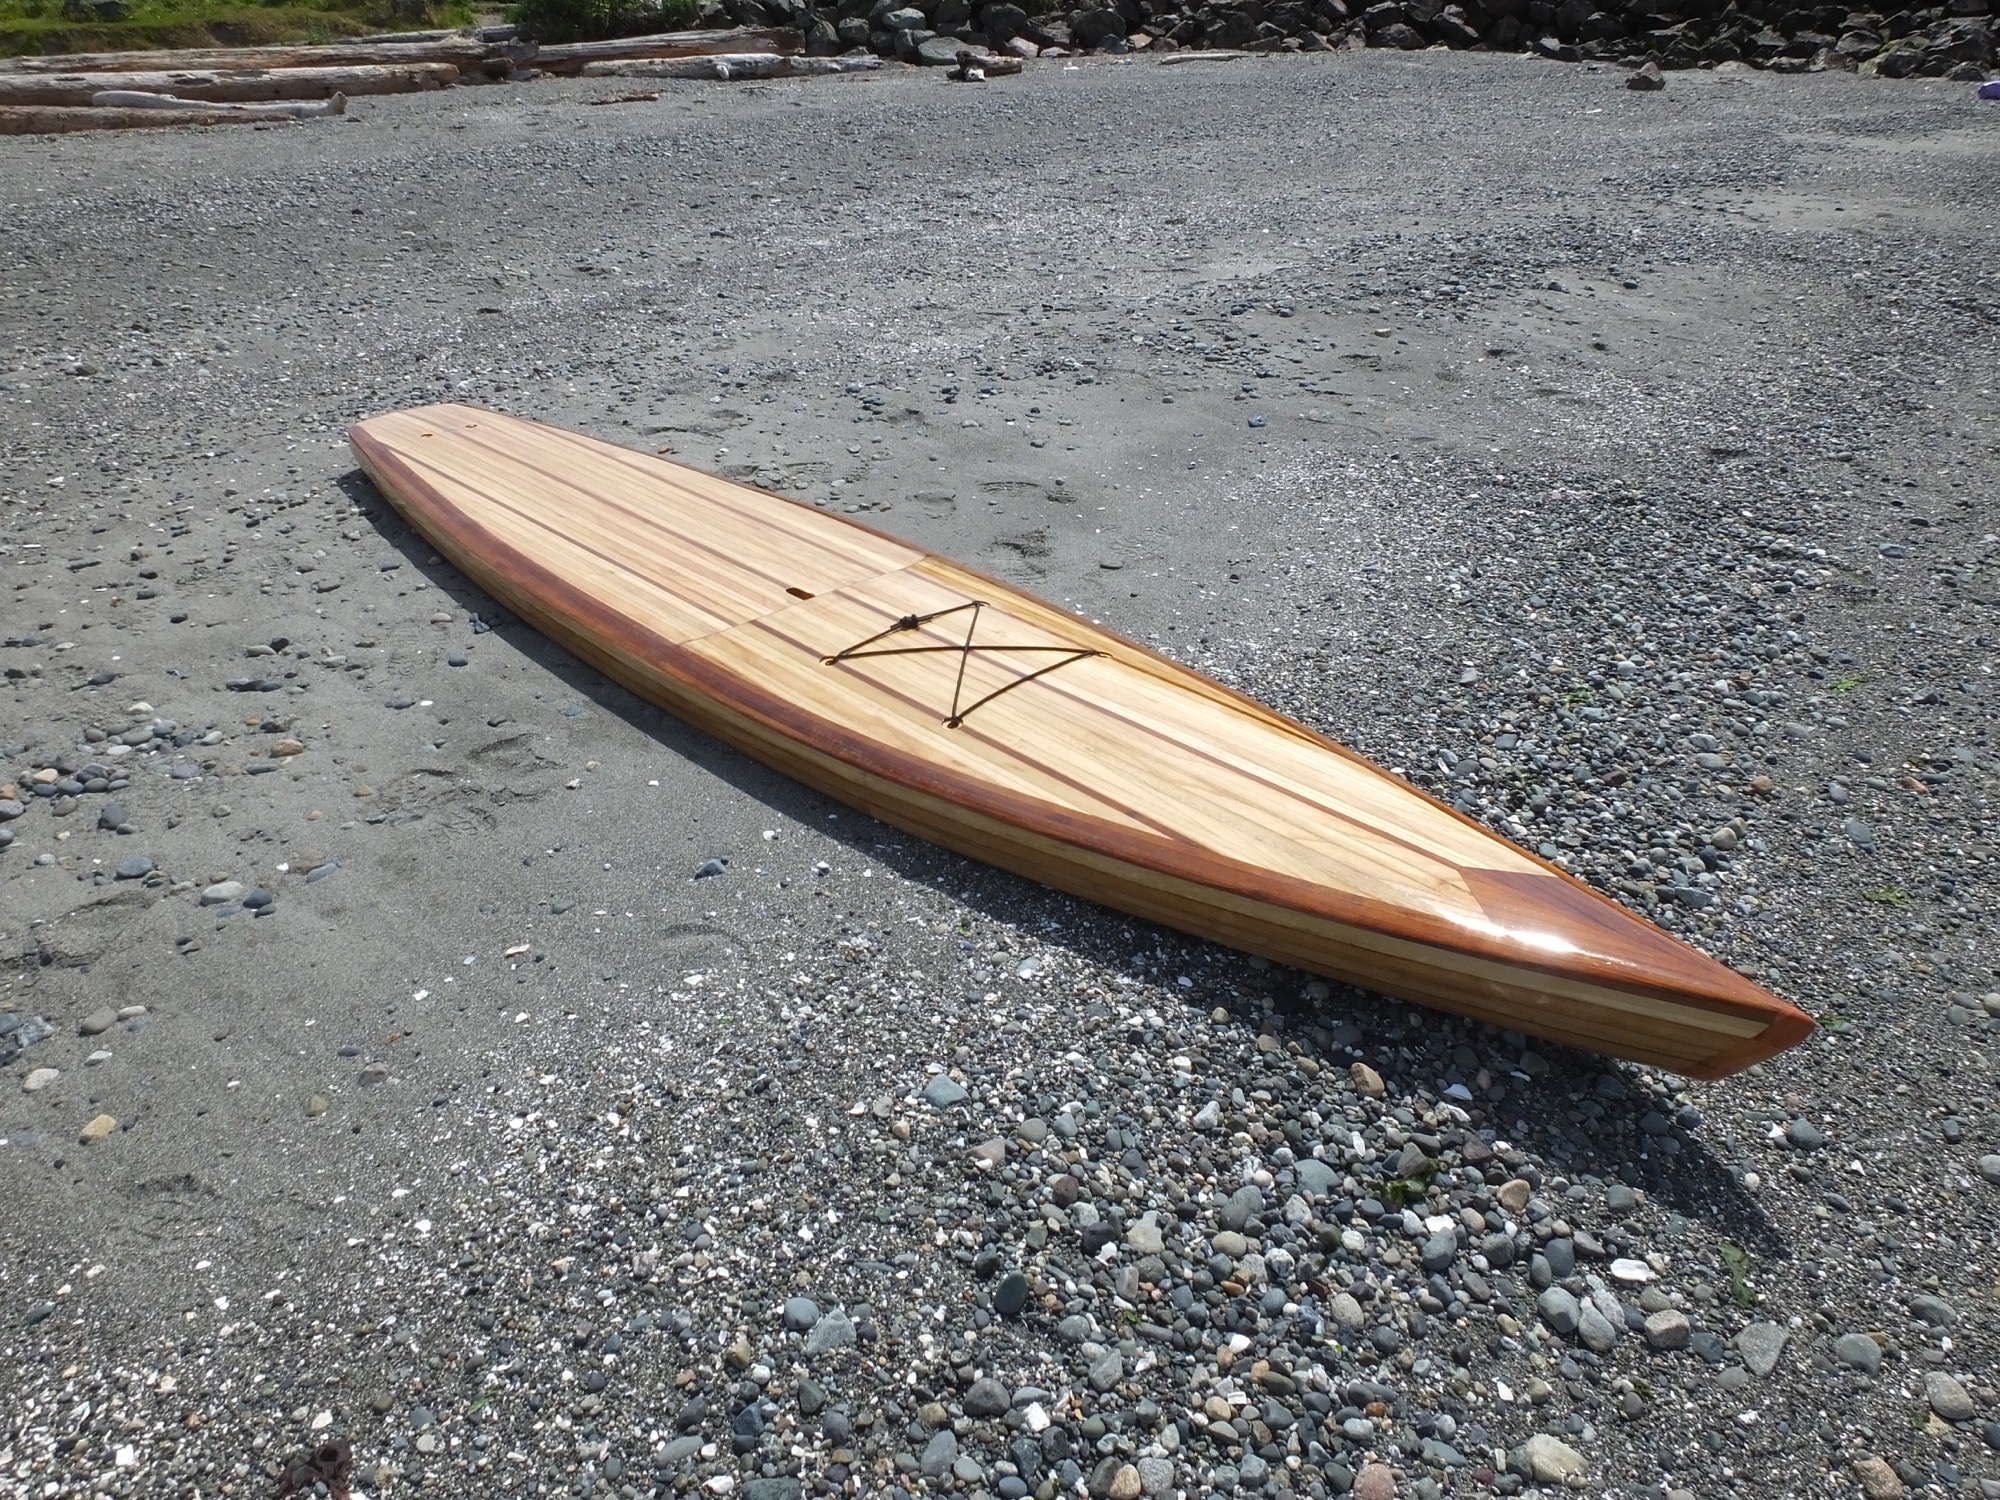
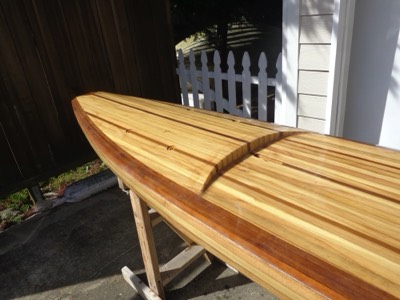
5/1/16 - The deck rigging is installed.
-
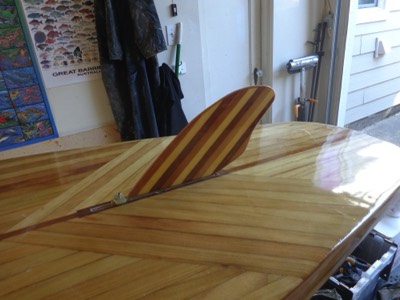
The wooden fin is test fit.